Best automotive anti-seize lubricants according to redditors
We found 41 Reddit comments discussing the best automotive anti-seize lubricants. We ranked the 17 resulting products by number of redditors who mentioned them. Here are the top 20.
We found 41 Reddit comments discussing the best automotive anti-seize lubricants. We ranked the 17 resulting products by number of redditors who mentioned them. Here are the top 20.


Belive it or not all Glock uses is a high heat copper anti seize lubricant like you would use when changing the breaks on a car.
I live about 5 miles from the glock plant in Smyrna, GA and have talked to several of there employees over the years about it. http://www.amazon.com/gp/aw/d/B0006Q7H36?pc_redir=1411030351&robot_redir=1
I got into the habit of coating the hub, rear center of the rotor and front center of the rotor with anti-seize. It isn't perfect, but it has helped to lessen this happening.
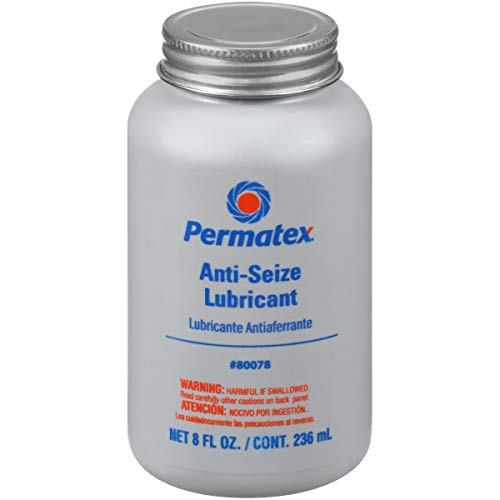
https://www.amazon.com/Permatex-80078-Anti-Seize-Lubricant-Bottle/dp/B000FW7VGE/
Non-weird link.
There are lots of great YT videos out that show the process and this is the grease I bought. https://www.amazon.com/gp/product/B0041S1OUM/ref=ppx_yo_dt_b_search_asin_title?ie=UTF8&psc=1
I use this stuff when I do brake jobs and it seems to work well.
Here is a tip for you. Get a six year warranty water heater (if you ever need to buy one), but make it last decades. First watch this, from about the 1:40 mark:
https://www.youtube.com/watch?v=wzecqGyCllU
Guy is replacing the sacrificial anode. On yours, remove it and coat the threads with a anti-seize compound:
https://www.amazon.com/Permatex-81343-Anti-Seize-Lubricant-Tube/dp/B0002UEOLO
Then reinstall it. Now use a marker on the tank to show the installation date. Every five years from that point you pop out the old worn-out anode and install a fresh one.
My last tank lasted 32 years, I think. The anode really reduces corrosion to almost nothing.
Not just from prusa, pick and choose. URLs for examples.
Digital caliper, 12" https://www.amazon.com/gp/product/B000EJUBBU/ref=oh_aui_detailpage_o02_s00?ie=UTF8&psc=1
Extra brass nozzles.
Hardened steel nozzle, 0.4mm to 0.6mm for printing abrasive exotics (wood, glow in the dark, carbon fiber etc)
Print removal tool https://www.amazon.com/gp/product/B00VB1U886/ref=oh_aui_detailpage_o02_s01?ie=UTF8&psc=1
Locktite blue bolt-fixer (Walmart, Home Depo, Lowes etc) to stop bed sensor from moving.
High temp anti-seize for nozzle threads https://www.amazon.com/gp/product/B0053ZS1Z8/ref=oh_aui_detailpage_o02_s01?ie=UTF8&psc=1
Raspberry Pi 3, 5v Pi 2A Power wart, Micro SD card, & Webcam for octoprint monitoring.
Relay board for Pi/octoprint to power up & down printer remotely. https://www.amazon.com/gp/product/B0057OC5O8/ref=oh_aui_detailpage_o04_s02?ie=UTF8&psc=1
1lb of silica gel to keep filament dry.
Filaments, various.
Fire extinguisher rated for electrical fires.
Dedicated smoke alarm.
That damage occurred while trying to unscrew the nozzle from the heater block- aluminum + steel + heat is a bad combo. Auto mechanics have known about this since they first started seeing aluminum engine blocks. Anti-seize compound is used on spark plugs to prevent this same sort of problem.
The solution (?)
Will try this stuff when I replace the heater block. It's supposed to be good up to 870C.
It's not difficult, you just need the tools to pull your current handguard off and remove the barrel nut (because most handguards comes with their own proprietary barrel nut). Then you'll thread on your new barrel nut, tighten it down to roughly 30ftlbs, install the new handguard, and you're done.
You'll probably need an AR15 armorers wrench, anti-seize/grease of some sort (I like Loctite Anti-Seize, but some people have heartburns over what to use. Something is better than nothing), and a torque wrench. And probably also another inch-lb torque wrench.
As for the quality of the handguard, I've never used that one, so I can't speak for it.
On a cool bike ( not warmed up), I spray the bike liberally with this stuff and I have a soft bristle brush to hit some areas like the front of the engine, I let it sit for a few minutes and then I hose it off, not with the pressure washer. I found as you use this product or it works better over time.
S100 12001B Total Cycle Cleaner Bottle - 33.8 oz. https://www.amazon.com/dp/B000WJX6IM/ref=cm_sw_r_cp_tai_.eZvCbM9SCW6W
Once or twice a year I spray it with this, since I have road salt in the northeast.
ACF-50 Anti-Corrosion Lubricant Formula - 32 oz Bottle (.95 Ltr) https://www.amazon.com/dp/B00G42NR7G/ref=cm_sw_r_cp_tai_jiZvCbCA6PB6P
Happy trails....
Definitely do the shocks and brakes yourself! You'll save yourself nearly a thousand dollars and they really aren't even that hard to do with common hand tools.
How to replace brake pads and rotors
How to replace shock absorbers
How to replace struts (if this is what your car has rather than separate shocks and springs)
You really shouldn't need a full brake system flush for a car that's this new, but if you really want to...
The alignment will need to be done by a professional though, but all the other stuff can be done yourself for probably $150-200. You'll learn a ton about how your car works and how to fix it, and you'll probably get a lot of supplies that you didn't know you needed, like silicone paste lubricant for the brake guide pins, copper anti-sieze, and thread locker, all supplies that can be used for many, many different things, not just this one brake job!
I hope this all is helpful. I've been doing this stuff at home for many years so feel free to reach out if you need any help at all.
If it was me, I would put the bike horizontal (but make sure this is ok fluid wise, and with the manufactuerr's instruction manual), and I would use PB blaster on it for a week. And I do mean a week, and the PB Blaster brand only. I know that some may say a week is a bit long, but I have found that an extended period of time helps, as the metal expands/cools a number of days helping to draw the catalyst in.
Then I would get a dremel with this cut off wheel and use it to "notch" the head of the screw as deep as I could without hurting the surrounding metal. Then I would go to the store and find a flat head bit that will fit an impact driver, and it needs to be "impact quality" and "hardened". The impact driver needs to have a high torque..
Then, make sure that whatever bit you have fits securely in the notch you have created, use the impact wrench to break it loose, perhaps far enough that you can get the vise grips on it and finish bringing the bolt out. If you have not used an impact driver before, you should get some wood screws and a block of wood and practice so you are comfortable with it and know what to expect.
Then clean and chase the threads with the appropriate tap. And use an anti seize compound when re-installing the bolts.
I prefer this to drilling out and retapping the screw because he can get an OEM replacement bolt that will fit perfectly and not worry about the fit of a different bolt. Also, this method is actually less laborious (in my opinion) and he can always drill out and re-tap the screw if this does not work (but chances are good that it will).
I think the welding suggestion would work also, but OP may not have a welder. And if the OP wanted, he could use a regular heat gun on it a number of times (with the PB blaster) to expand and help crack the corrosion.
I use this bio based lube
Get the following stuff to prepare:
Soak all the header bolts and overpipe bolts to be removed with the penetrating oil for an hour or so. Watch some YouTube vids on how it's done. Then torque everything down to spec (Google is your friend!) If you can do an oil change, you can do this with the right tools and instructions. Just be prepared to take your time and do it right. Use anti seize on all the bolt threads and o2 sensor threads when reinstalling. It'll make life easier for you in the future. Also be prepared to not drive the car for a few days of shit goes wrong... When I did mine on a car with only 5k miles, the primary o2 sensor was found installed crossthreaded into the OEM header from factory... Had to order a new o2 sensor to go into my new header. Shit like this could happen. Good luck!
I used this: https://www.amazon.com/Permatex-81343-Anti-Seize-Lubricant-Tube/dp/B0002UEOLO/ref=pd_bxgy_263_2?_encoding=UTF8&psc=1&refRID=GF5GVX3E1NXA9BRC3CRC
It's been on my car for over a week and still tight :). Same Grimmspeed kit too.
I was worried about it slipping but so far so good, not a single movement.
Here's a copy/paste from an earlier comment reply I made about 2 months back.
​
I read on some subreddit that a lot from Creality aren't always screwed in. Mine took about two weeks to start showing issues. What I did was unscrew the two side screws, unscrew the heat break (metal tube) and added anti-sieze to the hotend to lubricate everything. Here's the kind I bought Be careful to use gloves as I guess it can cause people to have reactions if that gets on your skin. It's basically a nickel powder in a goo that's good up to like 2000F or something like that.
I fully disconnected the heater and thermister and used a heat gun heat up the block, then screwed in the nozzle all the way, then screwed in the heatbreak to meet it. I let it cool and reassembled everything, and redid the nozzle hot after unscrewing it about half a turn and pushing the PTFE tube into it, then tightened it back up. After that and replacing the couplers, didn't leak again.
​
You probably don't need the anti-sieze unless you're having trouble unscrewing/screwing the heat break.
Anti-Seize or Anti-Seize
Grease or Grease or My personal favorite, Great wet/winter performance
Chain Lube I use Finish Line Wet. For chains I typically wax.
I used that corrugated plastic sheeting available at any big box store. It's reasonably inexpensive and easy to install (screws on with a screw+rubber washer).
If you didn't invest in stainless hardware, I advise you to stop now, remove those t-nuts and replace with stainless. You WILL regret it otherwise. Even then, I'd put anti-seize on everything. Outdoor walls take a beating and stripped t-nuts suck.
They do
https://www.amazon.com/Loctite-51003-Anti-Seize-12Oz-Aerosol/dp/B00FXTML5U
I just looked that up since I have never heard of it. It appears they have several types, which do you use? What does it smell like? Do you like it better than other gun lubricants?
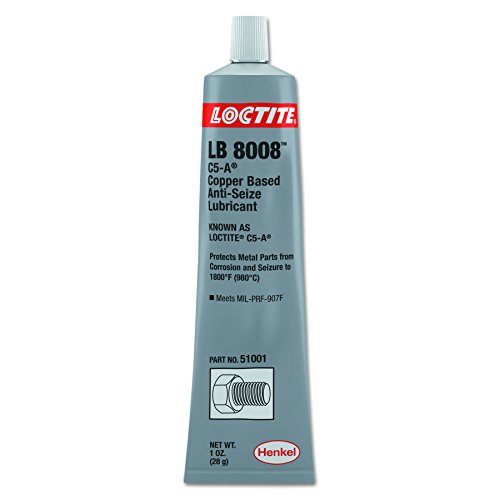
I use M-Pro 7 for trigger components, Mil-Comm TW25B for slide components, and Remoil for shotgun, typewriter, and various handgun cleaning. I used to use Loctite 51001 C5-A because that is what my Glock came with but people on the internet only recommend that stuff for about 1000 rounds since the copper in it is apparently designed to act a bit like sandpaper.
I've been using this on the parts that need heatsink compound.... if you go research the spec sheets on the mfg website the thermal transfer properties are similar to artic silver..... the main reason i went this way was the outstanding temp range... most of the CPU pastes top out around 200c with the really good ones hitting maybe 250c.. eventually i plan to print polycarbonate and some of the other really high temp filaments... of course with an all metal hot end and a higher wattage heater cartridge... from all I've read it seems like the 40w heaters have trouble hitting and maintaining temps over 250c
https://smile.amazon.com/gp/product/B008RMT9LO/
Agree with paco on the strap wrenches. They have gotten me out of every stuck suppressor part scenario so far. Absolute worst case, you can always contact Rugged CS and they will take care of you.
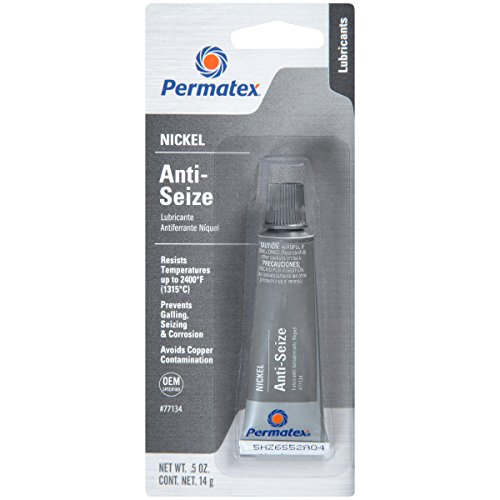
Once you get everything apart I would recommend a small tube of nickel based anti seize. Just a little on the threads goes a long way.
Permatex 77134
https://www.amazon.com/dp/B007NJOEAI/ref=cm_sw_r_cp_api_i_UFs3Db95C5ZPV
If you know how to get the tires off, you can switch rotors yourself. Once the wheels are off, the rotor is only fixed by a single locating bolt. See this video for a visual reference
That bolt may be pretty stuck though because of the heat and may require some heating to get it loose. It makes sense to get some copper paste to treat the threads of all bolts so it doesn't happen again. Copper paste is literally the only stuff you should use around your brakes as grease or oil aren't an option. It prevents surfaces from seizing and makes for easier disassembly.
http://www.amazon.com/gp/aw/d/B002KLZ0FC?pc_redir=1408179923&robot_redir=1
Or you could just buy this and never have to worry about taking off burs or whatever else gets done. Little dab on the very bottom post and pin and its probably too smooth.
This turned out more expensive than I expected because of the tools. Can somebody confirm that I'm buying the right stuff for the job? Am I forgetting anything?
Doesn't have to be Amazon, it's just convenient. 1994 Miata.
Actually, Never Seez works really good for this. It won't harm anything, but she probably won't notice it for a while, and it will get EVERYWHERE. It's just graphite, though.
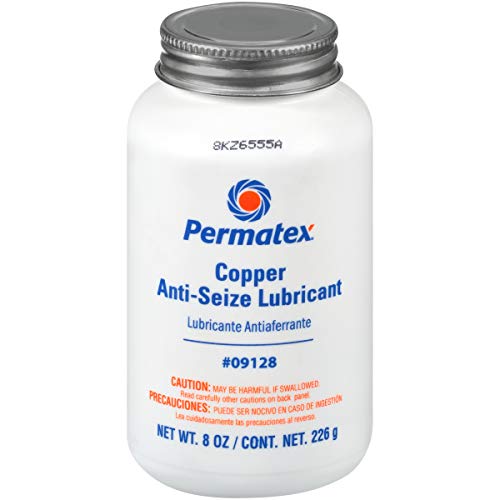
If you really want it: https://www.amazon.com/Permatex-09128-Copper-Anti-Seize-Lubricant/dp/B000HBM8HU/
I just replaced my stock hotend with a V6 clone. It works great (although the mount I have has no part cooling fan anymore). You can easily swap an entire heat break, block, and nozzle. You might need to use a 1.5mm wrench to adjust the ptfe tube and square nuts in order for you to have the same height offset if you're going with the old heatsink mount.
Do yourself a favor for future you. Buy some Anti Seize and get a little bit on the threads of the nozzle and heat break. (caution, this stuff is MESSY! you'll have silver stuff everywhere!)
https://www.amazon.com/Permatex-80078-Anti-Seize-Lubricant-Bottle/dp/B000FW7VGE
https://www.summitracing.com/search/department/exhaust/section/catalytic-converters/universal/yes?N=4294948820%2B4294900422%2B4294900407%2B4294951518&PageSize=100&SortBy=Default&SortOrder=Ascending
Bonus, find one you like and look for it on amazon (make measurements first to see how big you need). Usually a couple bucks cheaper and Prime shipping makes it doubly worth it. Take it to an exhaust shop if you don't have a welder. Shoulnd't take too long to install. O2 sensors can be a pain to remove if they've never been removed (rust). When installing the new one, put antiseize on the threads to make future removal easier.
You are correct. This is why in modern semi-automatic pistol owner's manuals it explicitly states not to remove the copper colored substance from the rails.
Typical lubricant is this here: http://www.amazon.com/Loctite-38650-Copper-Anti-Seize-Lubricant/dp/B0006Q7H36
Yup found it on amazon.ca
Silicone grease from amazon.ca
Sears Craftsman 4 pc. Spark Plug Socket Set, 3/8 in. drive
http://www.sears.com/craftsman-4-pc-spark-plug-socket-set-3-8/p-00934504000P
ToolTopia: Sunex Tools (SUN8844)
4 Piece 3/8" Drive Universal Spark Plug Socket Set
http://www.tooltopia.com/sunex-tools-8844.aspx
Anti-seize compound For most cars the recommendation is to put a dab of anti-seize compound or a couple drops of engine oil on the threads. Personally I always use Loctite silver anti-seize compound. Always.
https://www.amazon.com/Loctite-37539-Silver-Grade-Anti-Seize-Lubricant/dp/B0006Q7H2M
$34 for fucking grease. Hahaha. Here:
https://www.amazon.com/Tri-Flow-TF23004-Clear-Synthetic-Grease/dp/B000C15MUU
https://www.amazon.com/Loctite-37565-Silver-Anti-Seize-Lubricant/dp/B0006Q7H2W