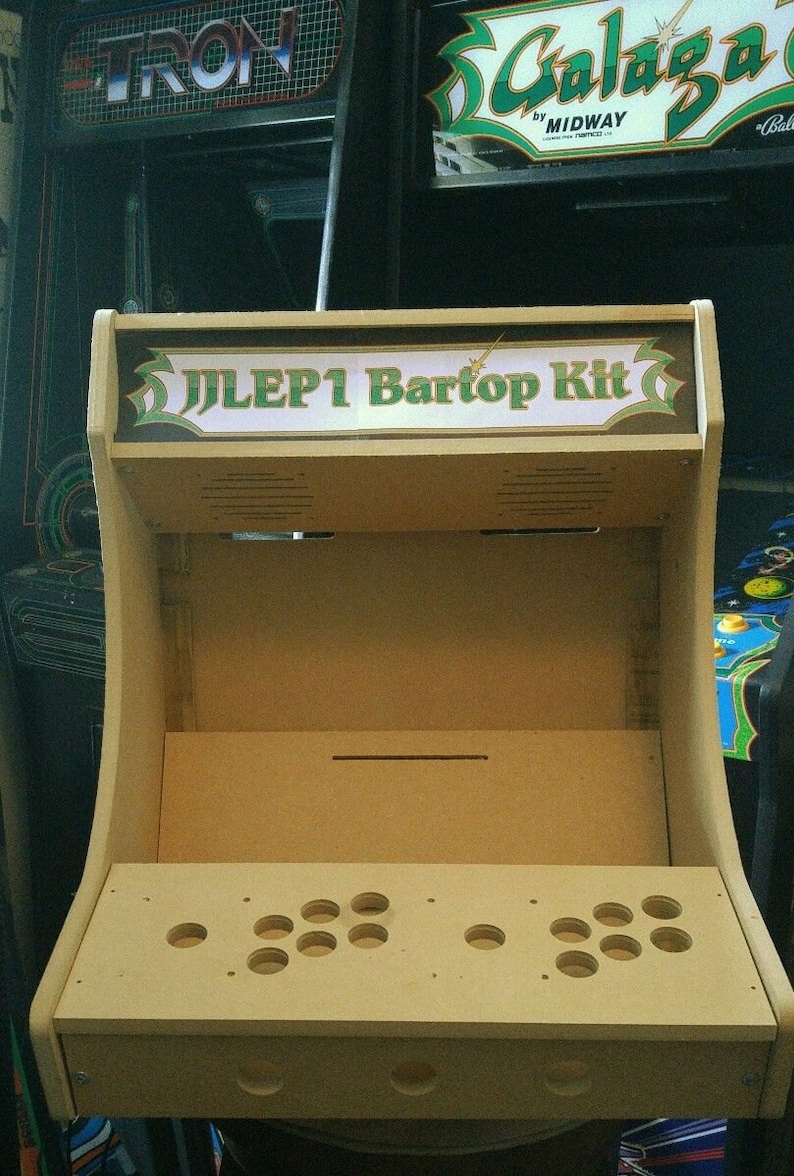
Diy lvl19 “Original” Bartop / Tabletop Arcade Cabinet Kit by lep1 Customs easy to assemble with assembly instructions and pictures This kit contains the pre-cut, routed and pre-drilled mdf for a diy Bartop/Tabletop Arcade Cabinet, and is the only kit to feature the following: Pre-routed integrated marquee bracket Pre-routed baton indents for easier assembly Adjustable horizontal monitor positioning Pre-drilled holes for mounting two 4″ speakers Pre-drilled holes for mounting either 1 or 2 Happ Joysticks (choose “1 Player” or “2 Player” kit) Pre-drilled holes for cabinet assembly Numbered baton supports and the 26 screws for basic assembly. See pictures #4&5. To assemble the basic cabinet, all you need to supply is the wood glue and tools. That’s right, all parts needed to assemble the basic cabinet are included (except for the wood glue)! For a complete assembly, we suggest the following parts (not included): 15″, 17″, or 19″ lcd Monitor (Designed specifically for a square 19″ monitor, but a 19″ Widescreen monitor will also fit) (Cabinet has 17.75″ interior width) 4 screws for lcd vesa Mount (4 or 8 washers are suggested) 1 or 2 Joysticks with happ mounting pattern (depending on model purchased) 8 Screws, 8 washers, and 8 nuts for joystick mounting Up to 17 Standard Arcade Buttons (depending on model purchased) 2 4″ Speakers 8 screws, 8 washers, 8 nuts for speaker mounting Game system (Raspberry Pi, Game Elf, Pandora’s Box, Mini pc, etc) Power supply Wiring (as needed by Game System, speakers, and monitor) Marquee Insert (auction photo shows color laser printed paper) Plexiglass to cover lcd (optional/personal taste) Marquee backlight (optional/personal taste) Light Sandpaper Primer Paint The listing pictures feature our kit unsanded and assembled with items that are not included: wood glue, buttons, custom marquee printed on copier paper, etc. The assembly was easy enough to be completed by one adult arcade enthusiast. The last pic was sent by a customer after they completed their build. If you have any questions, feel free to ask.
15 to 19 Screen 1 or 2 Player Bartop / Tabletop
Learn more