Top products from r/MiceAndMystics
We found 2 product mention on r/MiceAndMystics. We ranked the 1 resulting product by number of redditors who mentioned them. Here are the top 20.
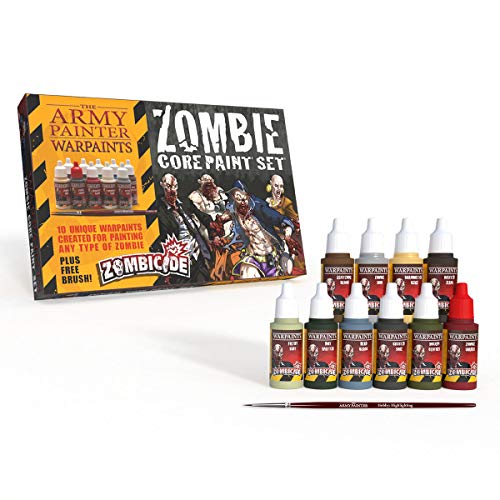
1. The Army Painter Warpaints Starter Paint Set with Free Paintbrush - Zombie Miniature Painting Set, 10 Dropper Bottles of Zombicide Paints for Zombicide Board Games - Zombicide Core Paint Set
Sentiment score: 2
Number of reviews: 1
PAINT ZOMBICIDE MINIATURES FAST AND GET MORE TIME FOR PLAYING — Save hours of painting swarms of zombie with this must-have Zombicide paint set of 10 carefully researched color tones, including the versatile Quickshade Zombie Shader; specially formulated to paint any type of zombies in the modern ...
 Show Reddit reviews
Welcome to the rabbit hole, my friend.
First of all, here's a link to the official Mice and Mystics painting guide which has lots of tips on how to paint the different heroes and enemies as well as various painting techniques.
Second, /r/minipainting is undoubtly the best resource on reddit for aspiring painters. I highly recommend a visit there if you need advice, tips, or just want to be inspired.
Third, if you're a beginner painter, there's basically 5 stages to painting a miniature:
Step 1, Prep and Wash: Using a craft knife or file, remove any mold lines from the miniature. These are long lines that extend over parts of the model where the two parts of the mold came together. You'll want to remove these as they are very noticeable once painted. Next, wash the minis in warm water with some dish soap. If you have an old toothbrush, use that to give them a scrub. This will remove any leftover residue from the molding process that might resist paint.
Step 2, Primer: Despite what the hobby guy said, you really want to prime your models. You can find cans of paint specially designed for miniatures, but a can of Krylon from Walmart works if you're on a budget. For colors, you probably want white or black. Black is easier to work with as you can leave the recesses of the models black without having to worry. White will give an overall brighter model, though. Put the miniatures on a sheet of cardboard (preferably with some white-tack) and take them to a well ventilated area, preferably outside as this can be messy. Give the can a good shake for about 2 minutes, then spray the models in a sweeping motion from about 6-12 inches away. Rotate the models as necessary, but take care not to touch them directly. Leave them to dry for about 24 hours.
Alternatively, there are some brush-on primers available, but I find the spray can is much easier and quicker.
Step 3, Base coat: Now we get to actual painting. If you're new and don't have any paint, I recommend either the Citadel Essentials Starter kit or the Army Painter Zombicide core set. Both sets give you a decent range of paints for not too much money and include a shader (see next step). Now just paint the main features of the models with whatever colors you wish. I used the card art for reference, but feel free to substitute as needed. One thing I cannot stress enough here is to thin your paints. The number one mistake new painters make is using paint straight from the pot and getting a chunky, chalky looking miniature with visible brush lines. To avoid this, scoop out or squeeze out some paint onto a pallet then add a drop or two of water until the paint is roughly the consistency of milk, maybe a bit thicker. Then apply this to the miniature in several coats until the miniature has the coloration you desire. Once done, you could stop here, but there's a very easy next step that will really add a lot of definition to a model.
Step 4, Shading. There are special paints called inks, washes, or shaders (all three basically mean the same thing) that extremely thin. When applied to a model, it will naturally flow into the recess of the model to create some natural highlights. Shaders come in all kinds of colors, but a black or brown applied all over the model is generally fine for a beginner. Apply the shader generously to the model, dry your brush, then wick away any excess with your brush from flat or raised areas. Leave the shader only in recessed areas or areas of high contrast. You'll wonder if you haven't ruined your miniature when doing this step, but the leap of faith will really pay off when the shader brings out all kinds of details in the model.
Step 5, Highlights and finishing touches: This last step is entirely optional, but can add some more detail to the miniature. Highlighting involves re-painting over the raised areas of the miniature with either the base color or a slightly brightened version of it. This adds more depth to the model and there are several different techniques that can accomplish it (see the M&M painting guide for examples). You can also do some special things here like re-basing the model onto a clear base or special base to give it more pop. You could also add some flocking (fake terrain) to the model's base to give it more detail. Whatever you do (or don't do), you'll want to finish the model with a spray of matte varnish, like Testor's Dull coat, to preserve your paint job from any wear and tear.
All of these steps and more are presented in Sorasto's videos, which are a great way to learn more about painting. This video in particular is extremely helpful to familiarize yourself with the basic steps outlined above, even though the miniatures are from another game. I highly recommend giving it a watch before starting your first model.