(Part 2) Top products from r/cosplayers
We found 20 product mentions on r/cosplayers. We ranked the 191 resulting products by number of redditors who mentioned them. Here are the products ranked 21-40. You can also go back to the previous section.
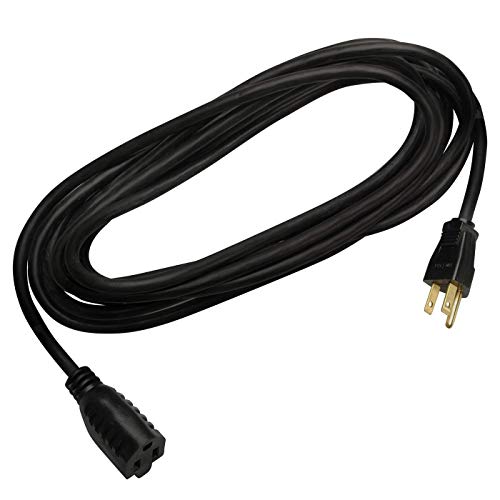
21. Coleman Cable 023068808 16/3 Vinyl Outdoor Extension Cord, 15-Foot, Black
Sentiment score: 0
Number of reviews: 1
Resist moisture, abrasion and exposure to sunlightSuitable for outdoor useBuilt with molded water resistant bladesWire is 16-gauge with 3 conductorsKeep one in your car, garage, office and kitchenTotal Power Outlets : 1
 Show Reddit reviews
22. Dritz 222 STITCH WITCHERY FUSIBLE BONDING WEB WHITE REG WGHT 20YD, 5/8-Inch X 20-Yards
Sentiment score: 1
Number of reviews: 1
A fusible web that bonds two layers of fabric together when activated by a steam ironGreat for quick fixes and easy no-sew projectsFor use with white or light colored regular weight fabricsWashable and Dry CleanableThis package contains 5/8-Inch x 20-Yards of regular weight Stitch Witchery in white
 Show Reddit reviews
24. Dreambound, Vol. 1: The Survivor (Volume 1)
Sentiment score: 0
Number of reviews: 1
 Show Reddit reviews
25. Vogue Sewing, Revised and Updated
Sentiment score: 1
Number of reviews: 1
Used Book in Good Condition
 Show Reddit reviews
26. Stanley 21-296 Surform Plane, Regular Cut Blade
Sentiment score: -1
Number of reviews: 1
Stanley - Black & DeckerManufactured with a metallic-gray, die-cast alloy bodyHigh-impact polymer handle holds up to heavy useFitted with a replaceable (10"/250mm) bladeLimited Lifetime WarrantyResilient enough to be used on materials that would dull a traditional bench plane bladeManufactured with ...
 Show Reddit reviews
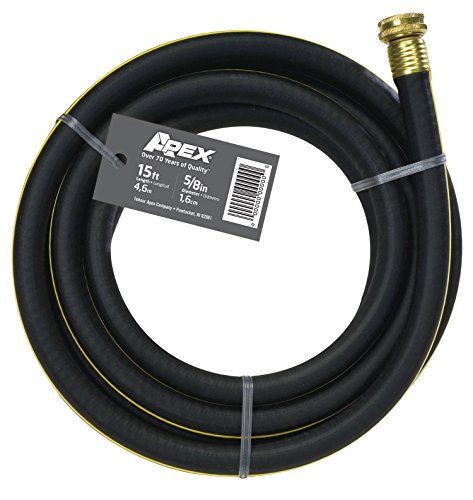
27. Apex, REM-15, Connector Hose, 5/8-inch by 15-feet ,(Colors may vary)
Sentiment score: 0
Number of reviews: 1
Apex REM 15 is a 3-ply hose remnant for light-duty gardening needsMade of reinforced materialsIncludes standard brass couplingsMade in USA; measures 15-feet by 5/8 inchesThis hose is not intended for drinking water use. Colors may vary
 Show Reddit reviews
28. Swissmar Borner V-1001 V-Slicer Plus Mandoline 5 Piece Set
Sentiment score: 1
Number of reviews: 1
Swissmar is the official distributor of Borner product in North AmericaIncludes 7mm blade, 3.5mm blade, and thick/thin reversible slicing blade; slice different thicknesses, julienne, or shredMade in Germany, surgical-grade stainless-steel blades are incredibly sharp and snap in and out of base with...
 Show Reddit reviews
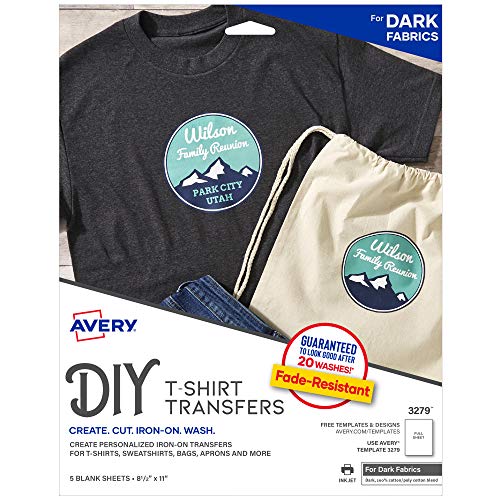
29. Avery 3279 Printable Heat Fabric Transfer Paper for DIY Projects on Dark Fabrics -- Make Custom Bandanas, Pack of 5
Sentiment score: 1
Number of reviews: 1
Use transfer paper to create custom t-shirts, bags, sweatshirts, hats, face masks, and more - all you need is a computer, an inkjet printer, and a household ironLet them see the face under the mask - print a picture of your smiling face and apply to your scrubs or uniform; all you need is a computer...
 Show Reddit reviews
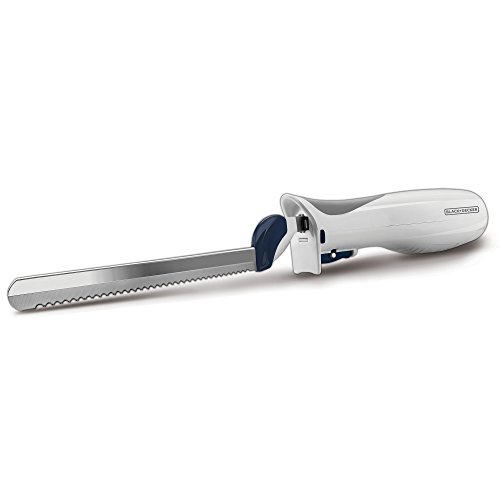
30. Black & Decker EK 700 Slice Right Electric Knife
Sentiment score: 1
Number of reviews: 1
9” Offset Serrated Blades - The stainless steel blades saw rapidly and evenly through meats, breads, craft foam and more! 7 ½” of the blades are serrated with an additional 1 ½” tang before the plastic allow for up to 9” of carvingComfort Grip Handle - The ergonomic handle is engineered to...
 Show Reddit reviews
31. Clyxgs Water Cooling Radiator, 8 Pipe Aluminum Heat Exchanger Radiator with Fan for PC CPU Computer Water Cool System DC12V 80mm
Sentiment score: 1
Number of reviews: 1
✅ Product Name: Water Cooling Radiator; Size: 105 x 80 x 37 mm / 4.1'' x 3.1'' x 1.5''(L*W*H).✅ Made of pure aluminum fins with good heat dissipation.✅ Using the black oxidation paint to increase the thermal efficiency.✅ High speed fan configuration, 12V safe voltage with high security stand...
 Show Reddit reviews
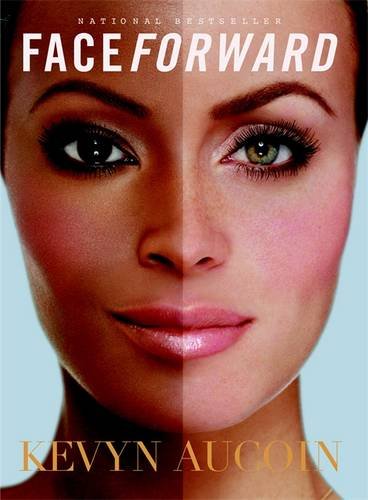
32. Face Forward
Sentiment score: 1
Number of reviews: 1
Features A-list celebrities undergoing incredible transformationsTeaches you how to create a runway-ready lookStep-by-step instructions accompany each photoTakes the mystery out of makeupAllows you to learn from one of the most sought after makeup artists
 Show Reddit reviews
33. Bondo Glazing and Spot Putty, Fills Pinholes, Scratches, Minor Dings & Hairline Cracks, 4.5 oz, 1 Tube
Sentiment score: 0
Number of reviews: 1
Versatile formula repairs scratches, pinholes, holes and nickCan be used on paint and primerOne-part application requires no mixingFast drying – sandable in 30 minutesNon-staining to help ensure a consistent paint finishUse during the Fill stage of the 3M Body Repair System
 Show Reddit reviews
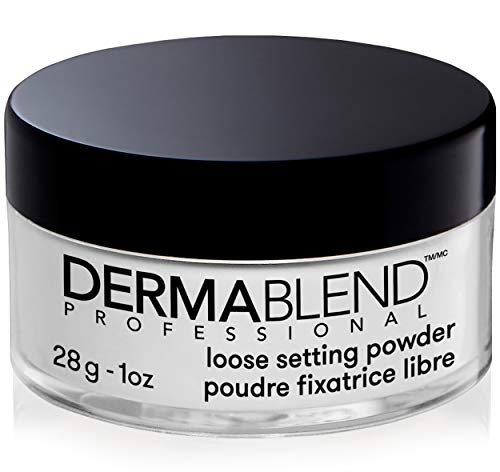
34. Dermablend Loose Setting Powder, Translucent Powder for Face Makeup, Mattifying Finish and Shine Control, 1oz
Sentiment score: 1
Number of reviews: 1
makeup powderloose setting powdertransulcent powder
 Show Reddit reviews
35. Pico 81223J 22 AWG Black Primary Wire 50' per Package
Sentiment score: 0
Number of reviews: 1
Single Conductor Copper StrandedPolyvinyl Chloride InsulationFlexible, Permanent Color & High Abrasion ResistanceMeets SAE Type J1128 Specifications?perating Temperatures of -40°F to 165°F
 Show Reddit reviews
36. Kiwi Scuff Cover Black, 2.4 oz
Sentiment score: 0
Number of reviews: 1
2.4 oz.Self shining shoe polishWater resistantSponge applicator
 Show Reddit reviews
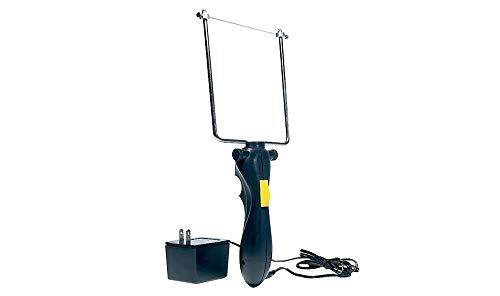
37. Woodland Scenincs - Hot Wire Foam Cutter - 9VAC
Sentiment score: 0
Number of reviews: 1
NO TOXIC FUMES - The hot wire foam cutter provides a revolutionary technique of preventing fumes from being emitted as the foam is cut.NO EXPERIENCE NEEDED - There are no complicated calculations to make, no expensive power tools to buy and no dusty mess to clean up.NO MESS - Leaves no mess for you ...
 Show Reddit reviews
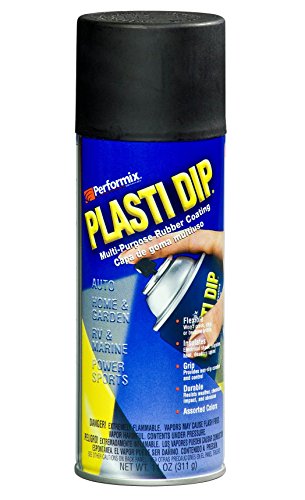
38. Performix 11203 Plasti Dip Black Multi-Purpose Rubber Coating Aerosol - 11 oz.
Sentiment score: 1
Number of reviews: 1
Protects coated items against moisture, acids and corrosionProvides a non-slip, comfortable and controlled gripRemains flexible, stretchy and will not crack or become brittle in extreme weather conditionsProvides protection against electrical shock, vibration, heat and deadens soundEasy to remove fr...
 Show Reddit reviews
39. Clarks Originals Men's Wallabee Oxford, Sand Suede, 9.5 M
Sentiment score: 1
Number of reviews: 1
This Clarks® 1965 footwear classic has been updated with some unique and fashionable stylingProgressive moccasin design on a nature-formed last to create the worldÆs first comfort shoeNature-formed last allows for a natural toe spread with a leather sockliner to keep feet comfortable and dryGen...
 Show Reddit reviews
40. Stanley 10-425 25mm DynaGrip Snap-Off Knife
Sentiment score: 1
Number of reviews: 1
25mm / 1" snap-off blades adds durability, resist accidental snappingThumb-dial blade release makes blade change easyEight-segment blade has eight sharp tipsRubber DynaGrip panels for secure, comfortable grip. Yellow ABS plastic body is highly visibleLimited Lifetime Warranty25mm / 1" snap-off blade...
 Show Reddit reviews
So I scale my makeup up or down depending on my character. A more rough and tumble type guy obviously doesn't get as much as a bishonen or female. Remember to always start your makeup routine with a freshly washed face and an application of moisturizer appropriate for your skin type.
1st let's briefly cover the "why" for those unaware of the benefits. Sorry OP if you find this patronizing. Skip ahead to the next paragraph if you already know why makeup is suggested for guys in cosplay. In your costume, I'm sure you want to make a good impression in the hall and in pictures. Makeup will help with this because it will:
All these factors means the makeup type, amount, and technique required is pretty variable from person to person, costume to costume, even convention to convention.
-----
I would say that bare minimum is a matte loose powder (I use Maybelline Shine Free) and a brown eye liner (any basic pencil that glides on works but I use Sonia Kashuk gel liner). Make sure these are applied to a clean, moisturized face. These 2 products will take care of the top two bullet points above. Powder will knock down the shine and allow you to control it as it pops up during the day. Brown eye liner will bring out your eyes without being as dramatic and obvious as black eyeliner. The eyeliner can also double as a brow pencil but I use a brow specific pencil most of the time for natural colors.
Suggested tools for these products? The loose powder will come with a puff that you can use to apply. I would suggest a Fan Brush or Powder Brush to knock off any extra powder that gets deposited. For the pencil, you should only need a sharpener; some even come with one. I just have a cheap 2-hole metal sharpener I picked up at an art store. If you want to use the pencil on your eyebrow, a spoolie brush will help even out the distribution of product. If you chose the gel liner, it will probably come with a 3-inch long angled detail brush. It works but I found the bristles very stiff and the handle too short to get my hand out of the way so I can see what I'm doing in the mirror. I picked up a longer handled synthetic fiber angle brush to replace it and have been quite happy. Only other tool I can suggest is cotton swabs to slightly smudge the edges of your eyeliner to make it more natural looking.
Before I get too far, an important concept for you starting out is that you want products that have a matte finish. If they don't, you'll get flash reflection in pictures with and look lighter (you know when you see to pictures of women where their face looks 4 shades lighter than their neck and body, that's flash reflecting back at the camera). Shiny/reflective properties in make up is not always apparent when buying or even applying. Steer clear of products with names like luminous, dewy, illuminating, radiant, or brightening. Other words that are tricky descriptors but more of a crap shoot are color correcting or satin, maybe some others that I can't think of right now. Powders, both loose and pressed, are notoriously tricky about this. Eyeshadow is very difficult to find in matte.
-----
The next step up from bare minimum is concealer and foundation to provide coverage and color correction. If you just have a few blemishes you want to cover, a simple combination of concealer on those few spots and powder may be all you want or need. If your powder has a bit of color as the one I linked above does, it will even provide a bit of coverage. There are multiple types of foundation and many hybrids in-between and will probably take a few tries to find the one you like in terms of coverage, color, weight, and finish which all tend to be quite variable, even within brands. In order of less coverage to more we have powder foundation, powder to liquid, liquid, and cream. I really like liquid because it tends to be buildable, that is; you can put on a layer, let it set and dry, then add another layer if you need more coverage. While I use primarily budget or drugstore bands for my makeup, I to get spendy with my foundation and don't regret it one bit. I use MAC Studio Fix and will likely buy more when I run out. I have a couple of different shades that I use to change my complexion to go with blonde wigs. I'm naturally black haired so blonde, white, or pink takes some work. It will take some playing around to figure out what you need for a specific costume but I use the loose powder in light and medium to help me adjust lighter or darker from the two shades of foundation I have. Beard shadow also falls into color correction. Most beard shadow is bluish in tone. Reach back to your middle school art class color theory and remember that orange is blue's complementary color. For our use, putting one on top of the other has a cancelling effect. I sparingly use a matte orange lipstick like NYX butter in Hot Tamale before I put on my foundation in areas where the shadow is really bad. I much prefer taking down beard shadow with a close shave but that's because my beard shadow isn't that bad and my double-edge razor gets much closer than an expensive ass 5-blade monster.
Tools for foundation and concealer. I dot on the foundation with my fingers and spread with a foundation brush. The brush can leave streaks so a blender sponge can help diminish them. Just pounce up and down with light pressure before it sets. Don't press and drag. Your powder application will take care of the rest. Do not apply your liquid foundation with a sponge unless you want to waste foundation. It's a sponge. You'll end up with more foundation in the sponge than on your face. If you buy your concealer in a stick, it's probably all you need but mine is in a pot and I like applying it with a synthetic bristle brush for exactness and blending out the edges. I have a lot of moles on my nose and this helps me get it on each and every one.
-----
So here we are at contouring. You'll probably notice foundation with medium to high coverage really takes some of the depth out of your face. It looks a little weird but can be easily corrected with a matte bronzer or dark concealer to add in shadows. Use the bronzer or concealer to add re-emphasize shadows in the hollows of your cheeks, under your jawline, under your brow bone, etc. Start with your own face shape and then expand your horizons. You are essentially forcing the perception of shadows and depth. Play around with locations, shapes, angles to match your character. Your character have a round face while you have a long rectangular one? Try adding shadow at your hairline and peak of your chin to shorten your face. Get a very light concealer and you can do even more by forcing the appearance of highlights and bringing things forward. This is a good pallet for detail contouring and eyeshadow when you're ready to try that. The eye shadows can be used anywhere on your face for contouring.
Tools: For bronzer, an angled blush brush will get you some nice blend patterns and lines. Cream concealers go on nicely with a synthetic brush or cheap wedge sponges. All said and done, I suggest getting one of the brush kits from Coastal Scents, ELF, or Sonia Kushak. /r/Makeupaddiction tends to like the budget Eco Tools as well.
-----
My typical order:
-----
Some resources:
Goss
Petrilude
Kevyn Aucoin Face Forward
Whew, I think this is my longest post ever. Hopefully it says what I think it does as I wrote it off and on through out the day and am to tired to proof it.
EDIT: thought I should also specify that I'm a guy cosplayer and regularly use makeup in cosplay. This info is what I've collected through my 7 years of cosplay.
For the space helmet:
> For most costumes involving dome helmets, measure how large your head is and try to consider how large you would like your helmet to sit. Typically, you’re going to want something 14-18 inches in diameter.
> Here are 3 spheres you can purchase off of amazon [(1) (2) (3)], all are large enough for helmets and have pre-cut openings, although you can always make them larger if you need them to.
Make sure you add holes so you can breathe! This is super important!
> Here is a tutorial for a Captain Olimar (from Pikmin) cosplay which guides you through adding holes, adding neck support, and any other backing or details you want to add to it.
From source
Edit for the glasses:
Here is a tutorial showing how to use transparent vinyl to make custom costume glasses. I'd just use round lenses, which you can get for cheap at Value Village, ebay, etc. Alternatively you could use a method like this and create the cat-eye shape by painting the lenses, rather than using cut-out vinyl shapes.
Here is a tutorial for making cosplay goggles, rather than glasses.
There are a lot of cat-eye shaped frames available on ebay and Amazon, too.
About the jacket... if you're modifying a karate gi, can't you cut the excess in a way that gives you a collar like the one you need? Maybe find a tailor to help you out with that. And the logo is as easy as getting you're hands on some iron transfer paper and printing the logo you want.
For the googles, since the character doesn't actually wear them, might as well get a generic plastic headband and construct them with some red foam and yellow clear plastic.
As for the bandages, any white fabric that doesn't frill in the edges will do, but make sure to dye the edges in light gray with markers so you see a clear definition between one and another.
EDIT: Oh, and about the hair, definitely get the right wig. Cosplays look a 1000 times better with one.
I've tried an electric knife, but that didn't have the control I'd hoped, although it was fast. With more patience, you might have better luck than me. Also, don't buy the one I linked, instead find one at a thrift store.
I tried to build a hot-wire cutter from toaster parts, but it didn't get hot enough, so I gave up on it.
In the end, I ended up just free-hand sanding and cutting away the foam. In other words, I'd spring for a second ball. :( Check your local Dollar Store. They have a small selection of foam, and while their spheres are probably too small, it does end up being a good place to get a 4" cube
One last hint: A mandolin slicer is really good for taking thin slices off a foam sphere. I used it to flatten the backs of eyeballs, and it worked really well.
one of my friends used clear coat to make it more shiny but I just used plastidip and then the color that I wanted and it worked pretty well
here is an amazon link to stuff we used it comes in different colors as well.
He usually has on a pair of Clarks, which are pretty expensive, maybe you can find a knock off?
and definitely the khakis...
or if you can't sew there is iron on tape I've had good luck with for cosplay http://www.amazon.com/Dritz-222-20-Yard-Witchery-Regular/dp/B0001DSIHI/ref=pd_sim_sbs_a_5?ie=UTF8&refRID=0DVWJ5QX57V1F93DVFF0
-use a snap off knife
-invest in a dremel
-use rough then fine grit sandpaper if no dremel
-seal with woodglue or modpodge
-you can also seal with plastidip if you like
-paint with any sort of paint you like: krylon for plastic or acrylic are my top choices
You can get most/all of the above at walmart, harbor freight, or a hardware store
Yes the water is heavy, a pint is a pound the world around. I don't think I will notice it that much, much of the fluid will be distributed in the tubing, and Its just a vest for now.
The coolers and radiators I am looking at aren't much in weight either. radiator I was going to just take a pump one of these and possibly a replaceable ice water reservoir. but I saw this. Peltier Cooler.
As for the battery, I believe the peliter requires a 12v battery. You are correct it is a power hog, however according to this video tutorial I can rig an arduino, temp probe, and relay to shut off the peltier when the liquid is cool enough.
So something like this: http://www.amazon.com/NYX-Cosmetics-Studio-Finishing-Translucent/dp/B009GLQG6Q/ref=sr_1_4?ie=UTF8&qid=1414481814&sr=8-4&keywords=makeup+setting+powder
Or this:http://www.amazon.com/Dermablend-Loose-Setting-Powder-Original/dp/B0002RI2PG/ref=sr_1_2?ie=UTF8&qid=1414481888&sr=8-2&keywords=makeup+setting+powder
And should I use a light coat of it before I apply the latex?
Yes it is Arkham HQ. Shoe cream is old fashioned polish. This is what I used https://www.amazon.com/dp/B00066J09A/ref=cm_sw_r_awd_Hsk.tb1EM20XQ
If you need to go purple you should first use white scuff cover to lighten the shoe. Remember to seal your shoes with a rain and stain protective spray before wearing them too.
OK SO two critical things cutting foam.
For the tubing? I was just figuring some typical hose/tubing:
a b c d e f
or electrical wiring for thinner frames:
a b c d e f
http://www.amazon.com/Dreambound-Vol-1-Survivor/dp/1500265268/
Da-dan!