(Part 2) Top products from r/bleachshirts
We found 21 product mentions on r/bleachshirts. We ranked the 66 resulting products by number of redditors who mentioned them. Here are the products ranked 21-40. You can also go back to the previous section.
21. Grafix Clear .003 Dura-Lar Film, 9-Inch by 12-Inch, 25 Sheets
Sentiment score: 1
Number of reviews: 1
Acid free and archivalHigh heat and tear resistantAvailable in rolls and padsAvailable in Clear, Matte, Wet Media or MetallizedAvailable in a wide range of thicknesses
 Show Reddit reviews
22. Grafix GRP-P05CV1114 Lay Clear Plastic Film 25 Sheet Pad, 11" x 14" x .005"
Sentiment score: 1
Number of reviews: 1
Designed for overlays, stencils and protective coverings25 sheet packContains no plasticizers and is acid free
 Show Reddit reviews
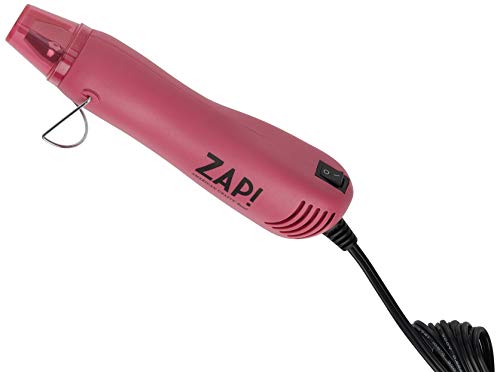
23. American Crafts Zap Embossing Heat Gun
Sentiment score: 1
Number of reviews: 1
Effective for Applying Directional Heat to any craft project.Simply Apply Embossing Ink to Paper using a Stamp or Marker, sprinkle with embossing power, gently remove excess powder, apply heat!Built in Stand for Easy Table Top Use and Storage
 Show Reddit reviews
24. 3M Hi-Tack 76 Spray Adhesive, Clear, 18.1-Ounce
Sentiment score: 0
Number of reviews: 1
High-tack spray adhesive creates strong bondsFast-tacking adhesive bonds quicklyVariable-width lace spray pattern minimizes waste and oversprayLow-misting property allows for precise spray control
 Show Reddit reviews
25. Avery 8-Tab Plastic Binder Dividers, Insertable Multicolor Big Tabs, 1 Set (11901)
Sentiment score: 0
Number of reviews: 1
Sturdy tab dividers made of extra durable, tear-resistant plastic for use with 3-ring binderBig Tabs are easy to see and provide 50% more writing space than standard divider tabsTab inserts won’t fall out; special tab design keeps inserts secure and easy to accessEasy to customize and format with ...
 Show Reddit reviews
26. Avery Sticker Project Paper, White, 8.5 x 11 Inches, Pack of 15 (03383)
Sentiment score: 0
Number of reviews: 1
Perfect for school and craft projects card making and decorationsStickers are repositionable so that you can adjust placement as neededAcid-free and lignin-free stickers are safe to use with photosRemovable adhesive works best with glass paper and plastic surfacesCustomize with free templates and de...
 Show Reddit reviews
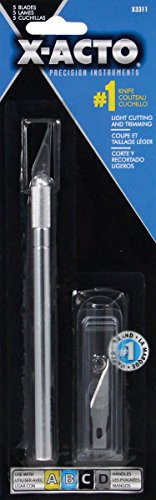
27. Xacto X3311 N0. 1 Precision Knife With 5 No. 11 Blades, #1 Knife
Sentiment score: 1
Number of reviews: 1
Great for delicate, precision cutting, trimming, and strippingCuts paper, plastic, balsa, thin metal, cloth, film and acetateComes with a lightweight handleIncludes No 11 Classic Fine Point BladeThis is an aftermarket of generic partGreat for delicate, precision cutting, trimming, and strippingCuts ...
 Show Reddit reviews
28. Clorox Bleach Pen? 04690
Sentiment score: 0
Number of reviews: 1
Handy precision stain fighter penIncludes a narrow point for precise application and a broad tip for larger stainsRemoves tough stains like mold and mildew, coffee, tea, berry juice and red wine
 Show Reddit reviews
29. Laser Transparency Computer Graphics Film, Clear, 8 1/2 x 11, 50/Box
Sentiment score: 0
Number of reviews: 1
Color(s): ClearHeight [Nom]: 11 inPost-Consumer Recycled Content Percent [Nom]: 0 %Pre-Consumer Recycled Content Percent [Nom]: 0 %Quantity [Nom]: 100 per box
 Show Reddit reviews
30. Jerzees Adult Heavyweight T-Shirt, Forest Green, Large
Sentiment score: 0
Number of reviews: 1
Preshrunk 100% cotton jerseySeamless body with set-in sleeves.1x1 seamless ribbed-knit crewneck collar.Double-needle coverstitched neck.Shoulder-to-shoulder taping.
 Show Reddit reviews
31. Reynolds Wrap Freezer Paper 18" Boxed
Sentiment score: 1
Number of reviews: 1
Water resistant. Not for cooking foods.Roll Length: 100 in.Roll Width: 18 in.Material: Plastic
 Show Reddit reviews
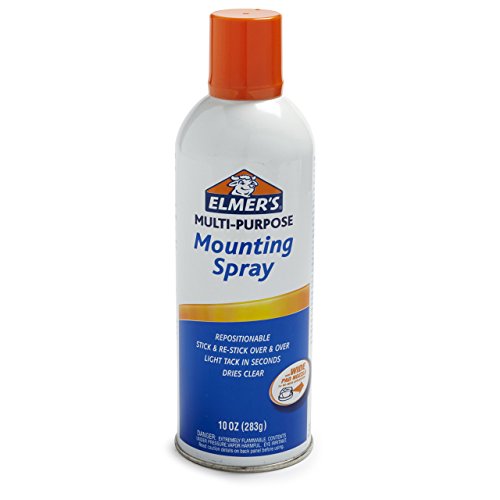
32. ELMERS Repositionable Mounting Spray Adhesive, 10 Oz, Clear (E454)
Sentiment score: 0
Number of reviews: 1
Spray mounting adhesiveRepositionableWide coverageForms a light tack in seconds.This is an aftermarket of generic partUse on light tissue, wood projects, newsprint, foils and acetates
 Show Reddit reviews
33. X-ACTO #4 Stencil Knife Set (X5204)
Sentiment score: 1
Number of reviews: 1
For delicate, precision cutting of stencilsEasily cuts frisket, film, and stencil sheetsAlso use as a lifterIncludes #4 Stencil Blade
Show Reddit reviews34. BLACK+DECKER Steam Iron with Pivoting Cord, Nonstick Soleplate, Blue, F210
Sentiment score: 1
Number of reviews: 1
Variable Steam and Temperature - Independent controls let you customize steam and temperature settings to get the best results every timeNonstick Soleplate - The durable nonstick soleplate glides easily over all fabric types, taking care of wrinkles big and smallSpray Mist Button - The push-button m...
 Show Reddit reviews
35. Fantasea Fine Mist Spray Bottle, 2.5 Ounce
Sentiment score: 1
Number of reviews: 1
Fantasea fine mist spray bottle It sprays a fine mista convenient portable size
 Show Reddit reviews
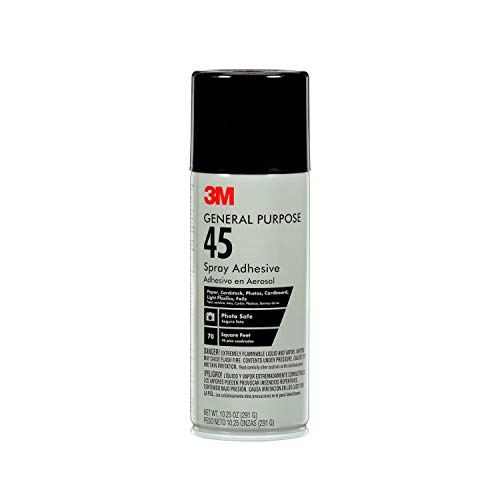
36. 3M General Purpose 45 Spray Adhesive, 10-1/4-Ounce, White
Sentiment score: 1
Number of reviews: 1
Packaging May Vary (Size may reflect on the item as "10.25/10.2 Ounce"), however both size are for same product just package updatedEFFECTIVE adhesive provides a secure bond in 30 seconds to 15 minutesIDEAL FOR LIGHT-DUTY MATERIAL S including paper, fabric, felt, lightweight wood, cork, flexible foa...
 Show Reddit reviews
37. TULIP Soft Fabric Paint Kits - 4pk Primary
Sentiment score: 0
Number of reviews: 1
Great for use on fabric of all colorsColors are mixable and can be watered down to create watercolor effectsEach package contains four 1oz bottles of complementary colors of paintFind inspiration and techniques at ilovetocreate.com
 Show Reddit reviews
38. Speedball Fabric Screen Printing Ink, 8-Ounce, Black
Sentiment score: 0
Number of reviews: 1
EXCELLENT WORKING PROPERTIES - Offers artists vibrant colors, great coverage, and consistent workability every timeUSE ON FABRIC, PAPER OR CARDBOARD - Ideal for printing on a range of fabrics, including cotton, polyester, blends, linen, rayon, and other synthetics. Also works great on paper and card...
 Show Reddit reviews
39. Gildan mens DryBlend 5.6 oz. 50/50 T-Shirt(G800)-NAVY-XL
Sentiment score: 0
Number of reviews: 1
Seamless double-needle 7/8 Inch collarTaped neck and shouldersHeat transfer labelDouble-needle sleeve and bottom hemsQuarter-turned to eliminate center crease; Dryblend technology delivers moisture-wicking properties; Sizes: S - 5X
 Show Reddit reviews
Sure.
First, to give credit where it's due, the stencil's were not my originals, they can be found with a google image search. Thanks to MaliceMurder at deviantart for the figure stencil. I don't know the source on the text stencil, but thank to you too, whoever you are. I made a few changes to the stencils and then used PosteRazor to scale it up and print on multiple pages. PosteRazor is a really useful utility that's mentioned in one of the tutorials here on /r/bleachshirts. It breaks up an image into multiple pages that can be printed out and attached. It's great for large stencils.
I used Reynolds Freezer Paper for the templates. This stuff provides a really good bond to the shirt. It's not the same as wax paper. Freezer paper has one side with wax on it and just paper on the other side. Wax paper has wax on both sides, ironing wax paper will also melt the wax on the top and will stick to the iron, often pulling the stencil back up. I just wanted to emphasize that as it caused me some problems as I was learning the process.
The first layer was an outline of the entire stencil, with no inner details at all. Basically, just an Alice shaped hole in the freezer paper. I used a 50/50 bleach/water mix and sprayed from about 8 inches up in a fine mist to try and keep it even. I let it get to a middle level of color and then rinsed, washed and dried the shirt.
The second layer was all the lighter parts, the inner part of the dress, her skin, the knife and the buckles on the boots. Her mouth, pockets, and necklace were floaters, the necklace didn't have to be, but was easier to get in place as a separate piece. When lining up the second stencil I used the top of the dress at her neck and the sides of her arms to get it in place. Those were the parts that exactly overlapped the edges of the first layer. I cut the section with the buckles away and attached that piece separately. Last, I put in the floaters by hand and ironed those down. I bleached the second layer in the same way as the first, but then I used a hair dryer to heat it up some as it was bleaching and increase the reaction. Once it was as light as I wanted I rinsed, washed and dried it again.
The back text section was last. I used a single layer stencil on that with the same procedure as above. For the text (and some of the curves in the first two stencils) I mostly used a swivel knife. The blade moves in the head of the knife and is really useful for curved lines. It takes a little getting used to, but it flows better around curves than a normal x-acto.
I think that's about it. Hope it helps.
Oh sweet, that's a great substitute! This seems like a pretty good deal.
You can get an iron for around $10. Freezer Paper is around $8. Your shirts will come out much better using the proper tools. Good luck!
X-acto swivel knife for circles and the like:
http://www.amazon.com/X-ACTO-X3253-Designer-Series-Swivel/dp/B001KZH27I/ref=sr_1_2?ie=UTF8&qid=1342356227&sr=8-2&keywords=x+acto+swivel
X-acto swivel knife refills:
http://www.amazon.com/X-ACTO-X253-Designer-Series-Replacement/dp/B001KZH27S/ref=sr_1_1?ie=UTF8&qid=1342356227&sr=8-1&keywords=x+acto+swivel
X-acto straight blade with refills:
http://www.amazon.com/Xacto-X3311-Precision-Knife-Blades/dp/B0000DD1N4/ref=sr_1_5?ie=UTF8&qid=1342356200&sr=8-5&keywords=x+acto
Those are the blades I started with, and they work great for me.
I think this image might help with visualising it The accordian fold technique is on the top left.
With the bucket water I dip the shirts into I think it's about 10% bleach. In the spray bottle I think it's between 40%-60% bleach. However, since I've already presoaked the fabirc very briefly in diluted water I've gotten away with spraying straight up bleach onto the shirts with no detrimental effect.
I also have one of these: http://www.amazon.com/American-Crafts-Zap-Embossing-Heat/dp/B002TM68OE
It's awesome to be able to control the effect of the bleach without having to wait around for it to to it's business for ages.
I use a X-acto #4 stencil knife. I like it because its smaller and has a nice clean turn radius.
Amazon
yeah that's definitely what I use now though I know it's hard for some people to find. Especially good for thin lines!
edit: I get mine from here now
Maybe this? Seems super convenient that you could just print your image right on it and you're ready to go without tracing, but more expensive than a roll of freezer paper, and smaller.
I've had some success with using plastic dividers like this glued down. Can't iron them but can be reused.
Im using : This (Europe) Or This(America). It works really well for me.
I bought the shirt from Amazon:
Gildan Adult 5.6 oz 50/50 Short Sleeve T-Shirt in Navy - X-Large https://www.amazon.com/dp/B0014BZYSM/ref=cm_sw_r_cp_awd_r-uIwbJZV4XP4
i used Elmers brand paint markers like these. I got mine at walmart. they sell medium and fine point and there are several color packs. I use the regular Tulip Soft Fabric Paint for most of the stencil stuff though. I just wasn't quite good enough to paint the detailed lines for the GOT shirt with a paintbrush.
This one.
http://www.amazon.com/Clorox-Bleach-Pen-Gel-56/dp/B00027C8N8
I just use wax paper and repositionable adhesive like this.
This is what I use. It will last a while if you are only doing one here and there...
here ya go