(Part 2) Top products from r/SwitchHaxing
We found 21 product mentions on r/SwitchHaxing. We ranked the 49 resulting products by number of redditors who mentioned them. Here are the products ranked 21-40. You can also go back to the previous section.
21. KOOKYE 3PCS Black Pro Micro Board ATmega32U4 5V/16MHz Module Board with 2 Row Pin Header for Arduino Leonardo Replace ATmega328 Arduino Pro Mini Black
Sentiment score: 0
Number of reviews: 1
The Pro Micro is based on the ATmega32U4 microcontroller featuring a built-in USB which makes the Micro recognisable as a mouse or keyboard,it running at 5V/16MHz and the maximum voltage allowed on the RAW pin is 9V, 6-7V input recommended.There are 4 channels of 10-bit ADC, 5 PWM pins, 12 DIOs as w...
 Show Reddit reviews
22. Exlene Wireless Gamecube Controller Switch, Compatible with Nintendo Switch and PC, Rechargeable, Motion Controls, Rumble, Turbo (Black)
Sentiment score: 0
Number of reviews: 1
√Work with Nintendo Switch and PC. Please remember to download software like" joystick mapper" when you play it on your Macs. (can't be used for game cube system)√Works on all Nintendo switch games,perfect for Super smash Bros: It can replace Nintendo Switch Pro Controller to play games. Motion ...
 Show Reddit reviews
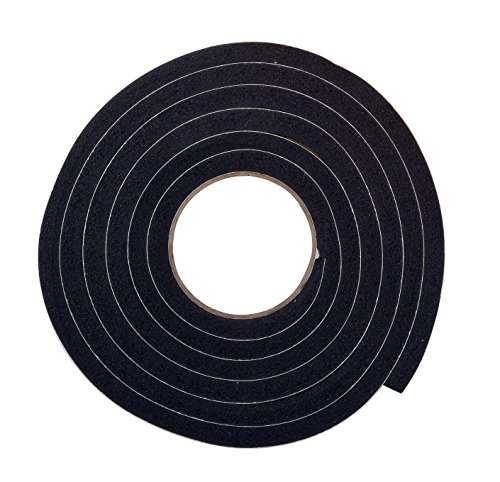
23. Frost King R738H Self-Stick Foam Rubber Foal Weatherseal, 3/8" W, 7/16" T, 10 ft L, Black
Sentiment score: 0
Number of reviews: 1
Item Weight: 0.2 lbCountry of Origin: ChinaColor: BlackBrand name: ThermwellItem Width: 0.39 InchesIncluded Components: GlueMasking-TapeIncluded Components: Glue , Masking-Tape
 Show Reddit reviews
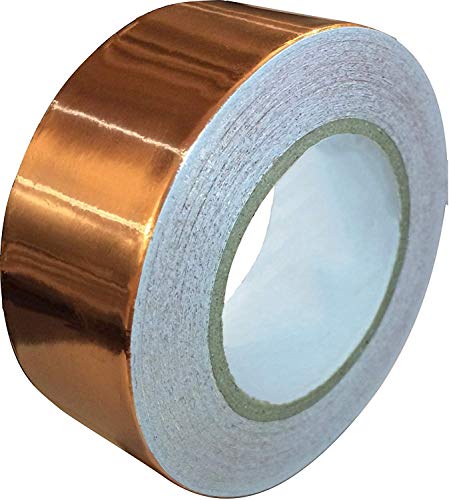
24. Copper Foil Tape with Conductive Adhesive (1inch X 12yards) - EMI Shielding, Stained Glass, Paper Circuits, Electrical Repairs, Soldering - Extra Long Value Pack at A Great Price
Sentiment score: 0
Number of reviews: 1
𝐒𝐀𝐘 𝐆𝐎𝐎𝐃𝐁𝐘𝐄 𝐓𝐎 𝐄𝐌𝐈 𝐀𝐍𝐃 𝐑𝐅𝐈 - Quickly protect your devices from electromagnetic and radio-frequency interference. From buzzing guitars to computer cables, Kraftex copper tape offers a quick and simple solution. The adhesive is strong, fle...
 Show Reddit reviews
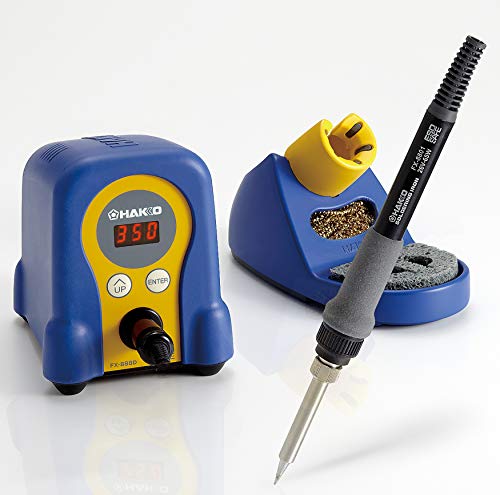
25. Hakko FX888D-23BY Digital Soldering Station FX-888D FX-888 (blue & yellow)
Sentiment score: 1
Number of reviews: 1
 Show Reddit reviews
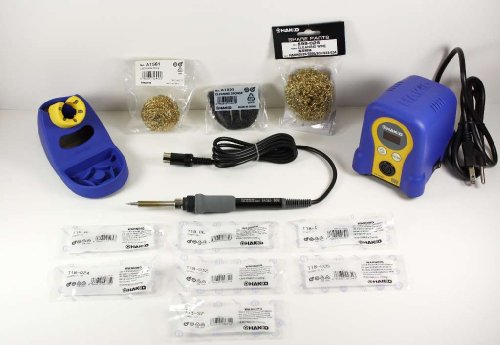
26. Hakko FX888D,T18-B,BL,I,D24,D32,C05,S7,599-029 Soldering Station with T18-B/BL/I/D24/D32/C05/S7/599-029
Sentiment score: 0
Number of reviews: 1
Digital Soldering Station ESD Safe version with 7 extra tips - T18-B/BL/I/D24/D32/C05/S7/599-029 tipsFX-888D KIT version with 7 extra tips - T18-B/BL/I/D24/D32/C05/S7/599-029 tips ( 8 total with the iron )Adjustable temperature controlTemperature range 120° - 899° f (50° - 480° c)Digital display...
 Show Reddit reviews
27. uxcell P/N B-30-1000 200M 30AWG 8-Wire Colored Insulation Test Wrapping Cable
Sentiment score: 0
Number of reviews: 1
Product Name : Wrapping Wire;Model : P/N B-30-1000 UL1423;Type : 30AWGWire Size : 0.5 x 0.25mm / 0.02" x 0.01"(OD*Core Dia.);Cable Length(Approx.) : 200Meter / 656FtTemperature Rating : 180 °C;Reel Size : 7 x 3.3cm/ 2.76" x 1.3"(D*H)Material : Plastic, PVC, Tin Plated Copper;External Color : Mult...
 Show Reddit reviews
28. Black USB 3.0 Female to Dual USB Male Extra Power Data Y Extension Cable for 2.5" Mobile Hard Disk CableCC
Sentiment score: 1
Number of reviews: 1
Two USB male connector,One is for USB 3.0 power and data, another one for USB 2.0 power only.Does one USB port not supply enough power for your USB device? Our Sync USB 3.0 Power Adapter Y cable for your is the solution. Our cable allows for power to be taken from 2 USB ports, like a PC and External...
 Show Reddit reviews
29. OSOYOO Pro Micro ATmega32U4 5V/16MHz Module Board with 2 Row pin Header for arduino Leonardo Replace ATmega328 Pro Mini
Sentiment score: 0
Number of reviews: 1
ATMega 32U4 running at 5V/16MHzSupported under Arduino IDE v1.0.1On-Board micro-USB connector for programming4 x 10-bit ADC pins12 x Digital I/Os
 Show Reddit reviews
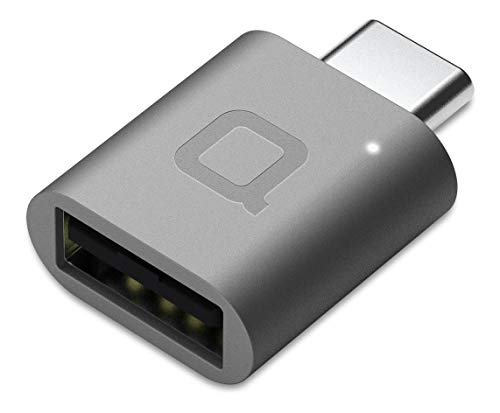
30. nonda USB C to USB Adapter,USB-C to USB 3.0 Adapter,USB Type-C to USB,Thunderbolt 3 to USB Female Adapter OTG for MacBook Pro2019,MacBook Air 2020,iPad Pro 2020,More Type-C Devices(Space Gray)
Sentiment score: 0
Number of reviews: 1
[Usb 3. 0 SuperSpeed] Up to 5Gbps data transfer speed[Match MacBook] Unibody aluminum casing. 3 Colors to match Apple MacBook[Durable Aluminum Body] High quality components ensures longer life span[Wi-fi Interference Fixed] No Wi-Fi interference while using this upgraded adapter[1-Year Warrant_y] Fe...
 Show Reddit reviews
31. Unirex MSW-001 4-in-1 USB Reader
Sentiment score: 0
Number of reviews: 1
Micro SD and SD card reader transfers data to & from Micro USB and USB (Memory not included)Ideal for Micro SD supported smart phonesConnects smart phone to computer at same timeFor storing essential digital content such as high quality photos, videos, music and more. Save what matters!Supports most...
 Show Reddit reviews
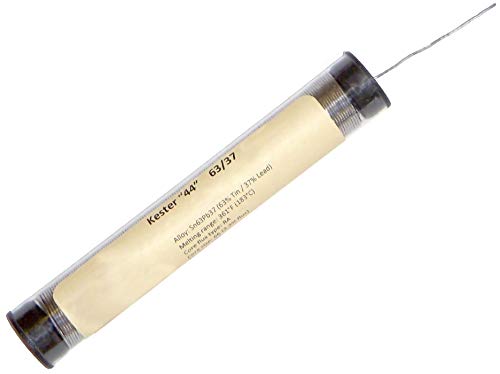
32. Kester 44 Solder Wire, 63/37 0.015-in, RMA Rosin, 1/2-ounce Tube
Sentiment score: 0
Number of reviews: 1
Specially repackaged by TekLine Supply1/2-Ounce pocket size pack contains approx 56 feet of solder!67/37 Tin/Lead is most common for electronics work.015" Diameter is most common for fine-pitch electronics workHigh activity RA formulation
 Show Reddit reviews
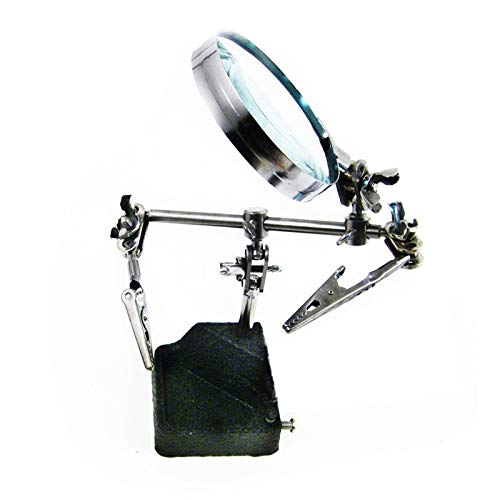
33. Universal Hands Free 360 Degree Rotating Solder & Hobby Station Stand
Sentiment score: 1
Number of reviews: 1
Compact - Folds together when not in use to reduce footprintSolder station has solder stand, 4x Magnifier, (2) adjustable Clips, and 360° Rotating JointsMagnification: 4x | Lens Diameter: 2½" | Weighted Base
 Show Reddit reviews
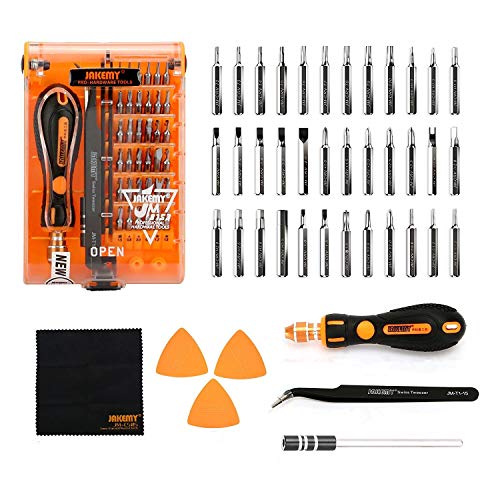
34. Screwdriver Set 43 in 1 Precision Screwdriver Kit JAKEMY Magnetic Replaceable Bits Repair Tool Kit Opening Tool and Tweezer for iphone Cellphone PC Electronics
Sentiment score: 0
Number of reviews: 1
🔨Magnetic Precision Bits and Multi-functional : 43 in 1 repair kits includes 36 types of screwdriver bits, 1 handle, 1 extension bar, 3 pick opener and 1 napery:micro Torx, Pentalobe(star) , slotted, Hex, Phillips, Mainboard Phillips, Tri-wing, U-shaped, Triangle. Suitable for iPhone 7/ 7 Plus/...
 Show Reddit reviews
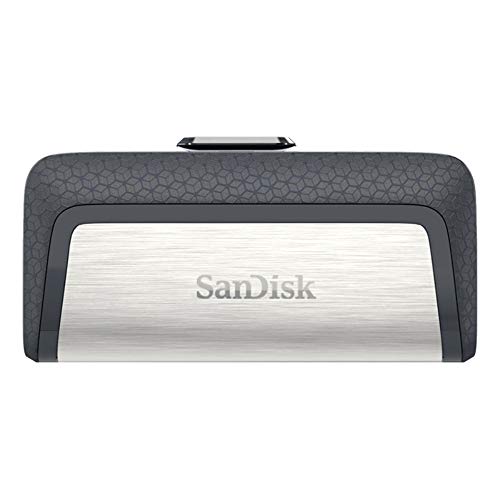
35. SanDisk Ultra 64GB Dual Drive USB Type-C (SDDDC2-064G-G46)
Sentiment score: 1
Number of reviews: 1
The flash drive for USB Type-C devicesEasily transfer files between smartphones, tablets and computersFree up space on your Android smartphoneCompatible devices: Compatible with Windows Vista, Windows 7, Windows 8, Windows 10, Mac OS X v10.6 and higher. Also compatible with Smartphones, tablets, and...
 Show Reddit reviews
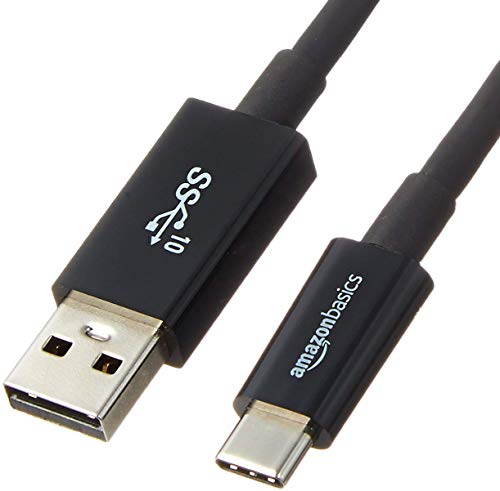
36. AmazonBasics USB Type-C to USB-A Male 3.1 Gen2 Adapter Charger Cable - 3 Feet (0.9 Meters) - Black
Sentiment score: 0
Number of reviews: 1
Connect USB Type-C enabled devices (MacBook, Chromebook Pixel, Galaxy Note 7, etc.) with standard USB Type-A enabled devices (car/wall charger, external battery power bank, etc.)Ideal for charging and powering USB Type-C enabled devices, as well as syncing data, photos and musicReversible design - ...
 Show Reddit reviews
37. Gam3Gear Brook USB Adapter For Xbox 360 / Xbox One to Wii U Controller Converter Adapter Standard Version with Gam3Gear Keychain
Sentiment score: 0
Number of reviews: 1
Hot swapping. Vibration support. Lightweight. Works with Wii U.Full compliance with environmental standards. USB interface.Xbox360/One to Wii U/Pro Controller Adapter automatically recognizes Xbox360/One controllers for use on Wii U. No toggling is required. LS, RS, DP Emulate.Compatible with 140+ g...
 Show Reddit reviews
38. SenMod 5PCS Micro SD Card Micro SDHC Mini TF Card Adapter Reader Module for Arduino
Sentiment score: 0
Number of reviews: 1
Level conversion circuit board that can interface level is 5V or 3.3VPower supply is 4.5V ~ 5.5V, 3.3V voltage regulator circuit boardCommunications interface is a standard SPI interface4 M2 screws positioning holes for easy installationPositioning holes: 4 M2 screws positioning holes with a diamete...
 Show Reddit reviews
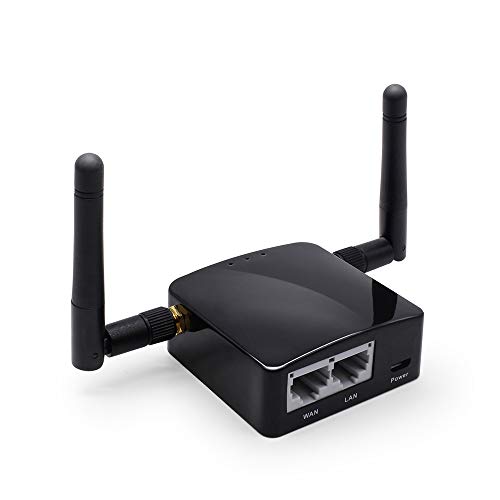
39. GL.iNET GL-AR300M (Shadow) Mini VPN Travel Router with 2dbi External Antenna, Wi-Fi Converter, Mobile Hotspot in Pocket, OpenWrt, Repeater Bridge, 300Mbps, 128MB Nand Flash, 128MB RAM, OpenVPN
Sentiment score: 0
Number of reviews: 1
[WIRELESS MOBILE MINI TRAVEL ROUTER] Convert a public network(wired/wireless) to a private Wi-Fi for secure surfing. Create a secure Wi-Fi hotspot quickly. Tethering, 3G/4G USB Modem Compatible. Powered by any laptop USB, power banks or 5V DC adapters (sold separately). 39g (1.41 Oz) only, portable ...
 Show Reddit reviews
If you're interested in getting into soldering, get a few cheap kits like battery powered light up gadgets and the like. They're usually around like $10, so it's not that big a deal if you break them while you're learning to solder. Next, a hands free solder station and a proper soldering iron make all the difference. The hands free option is the cheapest of the cheap and the iron is just a personal preference. Being able to control the heat of your iron and keep your board accessible is super useful. I ruined a couple of PS2s being cock-sure with an $8 iron and no practice.
is the dongle anything more than a usb-c thumb drive? any chance in grabbing something like this and using it for Atmosphere once it's released? granted it's not much cheaper (unless you go with the 32gb) and will require some configuration, but it does have the added convenience of a usb 3.0 connector as well as the ability to be used as a normal everyday thumb drive.
forgive me if i'm way off. i'm more of a tutorial follower than having any real knowledge about this kind of stuff.
If this is a problem I wonder if this would be an easy fix: "Black USB 3.0 Female to Dual USB Male Extra Power Data Y Extension Cable for 2.5" Mobile Hard Disk CableCC" from amazon https://www.amazon.com/dp/B00ZUE6PVE/ref=sxbs_sxwds-stppvp_3?pf_rd_m=ATVPDKIKX0DER&pf_rd_p=d45777d6-4c64-4117-8332-1659db52e64f&pd_rd_wg=rIr3D&pf_rd_r=7W089EDDDY6P6R5HK1KD&pf_rd_s=desktop-sx-bottom-slot&pf_rd_t=301&pd_rd_i=B00ZUE6PVE&pd_rd_w=iwlmM&pf_rd_i=y+cable&pd_rd_r=df8512f0-62f1-498a-a9da-cbd7f2965c45&ie=UTF8&qid=1539789822&sr=3
This is quite a bit better than the PowerA version
https://smile.amazon.com/Screwdriver-Precision-Magnetic-Opening-Tweezer/dp/B019ZSK57K
$9 kit includes two triwing bits and pry tools.
as far as dismantling goes, the switch seems to be the easiest one in recent time.
This is the one in his pics
There's also this one
Adafruit Circuit Playground Classic
Circuit Playground Classic features an ATmega32u4 processor, its just what i had on had.
Ordered some:
Pro Micro Board ATmega32U4s
Micro SD Card Adapters
https://www.amazon.com/dp/B01IP77XI6/ref=cm_sw_r_cp_api_944wzb8P1H1YY
Is this it? If so buying one NOW.
Here ya go: AmazonBasics USB Type-C to USB-A Male 3.1 Gen2 Cable - 3 Feet (0.9 Meters) - Black https://www.amazon.com/dp/B01GGKYR2O/ref=cm_sw_r_cp_api_i_3Ms5AbFA4JZFT
http://imgur.com/gCTPlss
If only ye' knew.
nonda USB Type C to USB 3.0 Adapter Aluminum with Indicator LED for Macbook Pro 2017/2016, MacBook 12-inch and other Type-C Devices (Space Gray) https://www.amazon.com/dp/B015Z7XE0A/ref=cm_sw_r_cp_apa_ZZMXBb98PE6B8
If you have a VPN and it's OpenVPN capable, then you could pick up a mini router like this or any cheap router than can handle OpenVPN, setup your VPN on it, and then only connect your hacked Switch to it. The Switch won't even know it's going through a VPN.
so for people who don't like the idea of soldering or making this permanent,
would a tiny sliver of copper foil tape with conductive adhesive make this work too?
https://www.amazon.com/Copper-Conductive-Adhesive-1inch-12yards/dp/B018RDZ3HG
i don't think it'd be too hard to put a piece over the two pins under the foam.
I would only suggest doing this mod if you are extremely comfortable with a soldering iron. I'm not responsible if you mess up your Joy-Con. With that being said below are the things I used to make this possible:
Parts
Steps
More pictures