Reddit Reddit reviews Creative Hobbies 10 Pack of 3-1/2 Inch Round Synthetic Silk Sponges for Painting, Crafts, Ceramics, Household Use & More! Pack of 10 Sponges

We found 2 Reddit comments about Creative Hobbies 10 Pack of 3-1/2 Inch Round Synthetic Silk Sponges for Painting, Crafts, Ceramics, Household Use & More! Pack of 10 Sponges. Here are the top ones, ranked by their Reddit score.

Artists Painting Supplies
Paint Sponges
Arts, Crafts & Sewing
Painting, Drawing & Art Supplies
Creative Hobbies 10 Pack of 3-1/2 Inch Round Synthetic Silk Sponges for Painting, Crafts, Ceramics, Household Use & More! Pack of 10 Sponges
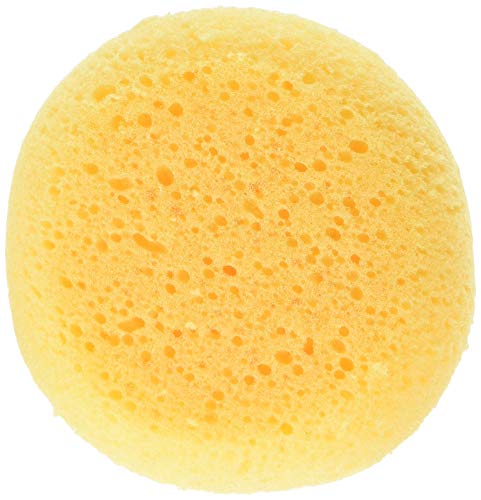
Creative Hobbies Value Pack of 10 Synthetic sponges for working with clay, crafts, and art paints.3-1/2 Inches round x 1 Inch thick sponges are easy to hold and long lasting.Synthetic material is soft and absorbent and finishes clay smoothly and is great for face painting and crafts.Shipped compressed to save space, sponges expand with water or exposure to air.Also great for applying paint in household or craft projects to workspace cleanup to washing dishes.
Check price on Amazon

2 Reddit comments about Creative Hobbies 10 Pack of 3-1/2 Inch Round Synthetic Silk Sponges for Painting, Crafts, Ceramics, Household Use & More! Pack of 10 Sponges:

u/SPE825 · 5 pointsr/Tau40K

Here's the general weathering and battle damage things that I did to the Riptide:

  1. Using a sponge (https://www.amazon.com/Creative-Hobbies-Synthetic-Painting-Household/dp/B01FIG2FM6/ref=sr_1_14?keywords=round+artist+sponge&qid=1565154447&s=gateway&sr=8-14) sponge/dab over the white (including the white decals) with the main red color of the battle suit, to make it look like the white is chipping away to the red underneath.
  2. Using a sponge, sponge over the red areas with black (mostly around the edges, but as much as you like), to make it look like the main paint job on the battle suit is chipping away to the primer underneath. You could even sponge a little Leadbelcher if you wanted it to look like there were deep scratches.
  3. Lightly Drybrush the extreme edges with Leadbelcher
  4. Wash the joints of the suit with Seraphim Sepia to make them look oily (the legs aren't just silver either, they're painted black and then drybrushed all over with Leadbelcher)
  5. Using an airbrush, hit some of the big recesses with black to increase contrast. I also airbrushed the edges of the exhaust vents to make them look dirty/charred.
  6. Using an airbrush, spray in some of the dirt color used on the base, into the recesses of the joints or where you'd think dirt might collect.
  7. Next to last step is to take raw pigment (https://www.amazon.com/Vallejo-Dust-Dirt-Pigment-4x35ml/dp/B07193GYZQ/ref=sr_1_1?keywords=vallejo+pigment&qid=1565154837&s=gateway&sr=8-1) and distribute it in the recesses to give a real texture of dirt on the model
  8. Last thing I did was varnish the entire model to seal in the pigment. I airbrushed a mix of matt and satin varnish (1:1). The only problem there is that the airbrush does really blow off a lot of the pigment.

    Edit: Changed the wash I used to make the joints look oily. Also fixed some typos.
u/NerdfighterEngineer · 3 pointsr/cardmaking

I use something like this:

Creative Hobbies 3-1/2 Inch Round Synthetic Silk Sponges for Painting, Crafts, Ceramics, Household Use & More! Pack of 10 Sponges https://www.amazon.com/dp/B01FIG2FM6/ref=cm_sw_r_cp_apa_X.5DzbPM29HK0

I take each one and cut it into 4 pieces, so they go farther.

How are you inking your sponges? If you're seeing the edges of the sponge, you may have too much ink on the sponge. I take my sponge to an ink pad, rather than using liquid ink refills. It gives a more subtle effect. I also keep a piece of scrap paper under my project and check the level of ink on the scrap before I move to my project. Just keep practicing on scrap paper until you're satisfied with the effect.