(Part 2) Best house paint rollers according to redditors
We found 49 Reddit comments discussing the best house paint rollers. We ranked the 38 resulting products by number of redditors who mentioned them. Here are the products ranked 21-40. You can also go back to the previous section.


It gets some pretty terrible reviews on Amazon http://www.amazon.com/dp/B001SCHH0U
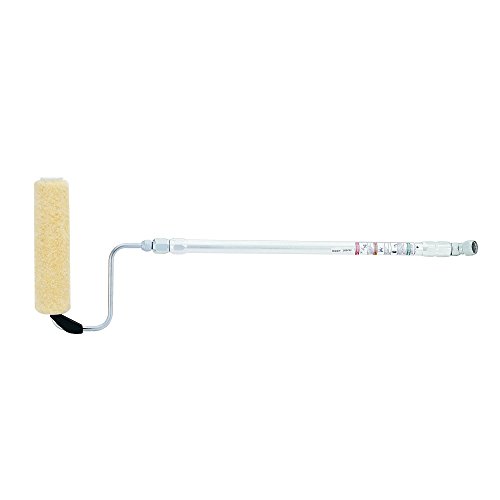
Get a 4 inch wiz roller with a clothe roller, as pictured (not the sponge roller)
https://www.amazon.com/Work-Tools-International-54164-Premium/dp/B000I1CKJ0/ref=sr_1_15?ie=UTF8&qid=1474398359&sr=8-15&keywords=4%22+wiz+roller
Put some joint compound on the wall, a teaspoon or tablespoon to start. Then use the roller to spread and roll the compound back and forth, until you get a very thin texture similar to that around it. The roller fabric should be moistened before use, a little bit, to keep too much of the joint compound from sticking to it. If at any time you don’t like what’s happening and you want to start over, get a towel and just wipe it off the wall. The joint compound must dry and usually over night before painting. What you create with the compound can be sanded a bit when dry, to knock off any high points, to further match its surroundings. Essentially, you're replicating possibly years of paint being rolled on the walls. Good luck.
https://www.amazon.com/GYPSUM-380270072-Gypsum-380270-Compound/dp/B000PDL6F0/ref=sr_1_sc_1?ie=UTF8&qid=1474398609&sr=8-1-spell&keywords=joint+comopund
I would add this to the system.
http://www.amazon.com/Graco-244512-Pressure-Rollr-Kit/dp/B0021XZQ0S/ref=pd_sim_hi_7?ie=UTF8&refRID=1WAJDG6WEC47CEWRJND1
I have used a paint-stick a lot for interior painting and I can beat most any one with a open sprayer on walls and ceilings due to the smaller amount of prep that is needed. For the baseboard the sprayer works better, but make sure mask everything when using the sprayer.
I have one of these.
If you like the rustic look of the way it is now then you can put on a clear waterproofer/wood protector. If you want it to be some color, then get a semi-transparent or solid color deck stain/waterproofer.
Personally I would put a semi-transparent stain on that. Some of the contrast you see on the deck board surfaces will show through, but it will also transition to the corners where sanding is incomplete, etc.
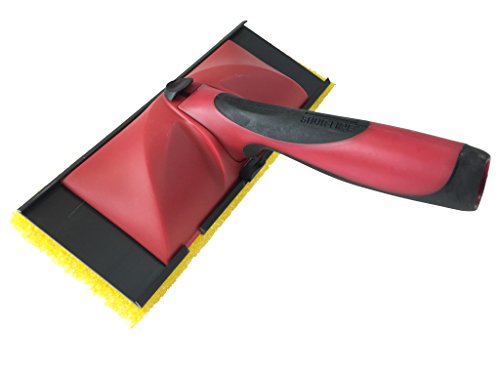
One thing I appreciated from my recent deck-staining experience was how fast large surfaces can be covered with a staining pad like this. You'll need to use a brush to edge & get into corners, but the pad is fantastic for the rest.
I used one extensively in a previous house. It helped a lot and made the painting go much faster. The only problem is the cleanup. It does take longer and there is more wasted paint because of the way the roller is designed.
The one you listed isn't the one that I used. The one I used had a paint guard that helped when doing ceilings and prevented the paint from getting on you as much.
This is the one I used.
edit: added link.
The single biggest thing is a table saw, and not the cheapest one you can find either. Otherwise, typical woodworking tools apply: drill, chisels, clamps (bar clamps in various sizes for cabinet making) etc. The only real specialty tool you want, and this is for installing them, not building them, is a set of face frame clamps that make it so much easier to align the fronts of cabinets while you screw them together.
edit you mentioned melamine specifically, so you might find a laminate roller and edge banding trimmer useful.
I use these brushes and these roller covers. Cheap and disposable. It's not worth the hassle of cleaning epoxy.
I currently use this: http://www.amazon.com/Sno-Brum-Original-Removal-Telescoping/dp/B0007LDXLA/
 
Combined with this: http://www.amazon.com/gp/product/B00181UGA4/
 
The Sno-Brum is made out of stiff foam. Pretty much no chance of scratching the panels.
 
I've never heard of the tennis ball method. I assume you're just tossing a tennis ball up there hoping to knock some of the snow off. Just enough to let the panel start to heat up and melt the rest?
Contamination - not worried at all. Bacteria hate alcohol, which is why I ferment the mead for two weeks before adding the berries. Your greatest risk of contamination is before fermentation begins.
Submerged in the mead - The berries like to float - that's why I only use 2 or 3 lbs at a time. I use a large paint strainer ($2 at Home Depot) to hold the berries. Every day or two I gently rock the carboy to move the berries around. The fist time I did not use a bag to hold the berries and it was a nightmare to siphon the mead with tiny pits of berries clogging my siphon.
Removing the bag of berries is easy, you can:
Wooden cask - no, but I'd love to try.
I just did some of this on a new ceiling at home. I used very watered down all purpose mud. I applied it thinly with a knife then rolled over it with a heavy textured roller. Use long strokes and a standard pattern as you work. Very messy work. Once it dried 2+ days, Scrape all the points off. Don't baby it, just scape away. Add paint. I'd do the new area, then decide later if you need to go over the existing to ensure its uniform. My results look exactly like your photo.
TRUE VALUE APPLICATORS MPSTR-9IN MP Select Texture Roller Cover, 9-Inch https://www.amazon.com/dp/B000HG12T0/ref=cm_sw_r_cp_apa_86J.zb454WJXD
One of these will make cleaning your roller and brushes much easier
Paint stick
Six pack of marking paint
You're correct, just a few bucks over $50.
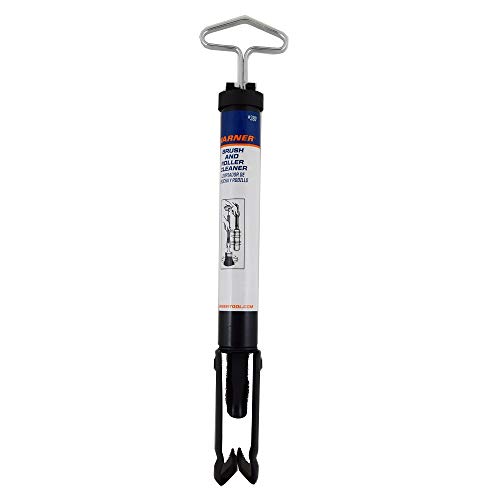
Man, you really aren’t going to like this then either. [Roller Spinner](Warner Paint Brush & Roller Cleaner Spinner Tool, 380 https://www.amazon.com/dp/B000FNMPYG/ref=cm_sw_r_cp_tai_.sfPCbYKYD6RY) Stick your roller on this and put it in a 5 gallon bucket and spin away.
To add to this, a paint brush cleaner like this one works wonders for cleaning hair and crap out of vacuum brushes.
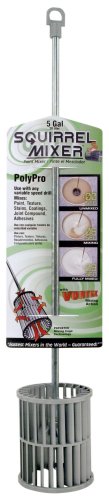
In order to aid mixing, something like a 5 gallon paint mixer would help speed up the process. http://www.amazon.com/Shur-Line-06200C-Paint-Mixer/dp/B00004Z4H5/ref=sr_1_2?ie=UTF8&s=hi&qid=1303063017&sr=1-2
The Big Agnes bag is only one of many options for camping hammocks. there are plenty of other manufacturers, as well as alternative solutions (as all of the other replies in this thread will attest to).
Here is just one more. I custom made a sleeping pad for my hammock from a section of an inexpensive folding automobile sun shade, comprised of two layers of heavy duty reflective mylar with a similarly heavy duty layer of bubble-wap insulations sandwiched in between (cut to length and shape), with a thin layer of polar-fleece hot glued onto one side (to increase the warmth and to keep the pad from sliding out from under my ultra-lightweight Marmot sleeping bag). The pad goes inside the hammock under the sleeping bag and covers from my shoulders down to just above my knees (where the slot in my older style HH ends).
This is the sunshade that I purchased for around $7: http://www.pepboys.com/product/details/8424709/00154/
This pad works like a charm in all weather conditions. The only time I don't use it is for those midsummer nights that never drop out of the 60's.
BTW, One other advantage of gluing on a layer of polar fleece is that it helps to cut down on the buildup of condensation under your sleeping bag that some people have experienced in the colder weather when using just the plain sunshade.
If you want to put the pad inside your hammock polarfleece side up (the most efficient at reducing condensation), you can either glue the polarfleece to both sides, or you can apply thin lines of silicon bathtub calk to the underside of the sunscreen. These will keep the pad from sliding around inside your hammock during the night. The easiest way to get a thin layer that is still quite grippy is to lay down thin parallel beads of silicone about 4-6" apart and then spread the caulk with a notched adhesive spreader (available from any hardware/paint supply store).
This link has a photo of the adhesive spreader that I use.
http://www.amazon.com/Padco-83729-Friendly-Painting-Adhesive/dp/B005MI3SUY/ref=pd_sim_sbs_hi_5
Looks like a texture roller cover was used:
https://www.amazon.com/Wooster-Brush-R233-9-Texture-Roller/dp/B000BPD9LQ