(Part 2) Top products from r/S2000
We found 20 product mentions on r/S2000. We ranked the 91 resulting products by number of redditors who mentioned them. Here are the products ranked 21-40. You can also go back to the previous section.
21. ACANII - For 2000-2003 Honda S2000 Headlights Upgrade Style Projector Headlights Replacement Driver & Passenger Side
Sentiment score: 0
Number of reviews: 1
100% Brand New; Only Lens and Housing Included; Driver & Passenger SideMeets all Regulations in USA & Canada; with DOT & SAE StampedReplacement for Stock Assembly; Lenses Ensure Full illumination and Maximum SafetyInstallation Instruction not Included; Professional Installation Recommended; Price Mo...
 Show Reddit reviews
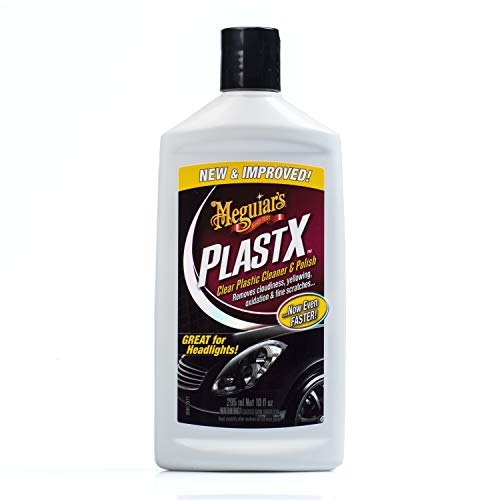
22. Meguiar's G12310 PlastX Clear Plastic Cleaner & Polish, 10 Fluid Ounces
Sentiment score: 1
Number of reviews: 1
PLASTIC CLEANER & POLISH: Rich gel formula quickly restores clarity to both rigid and flexible uncoated clear plastics, removing cloudiness, yellowing, oxidation, fine scratches and grimeHEADLIGHT CLEANING AND MUCH MORE: Great for use on headlights, Plexiglass, plastic convertible windows, brake lig...
 Show Reddit reviews
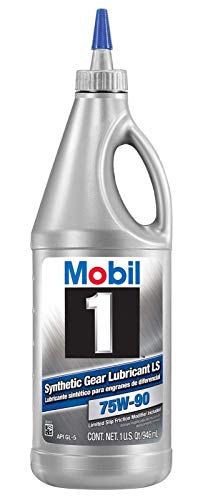
23. Mobil 1 104361-UNIT 75W-90 Synthetic Gear Lube - 1 Quart
Sentiment score: 0
Number of reviews: 1
Mobil 1 Synthetic Gear Lube Ls 75W-90 Mobil 1 Synthetic Gear Lube Ls 75W-90 Is A Supreme Performance, Synthetic, Multi-Purpose, Sae 75W-90 Automotive Gear Lubricant Designed To Meet The Highest Level Of Performance Requirements Of Modern Passenger Vehicles In All Types Of Operating Conditions, Inclu...
 Show Reddit reviews
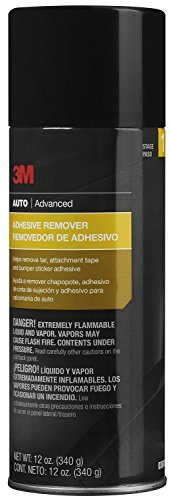
24. 3M Adhesive Remover, Helps Remove Tar, Attachment Tape & Bumper Sticker Adhesive, 12 oz., 1 aerosol
Sentiment score: 1
Number of reviews: 1
Adhesive Tar and Wax Remover quickly removes wax, grease, oil and adhesive residueIt will not harm most cured automotive paints and is also suitable for vinyl and glass surfaces
 Show Reddit reviews
26. ACDelco PT723 GM Original Equipment Multi-Purpose Pigtail
Sentiment score: 0
Number of reviews: 1
Connectors allow for more efficient, less costly wiring harness repairs on all GM vehiclesProtective outer coverings protect against even the toughest conditionsGM-recommended replacement part for your GM vehicle’s original factory componentOffering the quality, reliability, and durability of GM O...
 Show Reddit reviews
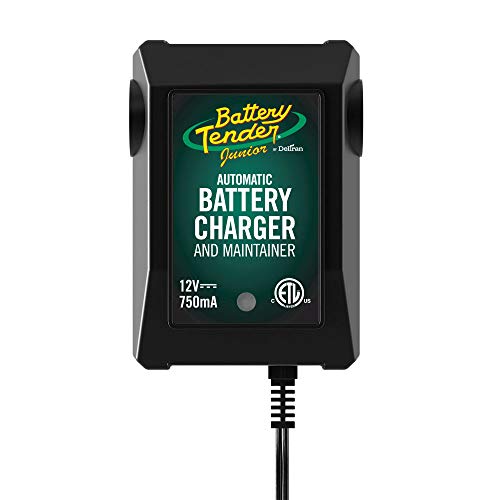
27. Battery Tender Junior Charger and Maintainer: Automatic 12V Powersports Battery Charger and Maintainer for Motorcycle, ATVs, and More - Smart 12 Volt, 750mA Battery Float Chargers - 021-0123
Sentiment score: 0
Number of reviews: 1
STAY CHARGED: Provides a full charge to your machine’s battery before switching to float mode to maintain proper voltage levels for safe, long term storage without overcharging. Spark proof during lead connection, reverse polarity protected and includes a 12-foot output cord and 5-year warrantyEAS...
 Show Reddit reviews
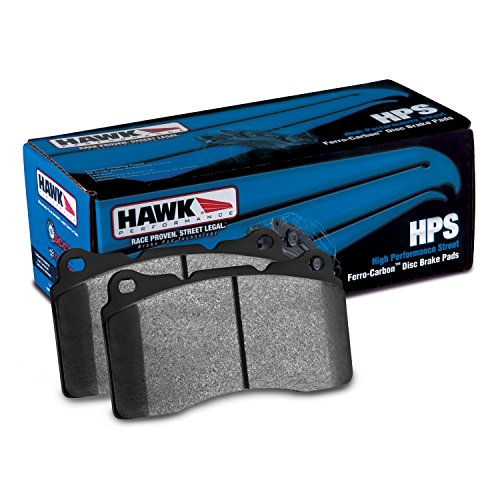
28. Hawk Performance HB145F.570 HPS Rear Performance Ceramic Brake Pad
Sentiment score: 1
Number of reviews: 1
HPS - High Performance Street brake compoundIncreased stopping powerGentle on rotorsVirtually noise-freeHigh friction/torque hot or cold
 Show Reddit reviews
29. Hawk Performance HB361F.622 HPS Performance Ceramic Brake Pad
Sentiment score: 1
Number of reviews: 1
HPS - High Performance Street brake compoundIncreased stopping powerGentle on rotorsVirtually noise-freeHigh friction/torque hot or cold
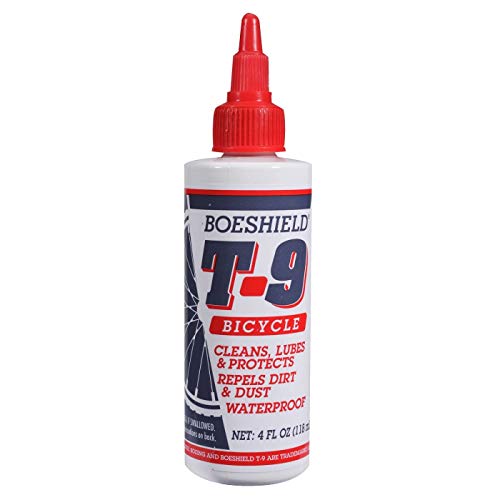
Show Reddit reviews30. Boeshield T-9 Bicycle Chain Waterproof Lubricant and Rust Protection, 4 oz Liquid, Original Version (122183)
Sentiment score: 0
Number of reviews: 1
Wet, dry or in dirt, serious cyclists rely on one product to clean, lubricate and protect—Boeshield T-9 does it allLubricate your bike chain, waterproof cables, and prevent rust with our effective all-in-one formulaLoosens rusty and corroded parts and is safe on paints, any metal surfaces, plastic...
 Show Reddit reviews
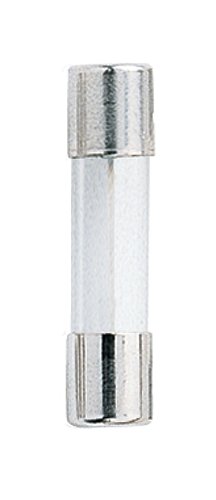
31. Bussmann GMA-1A 1 Amp Glass Fast Acting Cartridge Fuse, 250V UL Listed, 5-Pack
Sentiment score: 0
Number of reviews: 1
Fast-acting, low breaking capacityOptional axial leads available5mm x 20mm physical sizeGlass tube, nickel-plated (500mA-15A) brass end cap constructionDesigned to UL/CSA 248-14
 Show Reddit reviews
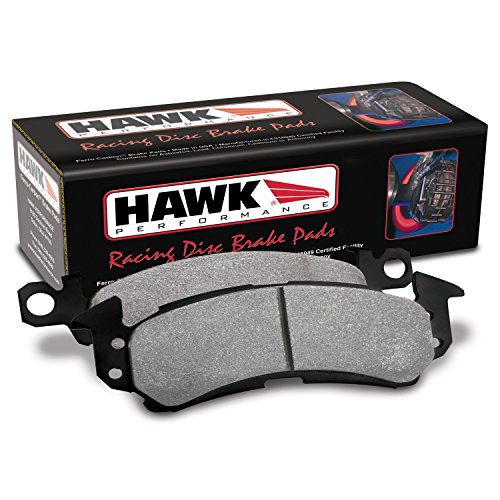
32. Hawk Performance HB361N.622 HP Plus Brake Pad
Sentiment score: 1
Number of reviews: 1
HP Plus - Autocross and Track brake compoundExtremely high friction outputFade resistantAutocross and club racing eventsThe ultimate double duty friction compound
 Show Reddit reviews
33. Plews 55001 Lubrimatic Fluid Quart Pump, Fits Standard Quart Bottles
Sentiment score: 0
Number of reviews: 1
INDUSTRIAL GRADE: Our LubriMatic 55-001 Fluid & Oil Transfer Pump is a simple and effective solution for adding fluids to small engines, automotive transmissions and axles, farm equipment, industrial equipment, and marine lower units; Ideal for adding oil and other fluids, such as antifreeze, fuel, ...
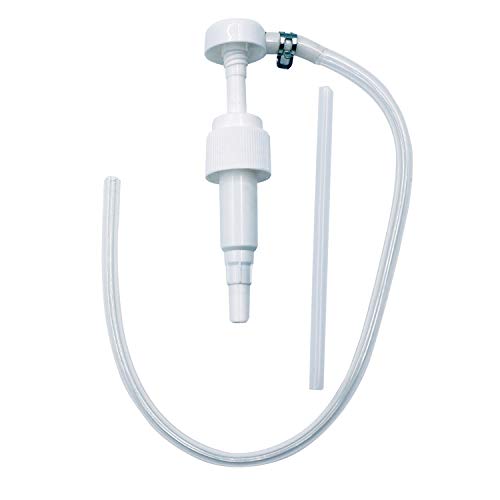 Show Reddit reviews
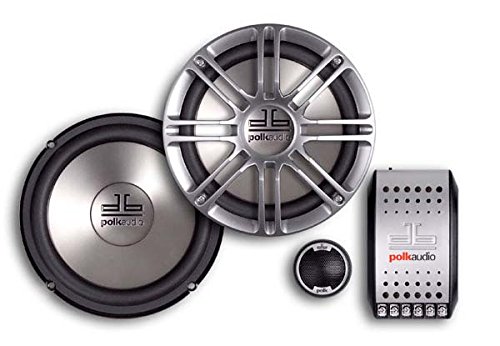
34. Polk Audio DB6501 6.5-Inch 2-Way Component System (Pair, Silver)
Sentiment score: 0
Number of reviews: 1
Adaptor Rings make it easy to fit the db6501 in 6 1/2 inch and 6 3/4 inch applicationsTwo way Butterworth outboard crossover with vented housing, electronic tweeter protection circuitWoofers feature polymer/mica composite cone with butyl rubber surround, Kapton voice coil former. 6.5 inch component ...
 Show Reddit reviews
35. Lisle 36200 Valve Keeper Remover and Installer
Sentiment score: 0
Number of reviews: 1
Quickly removes valve keepers on overhead valve enginesMakes valve component disassembly and reassembly fast and easyComes in skin-packCan be used on the car or a work bench
 Show Reddit reviews
36. American Technology CH00100-BLK-1 Collapsible and Adjustable Drink Holder - Black
Sentiment score: -1
Number of reviews: 1
Collapsible and adjustable drink holderInstalls easily and permanentlyHigh impact constructionDurable non-scratch surfaceColor: Black
 Show Reddit reviews
37. Forever Car Care Products FB813 Black Black Top Gel and Foam Applicator
Sentiment score: 1
Number of reviews: 1
Forever Black FB-813 Top Gel and Foam Dye 8 ozFoam applicator includedProvides on average coverage for 2 topsMade from environmentally friendly black pigmented polymerIntended for restoring black tops back to like new condition
 Show Reddit reviews
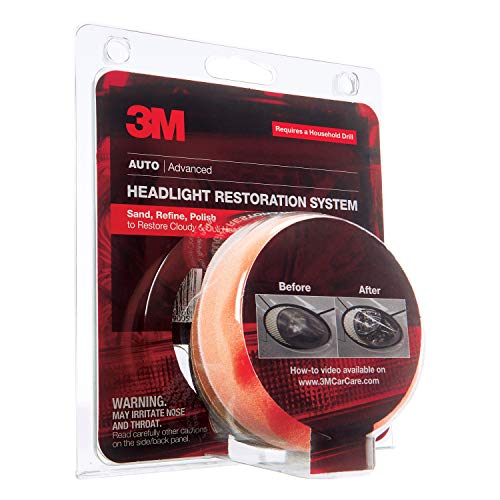
38. 3M Headlight Lens Restoration System, 39008
Sentiment score: 1
Number of reviews: 1
SEE BETTER AT NIGHT: Enhances visibility and safety for night drivingEasy, 3-step process requires as little as an hour to remove scratches and restore cloudy, dull lensesFor use on plastic lenses headlights, taillights, fog lights, directional lights and more3M abrasive technology removes yellowing...
 Show Reddit reviews
39. TEAR-AID Vinyl Repair Kit, Green Box Type B, Single
Sentiment score: 1
Number of reviews: 1
TEAR-AID Repair Patches provide a simple and easy method of patching holes and tears, as well as an excellent protective film solution. Each TEAR-AID Repair Patch is made from an exceptionally tough, matte finish, abrasion resistant, elastomer that resists puncture and tearingThe TEAR-AID Type B vin...
 Show Reddit reviews
40. Stanley Proto J000R 16 Blade Overhead Valve Feeler ga Set
Sentiment score: 1
Number of reviews: 1
1/2-inch wide bent gauges for setting overhead valvesSizes: .009-inch, .010-inch, .011-inch, .014-inch, .015-inch, .016-inch, .017-inch, thru .027-inchBlades are offset at a right angle to help protect hands from a hot manifold while setting an overhead valueBlades etched with both decimal size and ...
 Show Reddit reviews
Best advice is to keep it simple. Focus on brakes and tires first! Do some basic setup and then recognize while you are on track when you are at the limit of your basic setup, then go from there.
You already have SS brake lines, good! Fill them with good 600°F brake fluid (several were mentioned already). Do this every few events and be meticulous about doing it RIGHT and making sure there are NO LEAKS. Safety first! This and pads are your #1 safety item. Then an instructor, then good tires, helmet, seat belts, etc. Again, keep it simple.
Parts:
Use whatever rotors are on the car for now, and buy a set of these as backup whenever htey start to warp: Centric 120.40048CRY Cryostop Rotor
https://smile.amazon.com/gp/product/B003K1H2V6
Brake Pads, order a set of Hawk HP+ pads. You will get advice all over the board on what is best and blah blah blah. These are great bang for your buck and you can street them as well.
Hawk Performance HB361N.622 HP Plus Brake Pad
https://smile.amazon.com/gp/product/B000IEYNOM
Fronts are most important, do all 4 corners once you start to get comfortable with the car and/or go to a bigger track.
Think you're done with brakes? NOPE! Now let's talk heat. You're just starting to go on the track and want to be out for as long as possible to work on consistency and technique. If you're going to do any sizeable track with big braking zones you will want some way to keep the brakes cool. A lot of people poo-poo this step and then complain about how the stock brakes suck SO bad. I have had my s2k on CoTA, Road America, and BIR with zero brake fade with the setup I'm describing.
Option one: remove the dust shields, this will help reduce captivated heat
Option two: brake duct kit. DIY worked best for me:
-Lambert spindle mounts: http://www.lapponline.com/index.php?main_page=product_info&cPath=65_66_67&products_id=180
-Front Bumper inlets. WASP makes nice stuff but they SUCK to deal with and idk if they're even in business anymore. Several other options out there.
-Aircraftspruce.com has all the ducts and such you need:
Qty Ship B/O Item Unit Price Total Price
11 05-29910 SCAT-10 DUCTING 2 1/2" 7.500 82.50
6 QS200-40H BREEZE CLAMP 200-40H 1.880 11.28
1 01-00990 RESCUE TAPE 1" X 12' BLACK 9.350 9.35 (helps with rubbing)
3 05-02200 RUBBER "U" CHANNEL 1.350 4.05
50 11-04229 7" 50LB NATURAL CABLE TIES MS3367-1-9 0.040 2.00
50 11-13475 14" 120LB NATURAL CABLE TIES MS3367-3-9 0.150 7.50
50 11-04058 14" 50LB NATURAL CABLE TIES MS3367-2-9 0.090 4.50
Subtotal: USD 121.18
Ok great, now you have good brakes, you already said you have RS3 tires on there, buy a nice tire gauge and keep an eye on pressures & tire wear!
Joes Racing 32307
https://smile.amazon.com/gp/product/B00404WDUC
While you're at it, check the oil. Seriously, these things can (but don't necessarily) burn through a lot of oil depending on conditions and the track. Just keep an eye on it and plan for keeping an eye on it. Not a bad thing.
Get a good basic alignment on the car, max out the stock adjusters for camber front and rear, zero toe front and about .25" total toe in the rear, then you're good to go! If you are feeling DIY-ish pick up a Quick Trick alignment kit to bust this out quick and easy in your garage or at the track.
Once you get comfy with the car however you have it setup today suspension/wheel-wise, you can start to look at a few next-steps. Do all of these at the same time as its the combo that shines over any one part.
-lowering springs/coilovers (I did ohlins, so awesome)
-front swaybar (A simple eibach will do!)
-front bumpsteer correction kit/spacers
-17x8.5 or 17x9 square wheel setup with 255/40-17 tires. RS3's, Maxxis, VR1, are great lapping-day options. RE71R for quick/short/fast hot laps.
1 rule: HAVE FUN!
You're better off buying new ones as you get fresh adhesive strips on the back, and you don't have to worry about fucking them up as you take them off. $20 each on amazon.
Here's what I did. Under $50, front and back emblems, including spray paint purchase.
These two emblems on amazon, front and back OEM:
https://www.amazon.com/gp/product/B00BFDH8KQ
https://www.amazon.com/gp/product/B00FSCN9US
Scuff them up with sandpaper so the paint adheres better to the smooth surface of the emblems, then. Spray paint with flat black. 4 or 5 coats with some time in between to let each one dry. I used: https://www.amazon.com/gp/product/B00XG68SMM
Then put aside and let them dry.
Onto removing your current emblems:
Get some fishing line and 3M adhesive remover: https://www.amazon.com/gp/product/B000BQYA7W
Spray the adhesive remover on the emblem on your car, then using the fishing line, work at the adhesive using a sawing motion to cut through the layer attached to your car. Once the adhesive is all cut, and you can move the fishing line around like you're flossing, you can pull it out and the emblem will pop out. In addition to the adhesive there are 2 little plastic spikes that stick into holes on your car body. That's the popping out part. You'll have to tufg at it to remove it. Some people break them, hence buying new emblems. Then spray some more adhesive remover and remove the crud left behind with a microfiber towel. If you have a lot of crud, you can use a plastic scraper like this: https://www.amazon.com/gp/product/B01HLWB0BM - or even a credit card... spray with the 3M product, scrape the crud, wipe the crud off the car, repeat. Was pretty quick and painless. Once you're all done, wipe off the adhesive remover with a microfiber towel, make sure you're all nice and clean, then peel off the plastic strips on your new emblems, put it in place, and viola. 10 minutes tops, not including the spray painting.
It should be at least 55-60F temperature to apply emblems properly. They won't stick in colder weather.
Good luck. Simple and easy upgrade. 15 bhp to the wheels.
I’ll post good after pics tonight on a separate post, the before pics aren’t great quality. Honestly the top was in great condition for how old it is, but I really baby this thing so I did it anyway very carefully. I’m very happy with the results. Already multiple people asked if it’s a new top.
Forever Car Care Products FB813 BLACK Black Top Gel and Foam Applicator https://www.amazon.com/dp/B001879CUS/ref=cm_sw_r_cp_api_i_KRm.AbFME1KSN
What year and how many miles? For brake pads I use Hawk HPS and use ATE BLUE brake fluid:
For the clutch I've got the Science of Speed sport 400 (capable of 400ft/lbs torque) and an 11 lb Comp Clutch flywheel. If you're not making a ton of power the SoS comp 300 would be ideal.
You'll also want to replace your thrust and throwout bearings and have your stock flywheel resurfaced if you are leaving it stock. I've got continental tires front and back (on stock style 1 AP2 wheels).
I love the shit out of them. They grip well and are outstanding in the wet. The pads don't make any noise and the clutch is widely considered to be the most "oem quality" one on the market. You should definitely flush your tranny and diff while you're doing all of this. Honda MT gear oil in the gear box and Amsoil SevereGear 75w110 is my shit. The stuff I posted is marginally more expensive over the ~10%-15% cheaper stuff on eBay so just spend the money and keep it nice. It's worth it in the end.
I have used it successfully on the inside where the rear support bars scrape and eventually tear the top from open/closing. It has even held up in AZ summer heat and the physical forces of the bar scraping over it. For the outside, I have one patch of this stuff:
http://www.amazon.com/gp/product/B001DZDCNS?psc=1&redirect=true&ref_=oh_aui_search_detailpage
It is clear, looks.... reasonable.. It'll hold me over until I buy a new top in a few years.
If you have a cordless drill purchase the 3M lens cleaner: http://www.amazon.com/3M-39008-Headlight-Restoration-System/dp/B001AIZ5HY/ref=sr_1_2?ie=UTF8&qid=1396048236&sr=8-2&keywords=3m+lens+cleaner
There are more than enough pads in there for 2 headlights. Take off your front bumper and put up your hood, this will make the task so much easier. Triple painters tape the paint around top and sides. Get a squirt bottle from Autozone, Homedepot, etc and fill it with water. Take your time, it should take around 45 minutes to do both.
Also do them at the same time, each step. Don't complete one and move to the other.
Afterwords protect and clean with: http://www.amazon.com/Meguiars-PlastX-Plastic-Cleaner-Polish/dp/B0000AY3SR/ref=sr_1_5?ie=UTF8&qid=1396048450&sr=8-5&keywords=3m+lens+cleaner
It looks like this set of feeler gauges has the .009 and the .011.
However, they are referred to as "Overhead Valve" gauges.
Do you think they would work for the S2000?
http://www.amazon.ca/Stanley-Proto-J000R-Overhead-Feeler/dp/B001HWAD6Q/ref=sr_1_4?ie=UTF8&qid=1451354280&sr=8-4&keywords=proto+feeler+gauge
Thanks
James
I've done this swap with an LS1, so a few tips.
First off, check your coilovers with the front sway bar relocation. I didn't find out till later that the way bar end link bolts will dig into the coilover. After speaking with Import Muscle, I was told that they didn't test with anything but the OEM suspension
Second, if you find that the reverse sensor on the Fbody T56 is a little awkward because of how it sticks out, you can get these:
https://www.amazon.com/gp/product/B000C9MZI4
https://www.amazon.com/gp/product/B000C5DUI2
I'm sure there are some others, but I can't think of them right now. I'll edit this post if I remember any more.
Hard to beat the price and shipping of Amazon IMO.
For those of you attempting this, this tool will make it MUCH easier. Magnetized removal means no keepers flying about, and installation of the new retainer and keepers is a breeze
https://www.amazon.com/Lisle-36200-Keeper-Remover-Installer/dp/B000P0ZJIS
A118-C Dashcam. I'm connected to the ignition accessory terminal with an inline fuse to the 12v to 5v and ran/hid the wire going to the cam along the pillar.
https://smile.amazon.com/gp/product/B00SNGSI9I/ref=oh_aui_search_detailpage?ie=UTF8&psc=1
https://smile.amazon.com/gp/product/B00TGQ1Y3Q/ref=oh_aui_search_detailpage?ie=UTF8&psc=1
https://smile.amazon.com/gp/product/B000HOV4VS/ref=oh_aui_search_detailpage?ie=UTF8&psc=1
https://smile.amazon.com/gp/product/B0094DFECI/ref=oh_aui_search_detailpage?ie=UTF8&psc=1
I haven't tried. Mine gets driven even less than that but I keep it plugged in to one of these:
http://www.amazon.com/Battery-Tender-021-0123-Junior-Charger/dp/B000CITK8S
Here you go!
https://www.amazon.com/dp/B07GGTJFYY/ref=cm_sw_r_em_apa_i_JlCFDbKEE3KK8
https://www.amazon.com/Boeshield-T-9-Waterproof-Lubrication-liquid/dp/B000GE1F9K/ to hinges/metal parts. There's a screw on the inside of the handle for the handle cover and the cover pops right off.
So you have these? They look a little more complicated to install. If that's not them, what do you have? Remember I'm an audio-newbie, so anything that involves an amp or extra wiring confuses me.
This is the one I have, used the same one on my Audi and it lasted 2 years no problem. I took the screw out of the map netting and reused the same screw and hole for the cup holder turned out nice. It's on tight with only one screw in it
http://www.amazon.com/gp/aw/d/B000Q86IQQ?pc_redir=1410792062&robot_redir=1