(Part 3) Top products from r/StonerEngineering
We found 20 product mentions on r/StonerEngineering. We ranked the 320 resulting products by number of redditors who mentioned them. Here are the products ranked 41-60. You can also go back to the previous section.
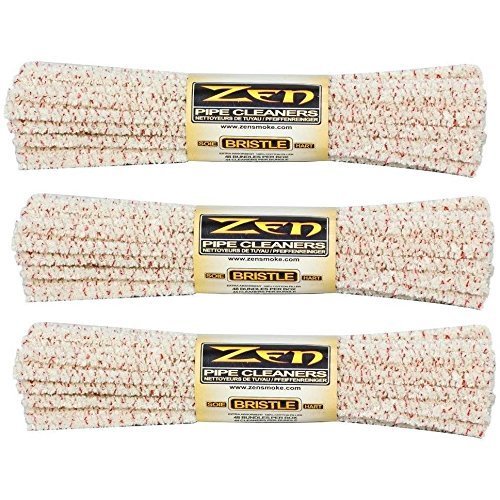
41. Zen Bundles Zen Pipe Cleaners Hard Bristle, 132 Count
Sentiment score: 1
Number of reviews: 1
Zen the name you know & can trust for all your cleaning needs & 420 helpClean & repair old antique tube radios, t.V.'S, ham radios / receivers (especially from 1918-1965)Such as philco, rca, admiral, Zenith, hall crafters, sears, Brewster, crossly, firestone, plus hundreds moreArts & crafts projects...
 Show Reddit reviews
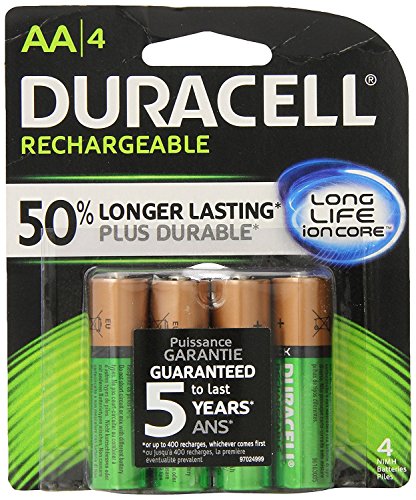
42. Duracell Rechargeable AA Batteries 4 Count (Packaging May Vary)
Sentiment score: 1
Number of reviews: 1
Rechargeable design can be charged up to 400 times to save resourcesLong-life Ion Core holds longer charge for extended useLast longer in storage with Duralock Power Preserve technologyPreserves Power in High Drain Devices.Recharge up to 400X.Stays charged 5X longer than ordinary Rechargeables.
 Show Reddit reviews
43. FORMULA 420 CLEANER - GLASS, METAL & CERAMIC CLEANSER [12 FL OZ]
Sentiment score: 0
Number of reviews: 1
Hassle FreeEasy to UseNon-Toxic*BiodegradableCleans and Deodorizes In Seconds
![FORMULA 420 CLEANER - GLASS, METAL & CERAMIC CLEANSER [12 FL OZ]](https://m.media-amazon.com/images/I/41uzTMgTX-L.jpg) Show Reddit reviews
Show Reddit reviews44. Pelican 1120 Case With Foam (Silver)
Sentiment score: 0
Number of reviews: 1
Pelican cases are kept watertight through the use of a tongue and groove fit and a polymer o-ring.Pelican cases come standard with an Automatic Pressure Equalization Valve which releases built up air pressure while keeping water out.Pelican's Pick N'Pluck foam lets you customize the interior.Stainle...
 Show Reddit reviews
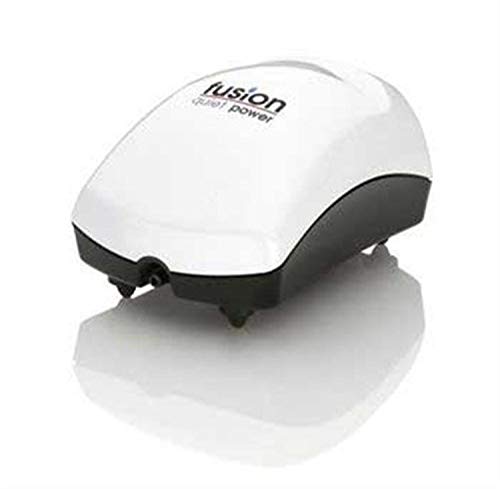
45. JW Pet Company Fusion Air Pump 200 Aquarium Air Pump
Sentiment score: 0
Number of reviews: 1
Patented Fusion baffle systemAmazingly quietPowerful airflowOperates up to 2 air operated ornaments, filters and airstonesBright ideas for better fish keeping!
 Show Reddit reviews
46. The Origin of the Species: By Means of Natural Selection
Sentiment score: 1
Number of reviews: 1
 Show Reddit reviews
47. General Tools 1271E Arch Punch, 1/2-Inches
Sentiment score: 1
Number of reviews: 1
The punch works on leather, rubber, canvas, plastic, sheet metal, gasket material, cardboard and softer metalsThe internal punch features an inside taper for clearanceThe punches are heat treated forged steel, ensuring long lasting performanceBecause of this heat treatment, the cutting edge will sta...
 Show Reddit reviews
48. TEKTON 6490 Double Flaring Tool Set, 10-Piece
Sentiment score: 0
Number of reviews: 1
Precision-Machined Steel Die Bar and Double Flare AdaptersDrop Forged, Heat-Treated Steel YokeHardened Center Screw with Sliding T-Bar HandleProduces 45-Degree Flare AngleUse with Copper, Aluminum, and Thin-Walled Steel Tubing
 Show Reddit reviews
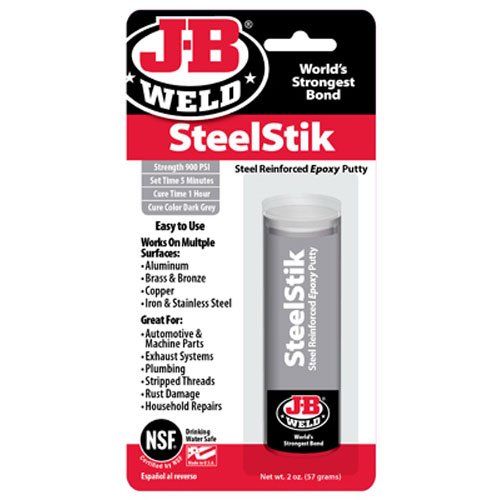
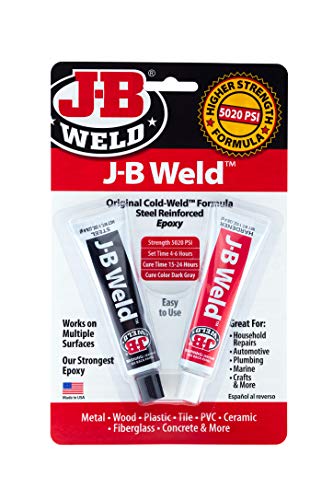
49. J-B Weld 8267-S SteelStik Steel Reinforced Epoxy Putty Stick - 2 oz
Sentiment score: 1
Number of reviews: 1
J-B WELD STEELSTIK: A hand mixable two part epoxy putty stick that is steel reinforced & non-rusting to quickly repair or rebuild anything made of metal! J-B Weld SteelStik is certified by the NSF and is safe for contact with potable water.CURE AND SET TIME: After kneading the two part formula toget...
 Show Reddit reviews
50. Armour Etch 2.8 Oz Etch Cream
Sentiment score: 0
Number of reviews: 1
3-ounce bottle of armour etch creaEtchings are permanentDishwasher-safe
 Show Reddit reviews
51. IRWIN Woodworking Vise, 3-Inch (226303ZR)
Sentiment score: 1
Number of reviews: 1
Easy clamp-on feature for working almost anywhereCan attach to tables up to 2" thickAnvil shaping horn incorporated into the designSturdy integrated pipe jaws keep the workpiece steady2" jaw capacity perfect for general purpose work
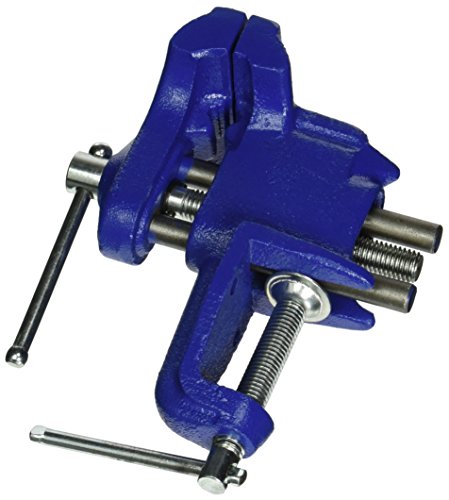 Show Reddit reviews
52. Wolfcraft 4525404 Multi-Angle Drill Guide Attachment For 1/4In. & 3/8In. Drills
Sentiment score: 1
Number of reviews: 1
Drill guide that can be used in horizontal, vertical or angle positionsGuide-bars themselves have springs for a quick return when doing repetitive drillingDrill adapter itself slides up and down on guide-barsAngle positions can go up to 45 degrees, and rubber pads in the base hold the guide in place...
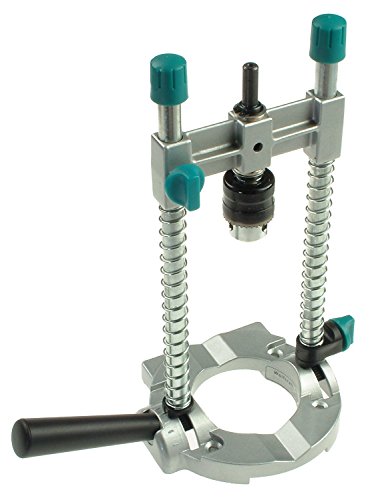 Show Reddit reviews
53. Coghlan's Expandable Camp Water Jug, 2-Gallon
Sentiment score: 1
Number of reviews: 1
Durable 2-gallon water jug made of high strength polyethylene expands as needed; collapses for easy storageUnique press and flow capability allows pouring in an upright position; comfortable, easy carry handleAffordable, essential gear for camping, backpacking, backcountry treks, and more
 Show Reddit reviews
54. Aqueon Silicone Aquarium Sealant (10.3 oz)
Sentiment score: 1
Number of reviews: 1
100% silicone aquarium sealant is easy to apply and waterproof to stop leaksHigh strength silicone creates a waterproof, permanent seal that will not crack or shrinkPermanently flexible siliconeLong-lasting bond stops leaks100% Non-toxic siliconeSealant can be applied with a caulk gunOur 100-percent...
 Show Reddit reviews
55. Loctite Clear Silicone Waterproof Sealant 2.7-Ounce Tube (908570)
Sentiment score: 1
Number of reviews: 1
Use for sealing or repairing door frames, windows, vents, toys, appliances, gaskets, weather-stripping, outside of fireplace doors, shoes and bootsBonds ABS, glass, ceramic, porcelain, wood, aluminum, stainless steel, cultured marble, fiberglass, granite, vinyl tile, some rubbers and plasticsAquariu...
 Show Reddit reviews
56. White SiliconeTubing, 1/4"ID, 1/2"OD, 1/8"Wall, 10' Length
Sentiment score: 1
Number of reviews: 1
Flexible tubing for air, water, food, and beverageSilicone rubber for resistance to high temperatures, oils, detergents, ozone, and salt waterTranslucent for visual inspection of fluidsOperating temperature range of -150 to +500 degrees FMeets NSF-51 standards for food equipment material
 Show Reddit reviews
57. 015 Silicone O-Ring, 70A Durometer, Red, 9/16" ID, 11/16" OD, 1/16" Width (Pack of 100)
Sentiment score: 0
Number of reviews: 1
Made of silicone for use with a variety of chemicals and fluidsCan be used across a wide temperature range from -65 degrees F (-54 degrees C) to 450 degrees F (232 degrees C)Round in cross-section to provide a seal between cylindrical overlapping surfacesDurometer (hardness) of 70A for resistance to...
 Show Reddit reviews
58. MIBRO 456831 Glass and Tile Drill Bit Set, 1/8in. to 5/16in., 4 Pieces
Sentiment score: 0
Number of reviews: 1
Carbide Spear Point With Uniquely Sharpened Edges For Easy Penetration In Glass, Mirrors, Ceramics And Other Hard Brittle Materials Like StuccoCuts Perfectly Round Holes Without Chipping Or Breaking The MaterialAll Sizes 3/16-Inch And Larger Have 3 Flats On The Shaft To Prevent Slipping In The Drill...
 Show Reddit reviews
59. J-B Weld 8265S Original Cold-Weld Steel Reinforced Epoxy - 2 oz.
Sentiment score: 0
Number of reviews: 1
J-B WELD ORIGINAL: The Original Cold Weld two-part epoxy system that was designed as an alternative to torch welding. J-B Weld Original provides strong, lasting repairs to multiple surfaces and creates a bond stronger than steel. Perfect for DIY household, automotive, marine, craft repair and much m...
 Show Reddit reviews
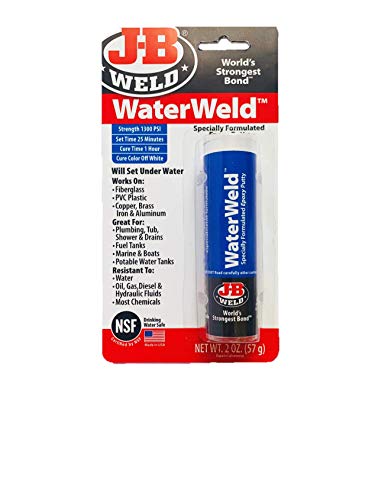
60. J-B Weld 8277 WaterWeld Epoxy Putty Stick - 2 oz.
Sentiment score: 1
Number of reviews: 1
J-B WELD WATERWELD: A hand mixable two part epoxy putty stick, that can cure under water and is ideal for repairing plumbing, fuel tanks, tubs and showers, drains, pool and spa, boats & potable water tanks and more! J-B Weld WaterWeld is certified by the NSF and is safe for contact with potable wate...
 Show Reddit reviews
TUTORIAL-ISH THING:
MATERIALS:
About the glass jars: I got mine at my local Hobby Lobby. They have an isle with all sorts of mason jars, bottles, and other glass jars. I pretty much just looked around there until I found ones that I thought would work well. The bottom two chambers are the same jar, and they're fairly large. They both have plastic lids that screw on. These lids are the reason that the bong can come apart. They don't necessarily have to be plastic, but it works out nicely. The reason I didn't use a third of the same one for the top chamber is because it would be too large for my mouth to fit when inhaling, so I found a smaller one that fit comfortably like an actual bong. the smallest one inside the middle chamber for the percolator is partly cylindrical shaped but goes in then flares out at the end. you don't have to use this type, in fact I almost bought the light bulb-shaped jar they have there but didn't because it didn't fit inside the larger middle chamber jar. Basically, when looking for the percolator jar, it needs to fit inside the larger middle chamber jar with plenty of room around it, it can't be too skinny because there needs to be a tube going up the center and there needs to be room for airflow there too, and finally it needs to have some room on the top AFTER you put the lid on the big jar. The reason for this is that in the lid of the large jar, you'll be drilling a hole in the middle that leads to the top chamber, so there must be room for airflow. for example, the light bulb-shaped jar when put inside the large jar with the lid on, it touched the lid, meaning that there wouldn't be airflow.
Okay, so that's enough about the jars. Any more questions, just comment.
PROCEDURE:
Holy shit that took a long time, but you're done! screw all the parts together, fill with water and weed and enjoy!
again, if you have questions, just comment and ask me.
damn, 9632/10000 characters...
I know -- rechargeable nimh batteries are the norm. The capacity is somewhat high, but not at all hard to come by.
Any big box store will at least have 2000 mAh batteries in the standard stock. From well known brands like Duracell.
Aside from all that, your original statement was false:
> The MFLB has a special battery that puts the positive and negative terminals right next to each other
It isn't special. It is an unwrapped rechargeable AA. Any rechargeable nimh battery is negative on the outer shell, the plaster wrapper is meant to insulate them.
I am pretty sure they are still using eneloops, which are relatively high capacity.
But then again plain old Duracell rechargeables are just rebranded eneloops, so that high capacity doesn't make them particularly unique or special or whatever.
All this and more is covered in my DIY MFLB guide if anyone needs some background info.
Silicone tubing available off Amazon for about $2.00 a foot. Food grade seems to be most popular for health and longevity reasons. As a bonus I still have a link from my last purchase off tube http://www.amazon.com/gp/product/B000FMWTRU Sizes are up to you dependant on you gear. Good Luck
I am afraid yoyos are not sentient beings, they do not possess the intelligence nor the mobility in order to be taught a "new trick"
If you would like to learn more about this I highly recommend you this book
I wish you the best of luck in your learning journey.
I wouldnt use epoxy, thats pretty volatile. You may be better of using some silicone sealant. I think that would be safer to be sitting in water for long periods. Don't want any chemicals leeching into your herbs.
edit:something like this aquarium sealant may do the trick. http://www.amazon.com/All-Glass-Aquarium-Silicone-Sealant/dp/B0002ASD34
Get one of these and making perfect holes in lids becomes superrrrrr easy.
Lots of option here. From the incredibly simple (and not as accurate for a very deep hole) to the more secure to the more intricate setups where there is a separate chuck and you can set angles if you want to. Look around a bit and figure out what the easiest way for you to securely clamp the drumstick is gonna be then I guess decide from there what option you want to go with, that will also give you enough travel to be able to drill out the full length of the stick.
Edit: also something to keep in mind is the longer the hole, the more resistance you are gonna get so depending on the size of your hole the drag might get a bit excessive.
I use this Irwin Table Vice and this Remmington Hair Straightener and some parchment paper.
Take a gram or so of frosty nugs, compress them slightly, then place in the center of a folded piece of parchment and clamp the weed/parchment in the center of the ceramic plates. Then place the straightener into the table vice and compress until relatively tight. Now, keep the straightener at lowest heat setting, turn it on, and allow for it to heat until you begin to hear a light sizzling. Turn off the straightener, and compress the vice down as much as possible, allow it to squeeze for 20+ seconds (time and temp can vary between strains). Now remove pressure and see how much you yielded. Use a dab tool or toothpick to collect the rosin, consistency can range from crumble, pull and snap, shatter, or wet terpy oil. If it's too wet to collect, pop it in the freezer for a tiny bit to make it easier. Can also save the spent rosin chips to make edibles, or can be ground up and smoked.
Edit: grammar/spelling
Stronger repair - http://www.amazon.com/J-B-Weld-8267-S-SteelStik-Reinforced/dp/B000786GLM/ref=sr_1_1?ie=UTF8&qid=1465149984&sr=8-1&keywords=epoxy+putty
Local hardware stores should have putty epoxy sticks like this for $2-3
This worked great for me in a similar break
https://www.amazon.com/J-B-Weld-8277-WaterWeld-Underwater/dp/B000BRQ0TW/ref=pd_bxgy_263_3?ie=UTF8&psc=1&refRID=GQZ8XD981HBYPN0Z6KR7
These are only 5 bucks and they work great.
I made it about 4 years ago before I had heard of the bukket. It is an old collapsable canteen and we cut a hole in the cap and dropped a slide in. It is harder to fill up than the Bukket but has a larger space to fill with smoke. The closest I can find on amazon is this but that is probably too big to efficiently hit.
I bought this a few min ago. http://thistothat.com doesn't even have epoxies so I figured that epoxies are probably just as strong if not stronger than those.
Boom, and boom, plus youll need this. Feed the hose through maybe some rubber or something and use the rubber to seal the tube into your piece. Cheaper and quieter than an air compressor. This might not work for bigger pieces though.
internal shot
Parts list:
Tools:
STL for 3d printing:
All three files
Wiring diagram:
Terrible MS paint Diagram
https://www.amazon.com/FORMULA-420-CLEANER-CERAMIC-CLEANSER/dp/B000ZH8UU0/ref=sr_1_5?crid=3W4HRXVQIS71&keywords=formula+420&qid=1563970566&s=gateway&sprefix=formula+4%2Chpc%2C167&sr=8-5
https://smokea.com/collections/formula-420/products/formula-420-original-glass-cleaner?variant=13759588335718
Aluminum. I made it from 3/8" OD aluminum tubing from the hardware store (5$ for 3 ft.). I followed the instructions from a soundrone video after I picked up a tube flaring kit
ID should be ~a little over 1/2", I got 9/16". Should be out of silicone.
http://smile.amazon.com/dp/B000FMWO8O/ref=biss_dp_t_asn (100 pack)
http://smile.amazon.com/dp/B00M902A6G/ref=biss_dp_t_asn (500 pack)
Both currently sold out.
A glass bit is a normal household tool. They are not very expensive and you can drill lots of holes:
http://www.amazon.com/Mibro-456831-4-Piece-8-Inch-16-Inches/dp/B000FK3ZE8/ref=sr_1_2?ie=UTF8&qid=1395952006&sr=8-2&keywords=drill+bit+glass
http://www.instructables.com/id/Glass-Etched-Glasses/
http://www.amazon.com/Armour-Etch-RECOMMENDED-CLEANING-GLASSES/dp/B0001DTWYG