(Part 2) Top products from r/olkb
We found 20 product mentions on r/olkb. We ranked the 97 resulting products by number of redditors who mentioned them. Here are the products ranked 21-40. You can also go back to the previous section.
21. AUKEY USB C to Lightning Cable 3.9ft iPhone 11 Charger [Apple MFi Certified] Durable Braided Nylon Type C to iPhone Cable Fast Charge for iPhone 11 Pro/X/8/8 Plus, iPad, Airpods Pro and Other
Sentiment score: 0
Number of reviews: 1
Fast Charging: When used with the original Apple USB-C charger that supports USB Power Delivery, this cable fast charges your iPhone 11 Pro / 8 / 8 Plus / X and iPad Pro 2017Reliable Data Transfer: USB 2.0 supports data transfer at up to 480Mbps between your USB-C equipped Mac and Lightning-enabled ...
![AUKEY USB C to Lightning Cable 3.9ft iPhone 11 Charger [Apple MFi Certified] Durable Braided Nylon Type C to iPhone Cable Fast Charge for iPhone 11 Pro/X/8/8 Plus, iPad, Airpods Pro and Other](https://m.media-amazon.com/images/I/31N7nfqS4lL.jpg) Show Reddit reviews
Show Reddit reviews22. Black Mini Bluetooth Wireless Keyboard for iPhone 4, iPad, iPaq, PDA, MAC, OS, PS3, Droid, Smart Phones, PC, Computers
Sentiment score: 1
Number of reviews: 1
The Adapt ADK-100 Micro Keyboard is the smallest Bluetooth keyboard in the market supporting a...The keyboard is available in QWERTY, QWERTZ and AZERTY and is powered via an internal 200MAh...Supports following models: All bluetooth compatible Computer/Laptop/Netbook. Nokia mobiles with...Mobile sys...
 Show Reddit reviews
23. Cutters - Xuron Micro-Shear Flush 410
Sentiment score: 1
Number of reviews: 1
Country Of Origin: United StatesModel Number: 410Item Package Dimension: 8.299999991534" L x 2.899999997042" W x 0.599999999388" HItem Package Weight: 1.0 lb
 Show Reddit reviews
24. 3M SJ5312 Bumpon Blister Pack, Clear 0.500" Wide x Long, 0.140"
Sentiment score: 0
Number of reviews: 1
Universal color matching. Nonslip.Cylindrical shapeA-20 Acrylic Adhesive, provides excellent adhesive anchorage
 Show Reddit reviews
25. 3M Self-Stick Pads 1/2 in. x 1/8 in. clear rubber pads pack of 18 751NA
Sentiment score: 0
Number of reviews: 1
Scotch Self-Stick Rubber Pads can be used for cabinets, drawers, picture frames, cutting boards and general use to protect surfaces from scratching and other damageClear 18pc- Permanent, not intended for removalMeasures about5",
 Show Reddit reviews
26. Self-Adhesive Clear Rubber Feet Bumpons (105 Pack)
Sentiment score: 1
Number of reviews: 1
.335" (8.5mm) in diameter x .085" 2.2mm) heightHemispherical shapeProvides a non-slip, non-scratch surfaceNo cutting requiredPeel off backing to use
 Show Reddit reviews
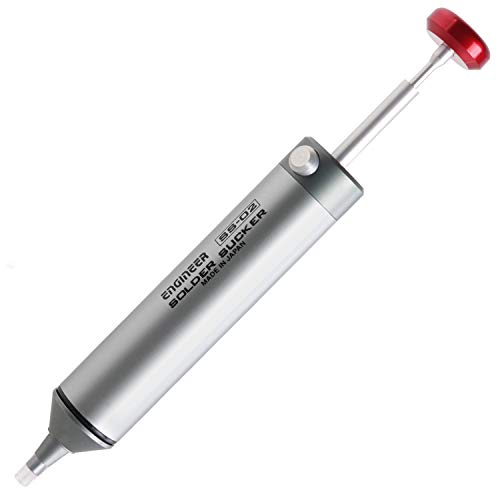
27. Engineer SS-02 Solder Sucker
Sentiment score: 0
Number of reviews: 1
Innovative Silicone Nozzle allows closer placement to soldering iron tip (therefore better suction & better solder removal)Compact design allows easy one handed operationWithstands direct contact with soldering iron (350C Max)Highest quality construction & components used
 Show Reddit reviews
28. StarTech.com Micro USB to Mini USB 2.0 Adapter - Micro USB (f) to Mini USB (m) (UUSBMUSBFM)
Sentiment score: 0
Number of reviews: 1
Use a Micro USB cable with older Mini USB devicesMicro USB to Mini USB / Mini USB Adapter / Micro to Mini USB Adapter / Micro USB to Mini USB 2.0 Adapter F/MA cost-effective solution for syncing and charging Mini USB devices using a Micro USB cableSaves you from having to carry multiple cables to ac...
 Show Reddit reviews
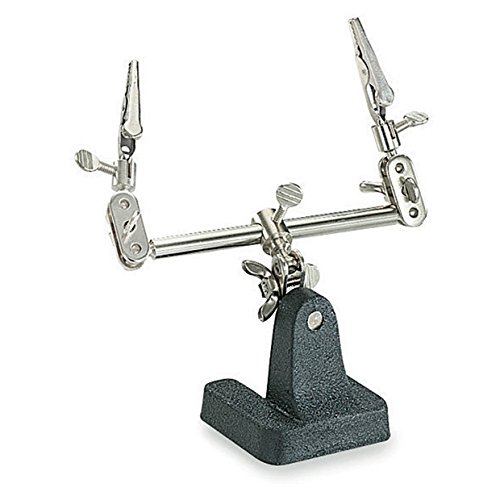
29. Pro'sKit 900-015 Helping Hands Soldering Aid
Sentiment score: 0
Number of reviews: 1
Brand name you can trustProfessional grade toolsMeet or exceed quality standards and quality control procedures conform to the strict requirements of the standard
 Show Reddit reviews
30. MG Chemicals 426-NS #4 No Clean Super Wick Desoldering Braid, 0.1" Width x 5' Length, Blue
Sentiment score: 0
Number of reviews: 1
No clean super wickFlux residue is non-conductive and non-corrosive.Static free bobbins.Flux residue remaining on board does not have to be cleanedHigh SIR-meets the requirements of both the bellcore specification TR-TSY-000078 and IPC test method IIIDisclaimer: Color may vary slightly according to ...
 Show Reddit reviews
31. MG Chemicals #3 No Clean Super Wick Desoldering Braid, 0.075" Width x 5' Length, Green
Sentiment score: 0
Number of reviews: 1
No clean super wickFlux residue is non-conductive and non-corrosiveStatic free bobbinsFlux residue remaining on board does not have to be cleanedHigh SIR-meets the requirements of both the bellcore specification TR-TSY-000078 and IPC test method IIINSF - Nonfood Compounds Program Listed P1, NSF Regi...
 Show Reddit reviews
32. CamKix Carrying Case with Fully Customizable Interior Compatible with Gopro Hero 7, 6, 5, Black, Session, Hero 4, Session, Black, Silver and DJI Osmo Action
Sentiment score: 1
Number of reviews: 1
FULLY CUSTOMIZABLE INTERIOR: Our cubed and perforated Magic Foam will allow you to design your own interior layout completely tailored to suit your needs.EASY TO CREATE: Simply mark out the shape of the object you want to store and gently remove the superfluous foam. The case can be used to store an...
 Show Reddit reviews
33. Jonard Tools R-30B-0050 Blue Insulated Kynar Copper Wire Roll, 30 AWG, 50 ft Length
Sentiment score: 1
Number of reviews: 1
VERSATILE USE: Kynar wire is flexible, lightweight, and strong, making it ideally suited in wire wrap, power supply, medical, and aerospace applications such as circuit board prototyping because of its lighter weight and smaller overall diameterHIGH CONDUCTIVITY: Oxygen-free high conductivity (OHFC)...
 Show Reddit reviews
35. SRA #312 Soldering Flux Pen Low-Solids, No-Clean 10ml - Refillable
Sentiment score: 0
Number of reviews: 1
For rework and touch-up of SMT, SMD, and through hole solder jointsContains 10 ml of No-Clean Low Solids FluxSuitable for automotive, computer, telecomEnvironmentally Friendly Refillable PenCompatible with Lead and Lead-Free Solders
 Show Reddit reviews
36. Wire Wrap Tool for 28 Gauge and 30 Gauge by EX ELECTRONIX EXPRESS
Sentiment score: 0
Number of reviews: 1
Hand wrapping, stripping and unwrapping tools. Strips, wraps, and unwraps. For AWG 30 wire on .025" square post.No soldering is involved. Great for prototyping.WARNING: This product can expose you to chemicals including DEHP which is known to the State of California to cause cancer and to cause birt...
 Show Reddit reviews
37. Steel Pan Head Machine Screw, Black Oxide Finish, Meets DIN 7985, #1 Phillips Drive, M2-0.4 Thread Size, 6 mm Length, Fully Threaded, Import (Pack of 100)
Sentiment score: 0
Number of reviews: 1
Package Dimensions: 6.35 L x 1.016 H x 3.81 W (centimeters)Package Weight : 0.022 poundsCountry of Origin : China
 Show Reddit reviews
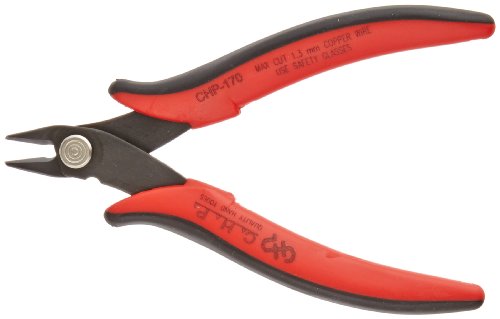
38. Micro Cutter
Sentiment score: 1
Number of reviews: 1
Flush-cut micro soft-wire cutter has 8mm long jaw with angled head for flush-cutting applications on up to 16 gauge (1.3mm) copper and soft wire21-degree2.5mm heat-treated carbon steel construction provides durability and long lifePrecision-ground holes and surfaces provide smooth movement, and spri...
 Show Reddit reviews
39. Hakko CHP 7A-SA Stainless Steel Non-Magnetic Precision Tweezers with Very-Fine Point Bent Tips, Heavy-Duty Tips, 4-1/2" Length
Sentiment score: 1
Number of reviews: 1
Pattern 7A tweezers with very-fine point and curved tips for use in electronics assemblyHeavy-duty curved tines ease gripping in high density areasSmooth shaft for general handling and positioning applicationsNon-magnetic stainless steel construction resists corrosion4-1/2" (118mm) length
 Show Reddit reviews
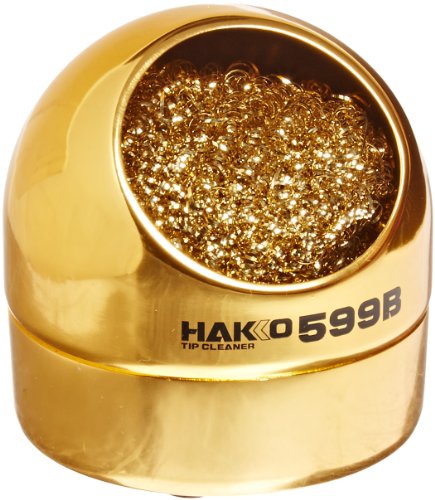
40. Hakko 599B-02 Wire-type soldering iron tip cleaner
Sentiment score: -1
Number of reviews: 1
Cleans better than conventional spongesNo water requiredWill not reduce the tip temperatureDoes not cause premature wear of soldering iron tipsNo contamination risk compared to conventional tip tinners
 Show Reddit reviews
You can use either type of switch.
That being said, I'd recommend that you use plate-mount switches. Many people do use PCB-mount switches, but they're not really necessary since the switches fit quite snugly into the plate, and the plate is made of beefy stainless steel. Besides, if you use the PCB-mount switches, you'll have a bugger of a time getting them to sit flush on the PCB since those leg holes are smaller than the legs themselves.
One thing to note: if you've bought Zealios for your planck, I highly recommend clipping those legs for best results. You can use a pair of flush cutters to clip those things off quite nicely. (This is what I use on my Zealios.)
EDIT: Re-read your question. Hope this is a better answer.
FWIW, I use this thing to reset Pro Micros.
https://www.amazon.com/Hakko-7A-SA-Stainless-Non-Magnetic-Heavy-Duty/dp/B00FZPFF96?_encoding=UTF8&psc=1
It's not what bought it for, but works perfectly for shorting RST and GND on Pro Micros.
It's about 5x7 and I just bought one for fun. For anyone else interested: https://www.amazon.com/Bluetooth-Wireless-Keyboard-iPhone-Computers/dp/B0044IGBOI
Also, you can try Kynar wire 30 AWG. It works great. Optional, but well worth it, is 10mm x 1mm White Double Sided Self Adhesive Sponge Foam Tape. That will insulate the strip from the PCB. As long as it 10mm it will work. You can search for other deals if you want.
That looks like a lot of solder from the picture. Maybe try ordering one of these, I found it to work better than a solder sucker...
Tenma 21-8240 Vacuum Desoldering Iron
https://www.amazon.com/dp/B008DJRYIG/ref=cm_sw_r_cp_api_aegZzb1ZWPPJQ
I get these, but there are better ones! Namely anything with 3M on them.
I used a pair of cutters from this amazon link.
https://www.amazon.com/gp/product/B00FZPDG1K/ref=oh_aui_detailpage_o06_s00?ie=UTF8&psc=1
They work great for flush trimming stuff.
I think I saw some of those at home depot last week if you are in the US and are near one of those...
I'm eyeing this thing to transport mine once it's finished: https://www.amazon.com/Carrying-Customizable-Interior-Session-Silver/dp/B00KBKHYKS
Saw it recommended for an ergodox/redox and it looks pretty snazzy. https://www.reddit.com/r/MechanicalKeyboards/comments/7uymgb/photos_redox_project_update/
First off, credit for this idea goes to /u/jaredj who mentioned using one of these in his build log here.
I ordered one on Amazon to try it out, and it arrived today so I thought I'd share a little demo of how well this thing works. If you've done any handwired builds, I think you'll immediately be sold on it.
Also, I trimmed off a bit of the connected diode leg before wrapping it, but you could leave it the full length if needed. I tested it that way, too.
NOT making a cent from this, just a link to the product so people can check it out.
As /u/Harakou commented, make sure to have desoldering materials. But for desoldering several switches at a time, I had trouble making progress with a regular solder sucker (the braid is very useful for small scale rework). So I bought a desoldering iron for several Planck and Ergodox rebuilds.
And to add to /u/deaconblue42 , a flux pen helped me a lot whenever I struggled to get good wetting action (watch the videos, it's a thing).
I have found the solder wick to still be the best method for smaller holes (even switch holes for that matter). I initially tried solder suckers, even electric ones, and it was harder on smaller holes.
What brand is your solder wick? It could be that its not properly fluxed in which case you can buy flux and dip it in. It could also be oxidising if you left the copper bit out for too long.
I personally use MG Chemicals #4, I tried using a different brand and the difference was drastic, it did not absorb the solder at all.
yeah the one i have isn't so good. So i'm thinking of getting this guy
Helping hands: http://www.amazon.com/ProsKit-900-015-Helping-Hands-Soldering/dp/B002PIA6Z4
Complete newb here
I have a Planck EZ. My understanding is that you still to flash the QMK firmware in this manner in order to achieve iOS compatibility.
My question is purely about cables.... I bought this on the off chance that it just worked out of the box with iOS. It obviously does not. Upon further research, I'm more worried about that I'm not getting a warning about power draw. Is this cable just wrong?
This and this. Turns out the standoffs were a 50pc pack, but all the same more than the 16 I needed.
These work really well. They are a little bit bigger than the ones that come stock though.
The rubber feet are from 3m. I believe this is it. Sorry for the formating, on mobile.
https://www.amazon.com/gp/aw/d/B000NG60SW/ref=mp_s_a_1_3?ie=UTF8&qid=1482437733&sr=8-3&pi=SY200_QL40&keywords=3m+rubber+pads
Use a solder sucker or some desoldering wick to remove the excess solder that is touching the logo.
Something like this https://www.amazon.com/gp/product/B00424S2C8
Ok i downloaded the repo, what next? The PCB light does not come on when i plug it in. Also because i do not have any mini USB cables lying around, i have a mini USB to micro USB adapter, not sure if that changes anything tho.
I did it with my MD Preonic, both switches and LEDs. I used the gold plated 8134-HC-8P2 and 8134-HC-5P2. They're available in various MK stores as well as component wholesalers like DigiKey.
The fit wasn't perfect, with both switches and LEDs they were a bit loose. My process was to tin each hole thoroughly, then use a solder sucker to clear the hole, leaving a thin layer of solder to make the fit tighter. Then I went through and installed the holtites, using a hot soldering iron to press them in while swiveling it back and forth. The iron was hot, but not super hot, so the solder wouldn't melt quickly. Also the iron itself should be as "dry" as possible, with no excess solder on the tip. You can use metal mesh cleaning clumps to do that, like this (just make sure to re-tin the tip regularly to avoid damaging it). Both of those are because if too much solder melts and wicks into the holtite, you've got a ruined holtite. Even if you use a solder sucker to clear the hole, the lower "prongs" of the holtite will be stuck together, so it will be difficult to impossible to get a wire through it.
Unfortunately, this means it's also pretty much impossible to secure the holtite in place by soldering it, because again the solder will wick inside. This meant that with some of my installations the holtite wasn't held firmly in place and came out along with the wire. Re-tinning the hole and reinstalling the holtite helped most of those cases, though I had to do it a few times for some.
I'd also suggest using a stiff wire of similar thickness to the led legs (even one of those will work) to "pre drill" the LED holtites after they're installed. Some of them will be fairly stiff, and using a pair of pliers to force a short length into the hole will make it easier to fit the LEDs in without bending the legs. Doing the same for the switches with a spare switch is also a good idea (just a warning - a couple of the switch holtites were so stiff they forced the switch leg to come loose, so installing the switch pushed the leg back into the switch housing. The leg can be pulled back into place with pliers, but the leg is loose after that and will be dislodged if you try to use it with holtites. The switch should still work for soldered boards or switch testers though.) This pre-drilling will loosen the holtites, and also help you catch some of the looser ones that come out when you extract the pre-drill wire.
Anyway, I consider the end result a success. I just started installing holtites on an EOTW preonic with the same process. For the MD board, I've already swapped switches once (which also meant swapping LEDs). At that time there were three LED holtites that came loose and had to be reinstalled. Still less work than desoldering and resoldering everything, and less risk to the board as well.