Best body repair sanders according to redditors
We found 17 Reddit comments discussing the best body repair sanders. We ranked the 10 resulting products by number of redditors who mentioned them. Here are the top 20.
We found 17 Reddit comments discussing the best body repair sanders. We ranked the 10 resulting products by number of redditors who mentioned them. Here are the top 20.


Soooooo, the sanding discs shown in the video are pretty pricey but definitely get the job done. Are there alternatives to those though?
P500 = $37
P800 = $34
P3000 = $68
Granted, youll be getting a decent amount (50 per P500 and P800 but P3000 is 15 discs). Everything else I am finding is mixed reviews of good and bad. I imagine, depending upon how bad the oxidation is, that youll only need one disc.
You can buy everything online, though it's easier to go to a harbor freight with a coupon if you have one. There are plenty of polishers you can buy online of course, but none are as cheap (at least with decent quality) as the harbor freight model. You can of course buy a much better polisher at your local lowes / home depot however unless you have a lot more use for it it's probably not worth it over the harbor freight one (a good polisher will cost you $200+). Everything else you can find at any auto parts store, or maybe even walmart.
Here's some links
Basic steps:
You are done! In most environments the duragloss will last 6+ months. If you keep your car protected with it, you won't need to do the cutting/polishing again (or at least, not for a while).
The trickiest part of the whole process is the compounding and polishing. Here are some helpful videos.
And that's about it! It's easier if you don't do touch ups, but I figure if I'm going to put this much work in it, might as well get them. And if you do it right (with careful application and then sanding) the touch ups look nearly flawless (most look terrible because people don't bother to sand them flush).
edit: two other tips...
If it's metal of some sort, you can produce a mirror finish by following these steps.
Notes:
Links:
you guys might need some of this
Getting a good finish on clear requires three steps:
Products I use:
Here's how I do it.
Sure is.
https://www.amazon.com/Fiberglass-Sanding-Corrosion-Electrical-Autobody/dp/B07B7YSS76/ref=sr_1_5?ie=UTF8&qid=1524965560&sr=8-5&keywords=sanding+pen&dpID=41QTQuiN2WL&preST=_SY300_QL70_&dpSrc=srch
Check the door cards. Popits have a known problem of clattering if they move freely. I used to use Door Strip Caulk.
I posted this years ago, but it applies to all vehicles. https://www.reddit.com/r/MINI/comments/1m2i2d/fix_that_annoying_door_rattle_with_just_a_panel/
ok, 2 other options -
Something like this, but obviously find one the right size for the hole you're going to drill.
https://www.amazon.com/Premium-Sealing-Closed-Rubber-Grommets/dp/B074WNWMD5
And/or:
https://www.amazon.com/3M-08578-Black-Strip-Calk/dp/B000PEZ1L4
I've used both methods before with good results for almost the same application as what you're doing.
Probably, you can take it apart and see if there's any corrosion and use it a little bit of contact cleaner with a brush to remove it.
Cleaner
https://www.amazon.com/CRC-05103-Electronic-Cleaner-11/dp/B000BXOGNI/ref=sr_1_4?keywords=computer+contact+cleaner&qid=1563093666&s=automotive&sr=1-4
Brush
https://www.amazon.com/Gold-Label-Detailing-Fiberglass-Electrical/dp/B07B7YSS76/ref=sr_1_1?keywords=fiberglass+brush&qid=1563093712&s=automotive&sr=1-1
I use the brush and contact cleaner at work whenever components get wet and have started coating what I can with a Nonconformal Silicon Coating to try and save me some of the headache. It's not ideal, but yey. =/
Sand it out, repaint it, bolt it down with some strip caulk (like this https://www.amazon.com/dp/B000PEZ1L4/ref=cm_sw_r_cp_apa_i_NH6ZCbHMZQ2RG ) to seal around the holes and keep leaks from happening
Yep.
Strip Caulk could be another option.
https://www.amazon.com/3M-08578-Black-Strip-Calk/dp/B000PEZ1L4
I'm restoring a car that used something like it for oem tail light gaskets. Still pliable after more than 50 years.
On this car already? You probably did not get all of the oxidation off. UV rays attack car paint (red especially) and oxidize it, or dry it out. Hence, the paint looks lighter or chalky. You have to cut through all of that oxidation to get the color back, then polish to get the shine.
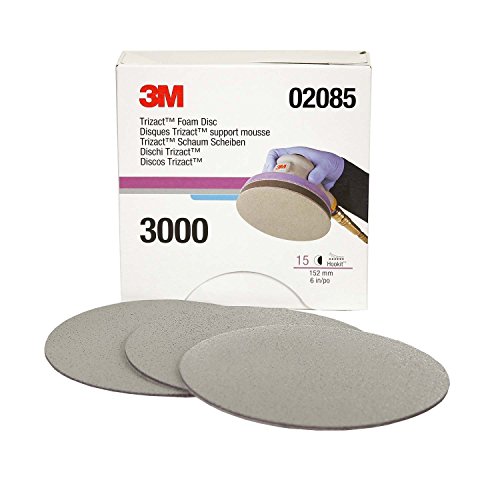
You may need to use a 3000 grit equivalent pad on a buffer (like this) to cut through it all. I won't recommend sand paper because you need experience to do that safely.
Once you use the Trizact pad, it will look dull, but darker. You can then use a light polish to get the shine back.