(Part 2) Best household poly & varnishes according to redditors
We found 221 Reddit comments discussing the best household poly & varnishes. We ranked the 86 resulting products by number of redditors who mentioned them. Here are the products ranked 21-40. You can also go back to the previous section.


The main problem I had with my desk is it sagged, it wasnt thick enough. So get 2 or 3 pieces of plywood and glue them together with clamps. then cut whatever shape you want. then use a stain
https://www.amazon.com/Varathane-241411H-Premium-Stain-Cherry/dp/B000RUJNRY/ref=sr_1_1?keywords=polyurethane+black+cherry&qid=1574478482&sr=8-1
Then use a clear gloss
https://www.amazon.com/Rust-Oleum-200041H-Water-Based-Poleurethane-1-Quart/dp/B000Y4DV9O/ref=sr_1_2?crid=3OQLQUL1GCQLE&keywords=polyurethane+clear+gloss&qid=1574478498&sprefix=polyurethane+clea%2Caps%2C194&sr=8-2
Another post brought this to mind.
I seal my reloaded primers with tinted nitrocellulose lacquer to differentiate between my loads.
Mohawk Finishing Classic Instrument Lacquer 1 Qt
Mixol 12 Piece Kit
EDIT: The green sealed rounds threw a hell of a fireball and packed the biggest thump despite being the second hottest load.
Interesting.
This one?
Absolutely!
limestone
polyurethane (this was way cheaper at Home Depot)
stain
this is the tutorial I used.
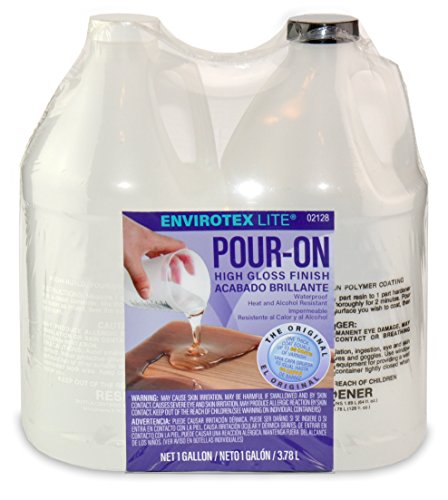
This is the epoxy I used - http://smile.amazon.com/Environmental-Technology-128-Ounce-Pour-Finish/dp/B000LNW022?ie=UTF8&refRID=XW5AEVZYXF05N5FF59K1&ref_=pd_nav_hcs_bia_t_2
I used about 3 gallons.
I do plan on planing the frame to be as flush as possible to the surface, but it's not something I've previously done. I have to wait a couple weeks because I have a bunch of family in town for my daughter's graduation.
Hi everyone,
I'm working on a tabletop made from birch. I sanded it from 80-120-220, raised the grain, and lightly sanded it with 320-grit sandpaper by hand. After each coat of polyurethane (I waited 3-4 hours between each coat) I sanded it lightly with 320-grit and removed all of the dust.
I did a 7th coat last night, and the lines are still there. What am I doing wrong, and is there a way to fix it?
This is the polyurethane I used.
Okay, you've picked a pretty tricky first refinishing project. But lets get to it.
Legs: Lightly sand and use a shellac based primer. Shellac sticks to everything, so this will save you headache later. You won't need much, which is good, as shellac primer is a little expensive.
Top: Pine is a bitch to stain. Reading the description at Ikea's site, it would appear the top coat is lacquer. Which is good and honestly, a fine finish for the dining room. In large part because it is easy to refinish. Poly sucks for nice furniture just because of how tough it is. Anyway...
Start with something like this: http://www.amazon.com/Formbys-30013-Furniture-Refinisher-32-Ounce/dp/B0014JGFYG You want to be able to remove the top coat without mucking with the stain too much. There are other brands. Specifically look for something that disolves varnishes. Avoid full blown strippers. Follow the directions.
Once the top coat is gone, assess. If you're lucky, the stain is fine. Simply reapply another coat of lacquer. If you have to restain, you get some fun.
If the stain is mostly okay, you can try to touch up the problem spots. Understand that it may or may not work well. (Like I said, pine sucks here.) Trust your eyes and hands.
If the stain is more screwed, I'd lightly sand the whole thing. You probably won't get all of the stain out, but you can at least make it more even. Now apply a pre-stain conditioner. Then restain. Then lacquer.
Without the pre-stain conditioner, you will likely get blotching, which is how pine tends to fight you with stain. If you have more questions, fire away!
And Finally:
I'll need better, close up pictures of the scratches. You might, might might, MIGHT be able to simple apply a top coat of lacquer and have it clean up your scratches. Lacquer, like shellac, reactivates in the presence of solvent (lacquer thinner for lacquer, STRONG alcohol for shellac). This allows additional layers of finish to melt together with the previous finish. Again, if there are just light scratches, a little thinner on some steel wool rubbed gently over the whole surface and 2-3 new coats can cover up a lot of sins. I'd recommend not trying this without some very careful pictures for me to confirm it'll work.
I pretty much use boiled linseed oil to finish everything I make. You can just wipe on with a brush or rag and it's basically impossible to mess up. It brings out the natural color and grain nice without looking overdone. Personally, I don't like clear coat unless it is satin or flat. I think shiny furniture takes away from the natural beauty and loses some of the grain in the glare. This satin clear coat works pretty good I've found and is water based and easy to clean up: https://www.amazon.com/Minwax-64444444-Polycrylic-Protective-Semi-Gloss/dp/B000PRNXNY I've used it on 5-6 tables now and I'm always happy with the look and durability. You can do 2-3 coats and sand with 220 briefly in between coats to get the finish super smooth.
Anyways, you have a really cool slab and it's going to make a beautiful table no matter how you decide to finish. :)
Thanks! You have to dissembled the joy cons which is pretty simple after my first one. 5-10 minutes each joy con.
From another reply I posted.
"You want to start off using an air brush kit. You can get some pretty cheap ones for about 80 bucks that will do the job. Something like this https://www.amazon.com/Master-Airbrush-Multi-purpose-Dual-action-Compressor/dp/B001TO578Q.
I have a better air brush that's about 150 bucks alone but it's because we use it for other stuff that requires more precision. You won't need something that much to do the job.
Start off taking out your joycons and cleaning it. Use grey or black primer and let it cure for 12+ hours. https://www.amazon.com/Vallejo-Black-Primer-Acrylic-Polyurethane/dp/B004BN5RUU/ref=sr_1_2?s=toys-and-games&ie=UTF8&qid=1494183787&sr=1-2&keywords=airbrush+black+prime
As for the paint itself, you can use any of these and it depends on what you like. https://www.amazon.com/Color-Changing-Holographic-Paint-2oz/dp/B0015H4G2K. I used the gold/green/orange/purple so it changes to any of these colors based on the angle.
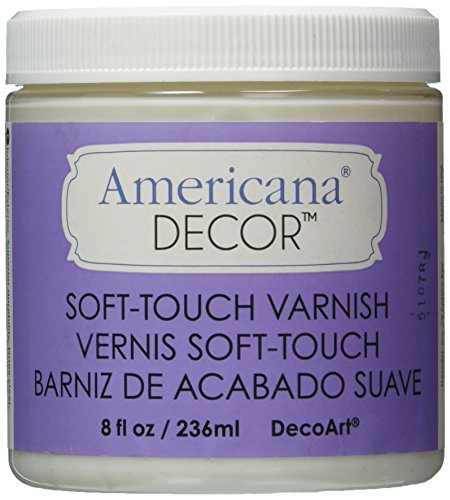
For the finish, I used https://www.amazon.com/Deco-Touch-Varnish-8-Ounce-Clear/dp/B00HQME2R2/ref=sr_1_1?s=hi&ie=UTF8&qid=1494183686&sr=1-1&keywords=soft+touch+varnish. It gives it a really nice soft touch feel but it's very thick. You'll want to thin it out a bit and let it cure for 24+ hours. Multiple coats the better for that extra protection and long lasting feel. Although I used these here, I am finding that they will wear out eventually. I am redoing the finish with this now. https://www.amazon.com/Vallejo-Matt-Model-Color-Varnish/dp/B000PH9JPA/ref=sr_1_1?ie=UTF8&qid=1494191915&sr=8-1&keywords=vallejo+matte+varnish. You can also go with a glossy finish if you want as well.
I just started air brushing a few months ago so just practice on some test objects."
depending on how rough it feels I would suggest starting with an 80g or 100g and then finishing with 120g and 220g. You can skip the first one if it is not super rough. Get one of those sanding sponges with the different angles on them. That will be easier on you hand than just sand paper. Becasue of the shape you'll want something that you can wipe or spray on. Use 4-5 thin coats. The easiest/cheapest option would be a wipe on poly or even better an Aerosol Spar Urethane. EDIT Also, sand lightly in between coats with 220 or higher. This helps the next coat stick.
You might also consider trying to fix a few of those larger cracks by filling them in with a two part epoxy
Good luck! It will be a nice surprise for her when she returns.
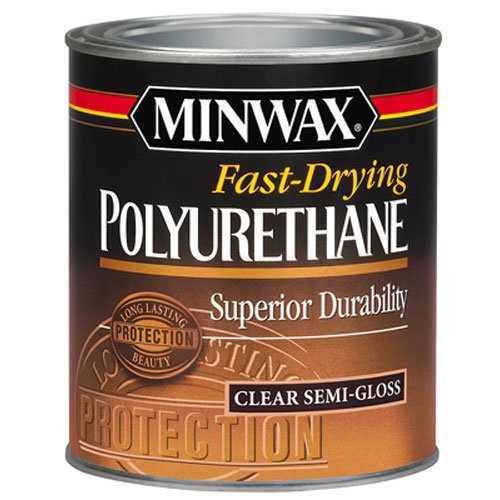
Thank you very much! I did the fast-drying - I almost exclusively use that product for poly.
The wax was a paste wax to buff the final finish and clean up any imperfections the poly might have left. It's similar to a wet sanding, without getting too technical. I used 0000 steel wool and put the steel wool in the wax, buffed it onto the box, then let it sit for a minute or two, and then removed the wax and buffed it with a shop(lint free) towel.
http://www.amazon.com/Johnson-Fine-Wood-Paste-00203/dp/B0000DIWIM
The humidor I made out of Tiger Maple with a Spanish Cedar lining. It's approximately 6' tall, 2.5' wide, and 1.5' deep. I'll link some pictures for you!
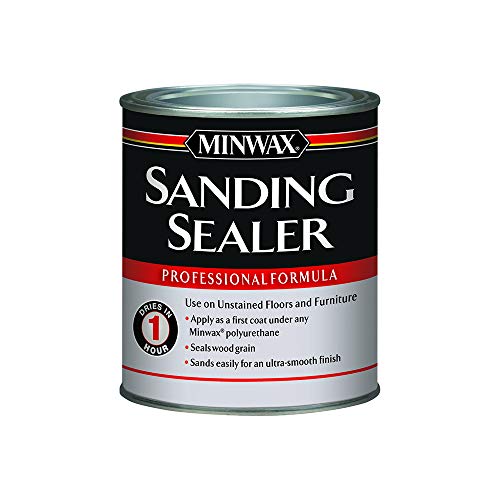
Edit1 Response: I used the MinWax sanding Sealer, that comes in the white can: http://www.amazon.com/Minwax-65700-Water-Based-Sanding-Sealer/dp/B004Y6TTKI
Edit2 Response: So I sanded the box with 150, 220, 400, and 800 with my orbital until it was as smooth as I could get it. With Zebrawood it seems like the grain stands up, and I could be using the wrong term, but part of the wood will pop up with almost small slivers, that will need to be buffed out. Essentially the grain was raised up and it really only does it on the first coat that gets applied. If you ever work with Zebrawood you'll know exactly what I'm saying - one of those things that's hard to explain without a sample in front of me.
FYI - I'm more than happy to answer any of your questions!
Vallejo Matt Model Color Varnish, 17ml https://www.amazon.com/dp/B000PH9JPA/ref=cm_sw_r_cp_apa_i_4ZWqDbN193MQG is a good one.
I use The Army Painter Anti Shine Matte Varnish https://www.amazon.com/dp/B007QW3M0U/ref=cm_sw_r_cp_apa_i_z1WqDb9D0KQZX. Because they had it at my local shop, it dries fast and I like brushing it on to control the thickness and honestly it doesn't take long.
Before you use a matte varnish use a gloss one it's a better protector. I do 2 thin coats of gloss then 2 thin coats of matte.
Gloss varnish- Vallejo Acrylic Paint, Gloss Varnish https://www.amazon.com/dp/B001JJZDSK/ref=cm_sw_r_cp_apa_i_82WqDb58V9HGK
"Old Fashioned Milk Paint" is zero VOC and awesome looking. Sand lightly between coats. Use gloves with this as the lye is caustic before the reaction with the milk protein.. after it dries, it's fine.
Topcoat with a couple of wipe on/wipe off coats of https://www.amazon.com/Tried-True-Wood-Finish-Danish/dp/B003DL6VQA/ USE VERY VERY LITTLE OF THIS PRODUCT, and rub it to get off what you can after letting it sit an hour... during the wipe-off phase, the rag should come clean.
check out the MDS/MSDS of all the stuff you want to use and judge for yourself.
For the wood, start with a Furniture Refinisher (Formbys's makes one). It's basically a low strength stripper and it allows you to clean up a lot of the damage without needed to completely strip the piece. It is incredible how much of the color fading, bleaching, and scratches that you can get rid of with refinisher. And it keeps as much of the original finish on that is still good so it protects the integrity of the piece. You don't want to strip and sand if you can help it because the entire piece will be veneer and it is very easy to wear through the top layer to the wood underneath and ruin it.
Speaking of, as another commenter mentioned that is not plywood, it is veneer. And I'm not sure it is oak. If you find out it is oak, be sure to look for a veneer that matches the quality and look of vintage oak, because it is not the same look as people use oak for now.
The top you may need to replace, or you may be able to spot fix. And the sides you may be able to gently coax/glue/clamp back into place. I would research veneer replacement and restoration to find out. Either way, you would only take off the very top layer (the thin veneer) and not the entire top and side, and that would be worst case scenario.
If you want to use this as an opportunity to learn beautiful wood finish, I can't recommend Charles Neil's Wood Finishing youtube channel enough. They are long, he's a talker, and he is amazing.
For the insides, I know nothing of electronics. I would probably try and vacuum it first before going to water. With restorations the trick is slow and steady. You do the least harsh method first and slightly upgrade aggressiveness if you need to. Much of the dust and dirt can be vacuumed out with a bristle attachment. When you say soap and water, I am assuming you mean slightly damp rag? Even then, I believe water can leave deposits, so make sure that is right.
Youtube has good videos, but make sure the person explains why you should use something or use a product. A lot of them rely on homespun wisdom that isn't really good advice (I already saw a bunch saying to clean with WD40 which is not a wood cleaner, don't do that). The pros will explain the reasons why and use it as a teaching moment. The home vloggers will just go through the process.
I make stuff out of polymer clay too! http://imgur.com/a/JLv4n
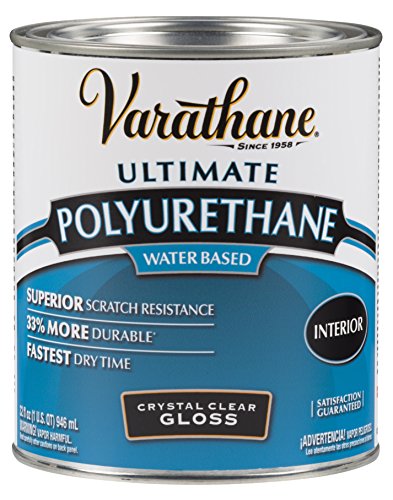
What brand of clay is your preference, also I saw a comment that you used sculpey gloss, have you ever considered buying Varathane instead? It dries a lot quicker (goddamn that stupid tackiness of sculpey gloss and FINGERPRINTS) and is a LOT cheaper for such a large amount. Haven't gone back and no regrets.
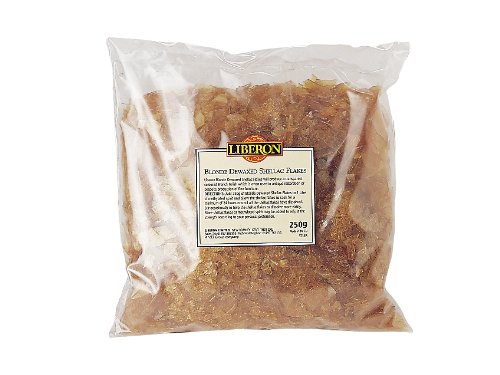
https://www.amazon.co.uk/Liberon-BDS250G-Blonde-Dewaxed-Shellac/dp/B000TAWD1U here's a link for you.
It should be quite easy to find at any shop that sells supplies for woodworking and laying one's own floors, along with sole wholesale suppliers of materials for manufacturing clothing, because shellac is what they spray on felted hats and things like that to keep them stiff and in shape. To dissolve it you're going to want to use pure ethanol, sometimes you can find it sold to drink as pure grain alcohol, but it's much cheaper to get pure grain or corn ethanol fuel from a shop that sells farming supplies and hardware, as that's what people use to fuel their tractors and such. A lot of synthetic products that are toxic are sold as shellac, which is why I prefer to buy it as flakes than as an already mixed liquid, that way you know that it's the real thing. Japanese lacquer also works but it's ridiculously expensive.
My favorites are:
Mahoney's walnut oil: https://www.amazon.com/Ultimate-Walnut-Oil-Mahoneys-Finishes/dp/B001F7JUDK
Tried and True Danish oil: https://www.amazon.com/Tried-True-Wood-Finish-Danish/dp/B0155AUTG4
The Mahoney's is the quicker of the two- slop on as much as the wood will take and wipe off. My production items like my cherry plates get a coat of it followed by beeswax.
The Tried and True is a little fussier but not much- it just needs to be applied a lot thinner than you're used to applying and ideally in three coats each a day apart, but damn does it ever look nice and it just gets better with age and stands up to lots of washing (moreso than the Mahoney oil).
I tried the General Wood Bowl/Salad Bowl finish once and hated it- it left a film finish, but not enough of one to be impressive, started to give the work that tacky fake plastic sheen I don't like. And, it's not truly food safe (unless you subscribe to the "all wood finishes are food safe" hypothesis). It has solvents and driers. The two that I linked are so non-toxic you could eat them in their liquid form.
I am looking for a natural oil finish and I want to avoid toxic substances and fumes. I tried food grade white mineral oil but the surface is still greasy a week later (its possible i did not put it on correctly). I saw some forum posts that people claimed its because mineral oil is a non-drying oil and it will always feel that way. So far this is what I have come up with Tried & True Oil and Walrus Oil has anyone used either of these or have other suggestions?
Yeah varnish can be weird, every brand is different I use to love this reaper brand but can’t find it anymore but the army painter stuff I’m using is a close second.
Hobby Anti-shine Paint Pot https://www.amazon.com/dp/B007QW3M0U/ref=cm_sw_r_cp_api_i_UcRPCb3HW1Z6P
Then you have peeps who use unconventional types of varnish like pine-sol or something like that through an air brush. Although I can’t remember if it was pine-sol that I read that they used. I think it’s weird but if works for them to each their own.
First of all thanks a lot for your time and help!! Sorry for the delay - it's been taking me a while to look up stuff on Amazon according to your suggestions.
Thanks for confirming that I should get half a pint stain and a quart of the poly!
As far as sanding papers go - thank you so much for clearing that up. At first I found lots of 3M stuff (as you said), but then I came across this pack, so I thought it was sufficient. At first neither of you guys had mentioned it, so I could have gone through with it, thinking they were fine.
However, and correct me if I'm wrong, but I think I end up spending way too much even though I barely need a few sanding papers, because look:
Okay, so I'll pick up this hand sander (couldn't find a cheap cork).
Then, for the 220 grit: 3M 9000NA-20-CC Sandpaper Aluminum Obyide, 9-Inch by 11-Inch, Very Fine (pack of 5)
320 grit: Norton 02613 3X Handy Aluminum-Oxide Sandpaper 320 Grit, 9-Inch x 11-Inch, 3-Pack
Ultra Fine grey Scotch-Brite, according to Amazon you have to prove you are professional before they allow you to buy 3M's version, so I found these, instead: Mirka 18-118-448RP 3 pieces 4 1/2-Inch by 9-Inch Ultra Fine Scuff Pads (Grey) 1500 grit
So overall, it's $6.99 for the hand sander tool, $7.52 for the 220 grit, $6.95 for the 320 grit, $12.06 for the scotch (1500 grit); a total of $33.52 for sanding material!
Is it justified for just one piece of tabletop? Did I get something extra? Maybe something I shouldn't have? You tell me. If it's reasonable then I don't mind.
As for my poly, as I said, I intend to use this water based, matte one: Rust-Oleum 260357 Ultimate Polyurethane, Half Pint, Matte (I'll get 2 buckets). My brush will not touch anything else besides that, as I will use foam brushes to apply whatever stain I'll end up with. For this reason, I think the procedure in which you are supposed to keep the brush you use clean and prevent it from drying out, should remain similar to any other water based poly, no? You're the expert so I have no clue, but I couldn't find any specific instructions on that page (I also went through the questions and reviews).
I'm not from the US, by the way. Luckily, though, there is a free shipping promotion, otherwise all of these things would have added up to sooo much more. Due to that, as far as water based stains go, I think going for water based stain and praying it will be good enough is going to be both a waste of time and money, because I'm going to have to wait over a week for all of these things to arrive. It's not like I can get it overnight, test it and see if it's to my liking. that is why I'm trying to get everything right the first time (And I've already seen how the oil based stain will end up looking like, so it would be a safe bet). Would you say that in general, water based stains show similar results to their oil based counterparts? If so, then I might as well just take a gamble.
I have to go now but I will be sure to read your reply (should you send it before I return).
Thanks a lot for all of your help! I really appreciate it!
If the satin is too shiny, no harm done, brush this over the entire sprayed area. Because they don’t make matte spray in cans that I'm aware of. So, it’s essentially trial and error. But I would go with the satin spray first.
https://www.amazon.com/Rust-Oleum-260357-Touch-Polyurethane-Matte/dp/B00714ZO22/ref=sr_1_3?ie=UTF8&qid=1474227501&sr=8-3&keywords=varathane+matte
If it was my bar I wouldn't even entertain an oil and wax finish. The benefit of an oil and wax finish is they are easy to refresh. In a commercial setting you're going to be refreshing them far more often than you'd want to (with 48 hour cure times before they see use).
I'd either use a durable production lacquer (waterborne), an outdoor rated varnish, or an epoxy. All of which are available in a matte sheen.
Again if it were my bar, a few cans of this would already be on the UPS truck
There are matte finishes too, if you prefer that. I linked the glossy because you originally wanted to polish this to 2000 grit...
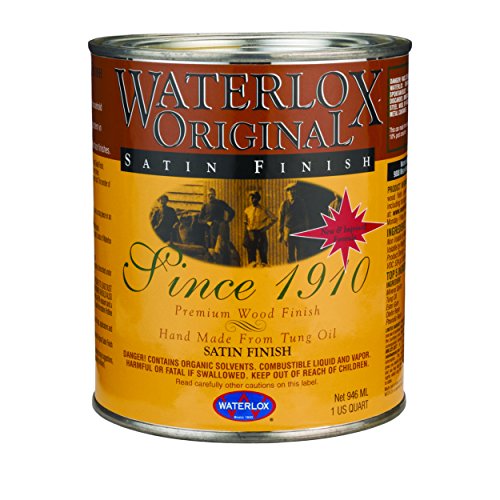
It's this product correct?
https://www.amazon.ca/Waterlox-Original-Satin-Finish-Quart/dp/B003WP5MKI/ref=sr_1_fkmrnull_1?keywords=waterlox+satin+finish&qid=1558033446&s=gateway&sr=8-1-fkmrnull
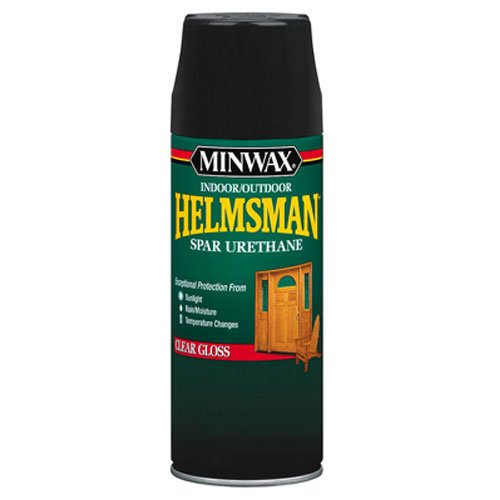
Dark Walnut comes close. BLO doesn't "protect". For outdoor protection use some Polyurethane made for the outdoors, such as:
Minwax 33250000 Helmsman Spar Urethane Aerosol, 11.5 ounce, Gloss https://www.amazon.com/dp/B000Z8DGJE/ref=cm_sw_r_cp_api_9ScUzbY3QPPYS
For me, that would be dependent on several factors - I would block sand the headstock with about 220 grit, with the grain, until it's as smooth and blemish free as possible...
Then I would double check to make sure that the tuning keys have enough threads to tighten down properly without the thickness of the missing veneer. If they do, you're good to proceed, otherwise, you probably want to find a veneer, shape and glue it up and proceed with finishing. (you also would have the option of reaming out the holes and using a bushing, but that would weaken the headstock just a bit).
If you want a fairly exact match on the color, Stew-Mac has ColorTone Liquid Stains that can be mixed with lacquer (or polyurethane, if that's your choice, I'd personally go with lacquer as it's easiest to work with and polishes out better) - you can tint the clear finish (don't tint the whole can, you'll also want some clear to apply on top), and just brush on subsequent coats until the color is deep enough to match. a few (few in my world means about 10, but I'm extremely particular) coats of clear on top, block sand with 2000 grit paper, and hand polish and you're good to go.
Another option would be to stain the wood directly, but you may have a harder time getting the color to match. If you test on a scrap of similar wood, though, you can get it pretty honking close and the use the tinted clear to tweak it. That might be faster (stain first, then clear).
Whatever finish you decide to go with, be sure to pay careful attention to the wait time between coats and the recoat window. Layers have to thoroughly outgas between coats so that you don't trap solvents between layers - that's how you get bubbles of cloudy (blushed) clearcoats.
Refrain from casing it up as long as you can - let the finish air dry as long as you can stand it. OH, and you probably also want to wait at least a week after your last coat of clear before you crank down on the tuning key nuts to make sure that the finish has fully hardened - otherwise you'll get squishy little craters in the finish because it's still a little soft. Those things don't have to be torqued down like a car engine mounting bolt either, just hand snug is fine. It's your guitar, you can always revisit that in a couple of months anyway.
Best of luck with your project - we want pics when it's done!
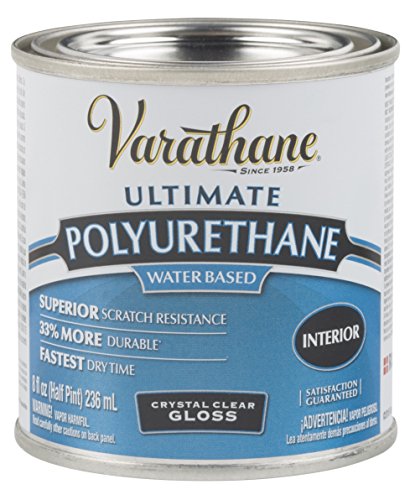
I use varathane. It’s water based and I have never had it yellow or crack on me. I will suggest that once you open it,you put it in a different container or the can will rust and discolor it. RUST-OLEUM 200061H 1/2 Pint Gloss Water Based Wood Finish https://www.amazon.com/dp/B000FPCKBW/ref=cm_sw_r_cp_api_i_6t13CbEP3NGNT
I play with polymer clay too and watched a ton of videos on YouTube on how to make stuff. For paint, I just use acrylic. As for a seal, I haven't used it yet but this gloss was recommended:
http://smile.amazon.com/gp/product/B000FPCKBW/ref=oh_aui_detailpage_o01_s00?ie=UTF8&psc=1
There are a bunch of videos on YouTube to use as a good source.
Everyone in this sub pretty much uses the hardware store 2 part epoxy.
It's soft, easy to scratch and yellows over time. It will fail, and you will hate it. People do not return to /r/diy to report on their projects 5-10yrs on to let you know how it turned to shit after a few years. If you just want to make yourself a penny table and toss it after a couple of years, this stuff will work.
That doesn't mean you can't get this effect with better epoxy that will last a long time. There are professional epoxies that hardened like glass. Think of those fancy desks the reporters sit behind on CNN.
But those epoxies are very expensive, difficult to use, and poisonous. You'll need a mask, special paint booth, etc, etc...
I would suggest practicing on a piece of scrap wood if you do want to add color. I think it look lovely as is though!
As for the finish, I use this:
Minwax 64444444 Polycrylic Protective Finish Water Based, quart, Semi-Gloss https://www.amazon.com/dp/B000PRNXNY/ref=cm_sw_r_cp_apa_i_sYPDDbDE4ZEJT
With this brush:
Minwax 427320008 Manway Polycyclic 2" Trim-Polyester/Nylon Blend Brush/Roller/Applicator, 2 inch, White https://www.amazon.com/dp/B01LBFR8T8/ref=cm_sw_r_cp_apa_i_9ZPDDbCF4N6BQ
Oh, you do. Shellac comes either pre-mixed or in flakes that you dissolve in alcohol, I prefer the flakes. It is not a brand name, but a description of a substance, made from excretions of a beetle somewhere in India. A very old finish by itself and excellent. Google Wikipedia on shellac. Here's Amazon.uk link where it is sold...........................................................................
https://www.amazon.co.uk/Liberon-BDS250G-Blonde-Dewaxed-Shellac-x/dp/B000TAWD1U..................................................................
The idea is that a light mix, called a "spit coat" seals the grain very lightly, enough so the stain is still absorbed into the wood so you don't have the stain being absorbed more by one type of grain than the other, and evens out the finish. After the spit coat dries, you go over it with fine steel wool, then apply the stain. As I said, if you are going for the blotchy look, you don't need it. But for my taste, an even layer of color is preferable.
Many thanks! One more thing, the polyurethane you mention, is this the proper stuff?
https://www.amazon.com/Minwax-63005444-Drying-Polyurethane-Semi-Gloss/dp/B000VZNESE
I would suggest:
Basic process (You have the video to fallow, but these steps are general steps for almost all woodworking finish)
Other Options, instead of Laquer:
Their rep told me I should use water based polyurethane. They didn't sell me the 'platinum protection' and a repair would cost 75$.
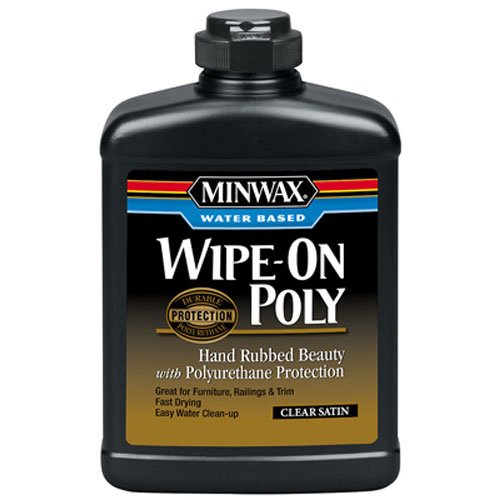
What's your opinion, how would I apply that? Would this do https://www.amazon.com/Water-Base-Wipe-On-Polyurethane-16fl-oz/dp/B001XQ20WG/ref=sr_1_7?ie=UTF8&qid=1501171069&sr=8-7&keywords=water+based+polyurethane and just wipe over it?
What would happen on the are that has already the coat?
There is a brand of Danish Oil (Tried & True) that claims to be made without any toxic chemicals: https://smile.amazon.com/gp/product/B003DL6VQA/
I've used it a bunch of times and it works well. It's actually certified food grade - personally I would not trust it that much but I'm sure a surfboard will be fine!
I personally love lacquer for finish watco brushing lacquer is my go to. It lays down nice with a good brush and it dries fast way faster than poly and hold up almost as well. It doesn’t have the water resiliency as poly. One tip I after final coat rub the surface with a brown paper bag take out the dust nibs without dulling the finish.
I use Waterlox, a hundred year old tung oil based finish. It dries slowly, so you can work into nooks and crannies without having to rush. Plus, tung oil man. You do have to wait 24 hours between coats, but the results are p good.
Here's a guy putting it on a mahogany door.
I was wondering about the specifics about coating it. Wasnt familiar with spar urethane. So this stuff? https://www.amazon.com/Minwax-63205444-Helmsman-Urethane-quart/dp/B0044FFL06?th=1
I will probably do this at a minimum. Thanks!
I'd use Spar urethane which is intended for outside weather conditions. Choose the finish you'd like.