(Part 3) Best houshehold finishes, sealers & stains according to redditors
We found 387 Reddit comments discussing the best houshehold finishes, sealers & stains. We ranked the 173 resulting products by number of redditors who mentioned them. Here are the products ranked 41-60. You can also go back to the previous section.


The main problem I had with my desk is it sagged, it wasnt thick enough. So get 2 or 3 pieces of plywood and glue them together with clamps. then cut whatever shape you want. then use a stain
https://www.amazon.com/Varathane-241411H-Premium-Stain-Cherry/dp/B000RUJNRY/ref=sr_1_1?keywords=polyurethane+black+cherry&qid=1574478482&sr=8-1
Then use a clear gloss
https://www.amazon.com/Rust-Oleum-200041H-Water-Based-Poleurethane-1-Quart/dp/B000Y4DV9O/ref=sr_1_2?crid=3OQLQUL1GCQLE&keywords=polyurethane+clear+gloss&qid=1574478498&sprefix=polyurethane+clea%2Caps%2C194&sr=8-2
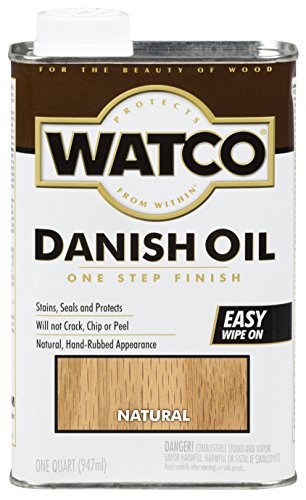
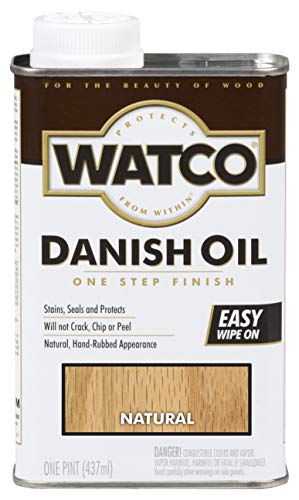
I spent a few minutes on the interwebs looking at finished maple. honestly this looked the best to me http://www.amazon.com/Watco-Danish-Oil-Finish-Natural/dp/B00176TCU0
do a Google image search for danish oil on maple and you will see what I mean.
I've been very happy with it so far, I bought it on Amazon, but you can probably get it a Woodcraft or similar if there's one near you.
Absolutely!
limestone
polyurethane (this was way cheaper at Home Depot)
stain
this is the tutorial I used.
Hi everyone,
I'm working on a tabletop made from birch. I sanded it from 80-120-220, raised the grain, and lightly sanded it with 320-grit sandpaper by hand. After each coat of polyurethane (I waited 3-4 hours between each coat) I sanded it lightly with 320-grit and removed all of the dust.
I did a 7th coat last night, and the lines are still there. What am I doing wrong, and is there a way to fix it?
This is the polyurethane I used.
You can clean it! Try using a piece of melamine foam, also known as a Mr. Clean Magic Eraser.
That should work, but if it doesn't, you can buff tough stains out using a Corian repair kit. It's basically fine sandpaper made for Corian surfaces.
Stainless dual-basin sinks have the distinct disadvantage of feeling cold to the touch and not fitting cats as well. Waffles may not approve.
Okay, you've picked a pretty tricky first refinishing project. But lets get to it.
Legs: Lightly sand and use a shellac based primer. Shellac sticks to everything, so this will save you headache later. You won't need much, which is good, as shellac primer is a little expensive.
Top: Pine is a bitch to stain. Reading the description at Ikea's site, it would appear the top coat is lacquer. Which is good and honestly, a fine finish for the dining room. In large part because it is easy to refinish. Poly sucks for nice furniture just because of how tough it is. Anyway...
Start with something like this: http://www.amazon.com/Formbys-30013-Furniture-Refinisher-32-Ounce/dp/B0014JGFYG You want to be able to remove the top coat without mucking with the stain too much. There are other brands. Specifically look for something that disolves varnishes. Avoid full blown strippers. Follow the directions.
Once the top coat is gone, assess. If you're lucky, the stain is fine. Simply reapply another coat of lacquer. If you have to restain, you get some fun.
If the stain is mostly okay, you can try to touch up the problem spots. Understand that it may or may not work well. (Like I said, pine sucks here.) Trust your eyes and hands.
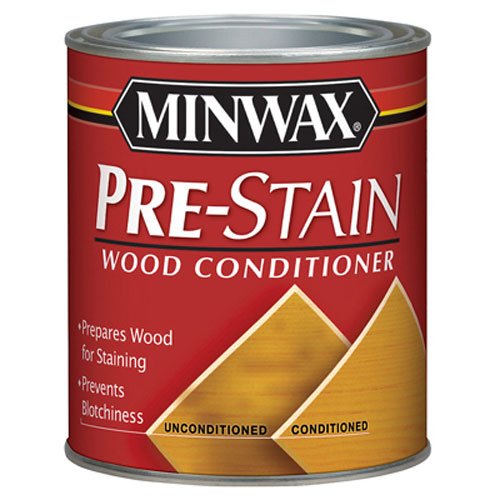
If the stain is more screwed, I'd lightly sand the whole thing. You probably won't get all of the stain out, but you can at least make it more even. Now apply a pre-stain conditioner. Then restain. Then lacquer.
Without the pre-stain conditioner, you will likely get blotching, which is how pine tends to fight you with stain. If you have more questions, fire away!
And Finally:
I'll need better, close up pictures of the scratches. You might, might might, MIGHT be able to simple apply a top coat of lacquer and have it clean up your scratches. Lacquer, like shellac, reactivates in the presence of solvent (lacquer thinner for lacquer, STRONG alcohol for shellac). This allows additional layers of finish to melt together with the previous finish. Again, if there are just light scratches, a little thinner on some steel wool rubbed gently over the whole surface and 2-3 new coats can cover up a lot of sins. I'd recommend not trying this without some very careful pictures for me to confirm it'll work.
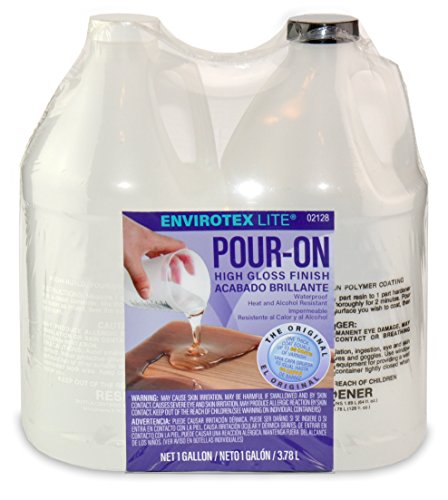
This is the epoxy I used - http://smile.amazon.com/Environmental-Technology-128-Ounce-Pour-Finish/dp/B000LNW022?ie=UTF8&refRID=XW5AEVZYXF05N5FF59K1&ref_=pd_nav_hcs_bia_t_2
I used about 3 gallons.
I do plan on planing the frame to be as flush as possible to the surface, but it's not something I've previously done. I have to wait a couple weeks because I have a bunch of family in town for my daughter's graduation.
depending on how rough it feels I would suggest starting with an 80g or 100g and then finishing with 120g and 220g. You can skip the first one if it is not super rough. Get one of those sanding sponges with the different angles on them. That will be easier on you hand than just sand paper. Becasue of the shape you'll want something that you can wipe or spray on. Use 4-5 thin coats. The easiest/cheapest option would be a wipe on poly or even better an Aerosol Spar Urethane. EDIT Also, sand lightly in between coats with 220 or higher. This helps the next coat stick.
You might also consider trying to fix a few of those larger cracks by filling them in with a two part epoxy
Good luck! It will be a nice surprise for her when she returns.
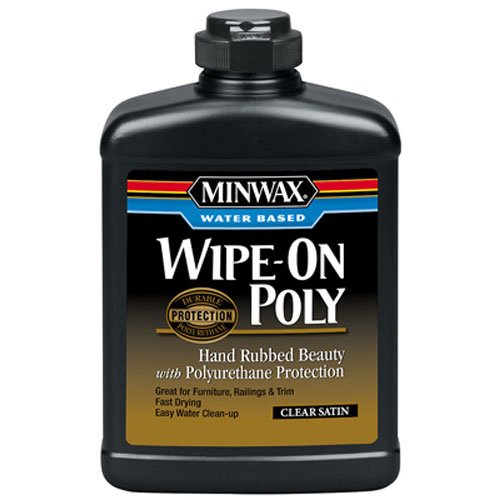
I pretty much use boiled linseed oil to finish everything I make. You can just wipe on with a brush or rag and it's basically impossible to mess up. It brings out the natural color and grain nice without looking overdone. Personally, I don't like clear coat unless it is satin or flat. I think shiny furniture takes away from the natural beauty and loses some of the grain in the glare. This satin clear coat works pretty good I've found and is water based and easy to clean up: https://www.amazon.com/Minwax-64444444-Polycrylic-Protective-Semi-Gloss/dp/B000PRNXNY I've used it on 5-6 tables now and I'm always happy with the look and durability. You can do 2-3 coats and sand with 220 briefly in between coats to get the finish super smooth.
Anyways, you have a really cool slab and it's going to make a beautiful table no matter how you decide to finish. :)
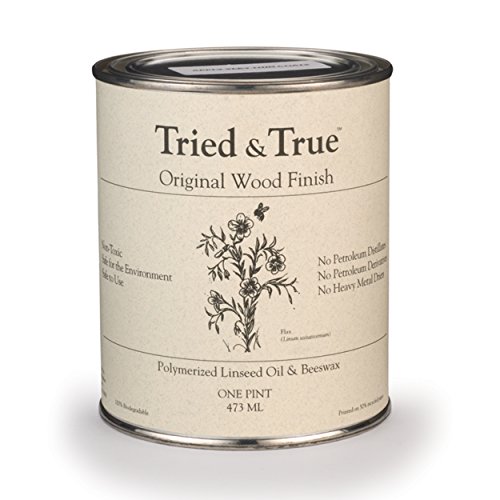
What about the Tried and True Original Wood Finish: https://www.amazon.com/gp/product/B003DKYZQ4/ref=crt_ewc_img_dp_1?ie=UTF8&psc=1&smid=ATZ61JQHZC6XB
Try Watco clear.
https://www.amazon.com/Watco-A65741-Danish-Oil-Finish/dp/B00176TCU0
For the wood, start with a Furniture Refinisher (Formbys's makes one). It's basically a low strength stripper and it allows you to clean up a lot of the damage without needed to completely strip the piece. It is incredible how much of the color fading, bleaching, and scratches that you can get rid of with refinisher. And it keeps as much of the original finish on that is still good so it protects the integrity of the piece. You don't want to strip and sand if you can help it because the entire piece will be veneer and it is very easy to wear through the top layer to the wood underneath and ruin it.
Speaking of, as another commenter mentioned that is not plywood, it is veneer. And I'm not sure it is oak. If you find out it is oak, be sure to look for a veneer that matches the quality and look of vintage oak, because it is not the same look as people use oak for now.
The top you may need to replace, or you may be able to spot fix. And the sides you may be able to gently coax/glue/clamp back into place. I would research veneer replacement and restoration to find out. Either way, you would only take off the very top layer (the thin veneer) and not the entire top and side, and that would be worst case scenario.
If you want to use this as an opportunity to learn beautiful wood finish, I can't recommend Charles Neil's Wood Finishing youtube channel enough. They are long, he's a talker, and he is amazing.
For the insides, I know nothing of electronics. I would probably try and vacuum it first before going to water. With restorations the trick is slow and steady. You do the least harsh method first and slightly upgrade aggressiveness if you need to. Much of the dust and dirt can be vacuumed out with a bristle attachment. When you say soap and water, I am assuming you mean slightly damp rag? Even then, I believe water can leave deposits, so make sure that is right.
Youtube has good videos, but make sure the person explains why you should use something or use a product. A lot of them rely on homespun wisdom that isn't really good advice (I already saw a bunch saying to clean with WD40 which is not a wood cleaner, don't do that). The pros will explain the reasons why and use it as a teaching moment. The home vloggers will just go through the process.
I make stuff out of polymer clay too! http://imgur.com/a/JLv4n
What brand of clay is your preference, also I saw a comment that you used sculpey gloss, have you ever considered buying Varathane instead? It dries a lot quicker (goddamn that stupid tackiness of sculpey gloss and FINGERPRINTS) and is a LOT cheaper for such a large amount. Haven't gone back and no regrets.
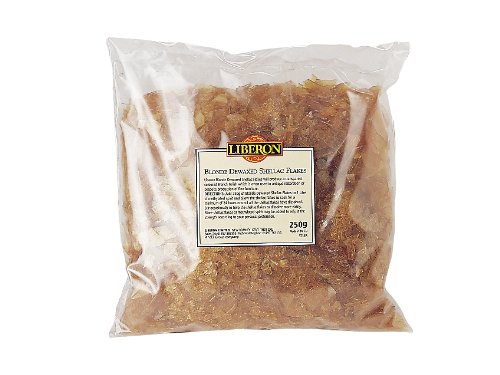
https://www.amazon.co.uk/Liberon-BDS250G-Blonde-Dewaxed-Shellac/dp/B000TAWD1U here's a link for you.
It should be quite easy to find at any shop that sells supplies for woodworking and laying one's own floors, along with sole wholesale suppliers of materials for manufacturing clothing, because shellac is what they spray on felted hats and things like that to keep them stiff and in shape. To dissolve it you're going to want to use pure ethanol, sometimes you can find it sold to drink as pure grain alcohol, but it's much cheaper to get pure grain or corn ethanol fuel from a shop that sells farming supplies and hardware, as that's what people use to fuel their tractors and such. A lot of synthetic products that are toxic are sold as shellac, which is why I prefer to buy it as flakes than as an already mixed liquid, that way you know that it's the real thing. Japanese lacquer also works but it's ridiculously expensive.
Take a look at Danish Oil. https://amzn.com/B000ONVIAE
"Old Fashioned Milk Paint" is zero VOC and awesome looking. Sand lightly between coats. Use gloves with this as the lye is caustic before the reaction with the milk protein.. after it dries, it's fine.
Topcoat with a couple of wipe on/wipe off coats of https://www.amazon.com/Tried-True-Wood-Finish-Danish/dp/B003DL6VQA/ USE VERY VERY LITTLE OF THIS PRODUCT, and rub it to get off what you can after letting it sit an hour... during the wipe-off phase, the rag should come clean.
check out the MDS/MSDS of all the stuff you want to use and judge for yourself.
Sure! I've been planning to do this since we bought this house.
This is the kit I'm using, obviously mine is in black. It comes with a sanding pad to do the sides of your cabinets, I guess they are made differently than the doors, but I went over all my cabinets with the pad and some 150 grit sandpaper, just so I could be sure it would adhere to the cabinets.
So far I've just been painting them, and being sure to use painters tape so I don't ruin anything. I am using a small artists brush to paint around the inner hardware so I don't have to take the doors off.
According to the reviews, and tutorials online they recommended to use This Satin Polycrylic Protective Finish just for added protection. I bought the one I linked, and plan to use it. It's a kitchen so I'm sure dings are going to happen. So for me the protection is a necessity.
Lining my cabinets with this chevron contact paper
And I'm thinking that hardware will really modernize my kitchen, which is what I'm going for.
Worth Knowing I used a different "no sand" type paint in my bathroom, and I love this so much more. This brand has a Facebook page, and seriously, their product really is awesome. I should have taken more before photos.
Also the kit only comes with 2 quarts(?) and it goes so far. My kitchen is huge! And we have done it all and 59% of it already has a second coating! and we have barley used 1/3 of the paint.
I bought a "damaged" box off Amazon, check there. This kit is at my Lowe's for $149, and $69 off the manufactures website. I paid $30. My contact paper was $10 and my Protective coating was $10. Might buy hardware but that's optional. So new fucking cabinets for $50, $40 if you skip the paper? Cannot be beat.
Yeah, Osmo Top Oil is a blend of plant-based oils and a wax that have been heated to polymerize. It is supposed to be amazing.
There is a brand of Danish Oil (Tried & True) that claims to be made without any toxic chemicals: https://smile.amazon.com/gp/product/B003DL6VQA/
I've used it a bunch of times and it works well. It's actually certified food grade - personally I would not trust it that much but I'm sure a surfboard will be fine!
It's this product correct?
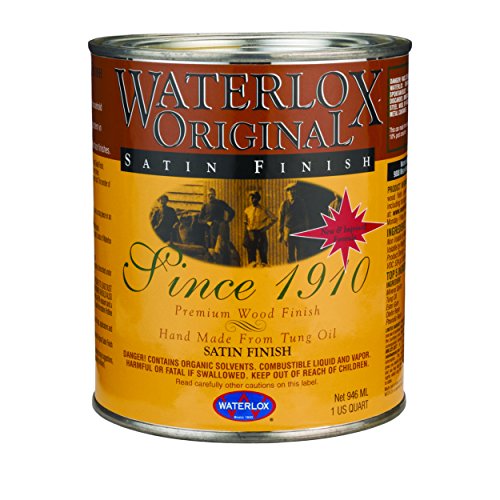
https://www.amazon.ca/Waterlox-Original-Satin-Finish-Quart/dp/B003WP5MKI/ref=sr_1_fkmrnull_1?keywords=waterlox+satin+finish&qid=1558033446&s=gateway&sr=8-1-fkmrnull
I use Waterlox, a hundred year old tung oil based finish. It dries slowly, so you can work into nooks and crannies without having to rush. Plus, tung oil man. You do have to wait 24 hours between coats, but the results are p good.
Here's a guy putting it on a mahogany door.
Well, regarding the sanding, my rule of thumb is to sand moving up through the grits until the sanding marks disappear. How high I go with the grits depends a lot on the tool I'm using (hand sanding versus orbital sander versus random orbital sander),species of wood, and what finish I plan to put on it. Hand sanding following the grain is pretty forgiving, because the scratch pattern blends in with the grain. Orbital sanders tend to leave a scratch pattern across the grain which stands out. Random orbitals are better, but still leave some swirls across the grain. If I'm going to stain it, sanding marks will show up much more strongly than if I was just going to clear coat it. Every project is different, but typically I'll sand to at least 180 if I'm staining, and at least to 120 if I'm just oiling and clear coating. In truth I usually go higher than those numbers, but if I'm in a rush I can get away with those as minimums. I've used it on a couple of projects and have been quite pleased with it.
Now, all that said, the amount of sanding you do doesn't really change the porosity of the wood. Rough sanding will leave a more toothy surface, but that doesn't make much difference to an oil or other penetrating finish, because it will soak in as deep as the cell structure of the wood allows regardless of how smooth it is. Paints don't penetrate, they just cling to the surface, so leaving a more toothy surface does benefit them. I looked at the primer you linked, and I'm still not quite sure what to make of it, but it seems to me to be something along the lines of what I've seen called grain conditioner, which is basically a thin oil that penetrates and soaks into the wood to sort of level out how the wood absorbs subsequent layers of stain or dye or whatever. It basically helps prevent blotchiness. Since it is a penetrating substance, it shouldn't really matter how much you sand it.
Since you seem to be having dificulty finding a final finish, I might suggest OSMO Top Oil. It's a hard wax oil that both penetrates and leaves a wax film on the surface. It's meant specifically for kitchen countertops, so it should be able to handle hard use and abuse, and it's easy to apply more as it wears over time.
Micromesh is just a simple Aluminum Oxide (AO) abrasive pad. You should be able to find generic ones at the specialty stores locally.
They have a distributor in Sharjah:
AVION ENTERPRISES FZE
Category: Industrial Products
Products Carried: Micro-Mesh
LOB 7G-23, Hamriyah Free Zone
PO Box - 41808
Sharjah, UAE
Contact: K. Yadan
[email protected]
Phone: 00971 50 5015 406
Fax: 00971 4 3969 407
It is also available on Amazon (http://www.amazon.com/Micro-Mesh-Corian-Countertop-Repair-Kit/dp/B0033REUBC)
Yup. HD only carries this one (at least in my area).
Before you do that though, watch this video about staining blotchy woods (relevant part starts around the 4min mark). He uses diluted shellac as a base coat, which is a more versatile product than something as specific as a pre-stain condition. I haven't tried this yet, but I will after I finish up all this pre-stain that I have.
I haven't had a chance to use it yet but you can try using a stain conditioner just before staining. I can't tell you how well it works with bassword personally however.
I personally love lacquer for finish watco brushing lacquer is my go to. It lays down nice with a good brush and it dries fast way faster than poly and hold up almost as well. It doesn’t have the water resiliency as poly. One tip I after final coat rub the surface with a brown paper bag take out the dust nibs without dulling the finish.
Their rep told me I should use water based polyurethane. They didn't sell me the 'platinum protection' and a repair would cost 75$.
What's your opinion, how would I apply that? Would this do https://www.amazon.com/Water-Base-Wipe-On-Polyurethane-16fl-oz/dp/B001XQ20WG/ref=sr_1_7?ie=UTF8&qid=1501171069&sr=8-7&keywords=water+based+polyurethane and just wipe over it?
What would happen on the are that has already the coat?
thanks! i love the darker wood
http://www.amazon.com/gp/product/B000LNW7ZM/ref=oh_aui_detailpage_o08_s01?ie=UTF8&psc=1
http://www.amazon.com/gp/product/B001CEMYLG/ref=oh_aui_detailpage_o08_s01?ie=UTF8&psc=1
i used both of those for my finish.
For the light-colored pieces, I used a 1" x 36" square pine(?) dowel, with a Minwax Golden Pecan stain and a basic sealer.
For the dark-colored pieces, I used a 1-1/8" x 36" round oak dowel, with a Minwax Red Mahogany stain and the same basic sealer.
I intentionally avoided varnishing or any kind of gloss finish, preferring the rougher, more natural feel of unpolished wood. Downside is that it feels just slightly too rough for my liking right now, but it's my first stab at this, so I'll solve that problem next time, and these will hopefully wear down smoother as they get used.
To make these flat on one edge, I just removed a portion wood down the long edge of the dowel before dicing it up into pieces.
From there, I just sanded off all of the hard corners to give them a worn, softer feel.
The textures you're seeing are just natural from the wood itself. I didn't do anything to create them other then anything the saw might have done during cutting.
Edit: corrections to wood size and stain info.
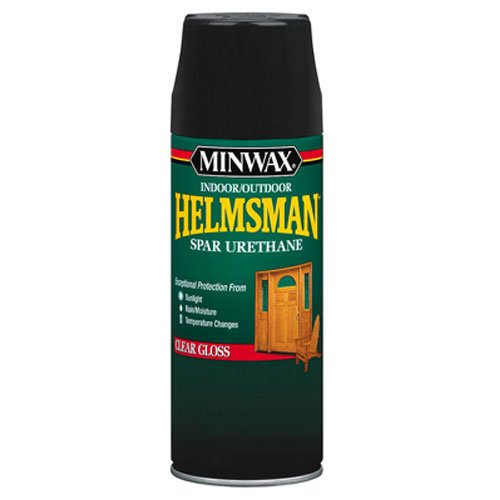
Dark Walnut comes close. BLO doesn't "protect". For outdoor protection use some Polyurethane made for the outdoors, such as:
Minwax 33250000 Helmsman Spar Urethane Aerosol, 11.5 ounce, Gloss https://www.amazon.com/dp/B000Z8DGJE/ref=cm_sw_r_cp_api_9ScUzbY3QPPYS
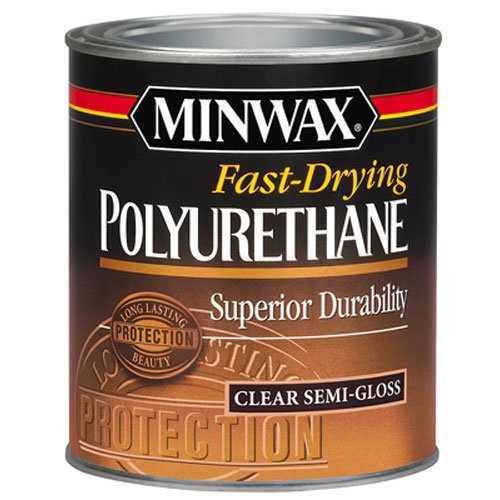
Many thanks! One more thing, the polyurethane you mention, is this the proper stuff?
https://www.amazon.com/Minwax-63005444-Drying-Polyurethane-Semi-Gloss/dp/B000VZNESE
I would suggest practicing on a piece of scrap wood if you do want to add color. I think it look lovely as is though!
As for the finish, I use this:
Minwax 64444444 Polycrylic Protective Finish Water Based, quart, Semi-Gloss https://www.amazon.com/dp/B000PRNXNY/ref=cm_sw_r_cp_apa_i_sYPDDbDE4ZEJT
With this brush:
Minwax 427320008 Manway Polycyclic 2" Trim-Polyester/Nylon Blend Brush/Roller/Applicator, 2 inch, White https://www.amazon.com/dp/B01LBFR8T8/ref=cm_sw_r_cp_apa_i_9ZPDDbCF4N6BQ
https://www.amazon.com/RUST-OLEUM-242219-Natural-Danish-Finish/dp/B000ONVIAE/ref=sr_1_3?ie=UTF8&qid=1473680778&sr=8-3&keywords=danish+oil
Everyone in this sub pretty much uses the hardware store 2 part epoxy.
It's soft, easy to scratch and yellows over time. It will fail, and you will hate it. People do not return to /r/diy to report on their projects 5-10yrs on to let you know how it turned to shit after a few years. If you just want to make yourself a penny table and toss it after a couple of years, this stuff will work.
That doesn't mean you can't get this effect with better epoxy that will last a long time. There are professional epoxies that hardened like glass. Think of those fancy desks the reporters sit behind on CNN.
But those epoxies are very expensive, difficult to use, and poisonous. You'll need a mask, special paint booth, etc, etc...
I play with polymer clay too and watched a ton of videos on YouTube on how to make stuff. For paint, I just use acrylic. As for a seal, I haven't used it yet but this gloss was recommended:
http://smile.amazon.com/gp/product/B000FPCKBW/ref=oh_aui_detailpage_o01_s00?ie=UTF8&psc=1
There are a bunch of videos on YouTube to use as a good source.
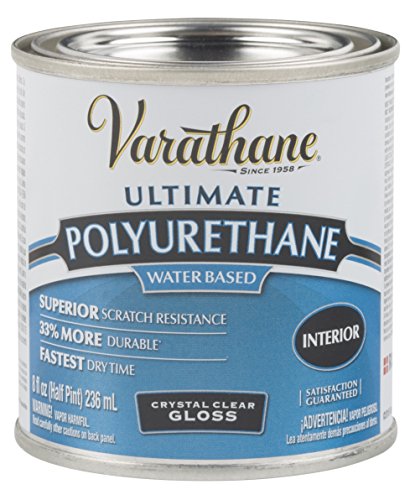
I use varathane. It’s water based and I have never had it yellow or crack on me. I will suggest that once you open it,you put it in a different container or the can will rust and discolor it. RUST-OLEUM 200061H 1/2 Pint Gloss Water Based Wood Finish https://www.amazon.com/dp/B000FPCKBW/ref=cm_sw_r_cp_api_i_6t13CbEP3NGNT
I did some Googling and a few folks recommended this stuff. http://www.amazon.com/Minwax-23333-Polycrylic-Protective-Finishes/dp/B000C02AO2
For me, that would be dependent on several factors - I would block sand the headstock with about 220 grit, with the grain, until it's as smooth and blemish free as possible...
Then I would double check to make sure that the tuning keys have enough threads to tighten down properly without the thickness of the missing veneer. If they do, you're good to proceed, otherwise, you probably want to find a veneer, shape and glue it up and proceed with finishing. (you also would have the option of reaming out the holes and using a bushing, but that would weaken the headstock just a bit).
If you want a fairly exact match on the color, Stew-Mac has ColorTone Liquid Stains that can be mixed with lacquer (or polyurethane, if that's your choice, I'd personally go with lacquer as it's easiest to work with and polishes out better) - you can tint the clear finish (don't tint the whole can, you'll also want some clear to apply on top), and just brush on subsequent coats until the color is deep enough to match. a few (few in my world means about 10, but I'm extremely particular) coats of clear on top, block sand with 2000 grit paper, and hand polish and you're good to go.
Another option would be to stain the wood directly, but you may have a harder time getting the color to match. If you test on a scrap of similar wood, though, you can get it pretty honking close and the use the tinted clear to tweak it. That might be faster (stain first, then clear).
Whatever finish you decide to go with, be sure to pay careful attention to the wait time between coats and the recoat window. Layers have to thoroughly outgas between coats so that you don't trap solvents between layers - that's how you get bubbles of cloudy (blushed) clearcoats.
Refrain from casing it up as long as you can - let the finish air dry as long as you can stand it. OH, and you probably also want to wait at least a week after your last coat of clear before you crank down on the tuning key nuts to make sure that the finish has fully hardened - otherwise you'll get squishy little craters in the finish because it's still a little soft. Those things don't have to be torqued down like a car engine mounting bolt either, just hand snug is fine. It's your guitar, you can always revisit that in a couple of months anyway.
Best of luck with your project - we want pics when it's done!