(Part 2) Best houshehold finishes, sealers & stains according to redditors
We found 387 Reddit comments discussing the best houshehold finishes, sealers & stains. We ranked the 173 resulting products by number of redditors who mentioned them. Here are the products ranked 21-40. You can also go back to the previous section.


After I posted my new split-top Roubo a few months ago, a lot of you said, “great, now go build something with it.” So, ya know, I did.
About halfway through the bench build, a co-worker approached me and told me about a bunch (about 105 b.f.) of 8/4 local Florida Cypress that he had purchased on Craigslist and wanted to be made into an outdoor table. We both started to get excited about the ideas we were tossing out and he eventually agreed to commission me to build it. So the fun challenge was figuring out how much table and one bench he could get out of the amount of wood on hand (he wanted to put two chairs on the other side) instead of the usual design, calculate, buy. We did some back and forth on the design while I finished my bench but he largely left it all up to me. I heavily based the design on Marc Spagnoulo’s rustic outdoor table because I really want to build one for myself. I added a few refining details that I’ve wanted to try in a project and eliminated one stretcher because of the amount of wood available. Some of the details worked, others I would change on subsequent versions.
Once the workbench was done, I got to dig in on the table. The first difficulty was the wood itself. Either my co-worker or the person from whom he bought it from had left the wood out for quite a while so that it was pretty discolored with mildew, was a bit punky in spots, and had been snacked on by bugs. My cutlist kept getting thrown out whenever I’d cut into a piece and find a worm or termite track. I kept a close eye on the wood and didn’t see any further signs of living critters but it did get annoying at times. I got around most of them but there are a few small tracks visible, not more than 1/32” wide or ½” long but I eliminated all big tracks. (1/4” wide) I’ve never worked with Cypress before and it was definitely a learning experience. New growth Cypress is so soft. If you imagine wood grain as a lot of straws bundled together, this stuff is like a bunch of pool noodles, yet it still proved quite prone to tear out. I’d sharpen my hand tools 2-3 times a day to keep getting clean, slicing cuts. No matter how sharp my plane blades/ tight my mouth/ close my chipbreaker was though, I’d still get areas of tear out in difficult areas. After some reading around and some great advice from r/woodworking, it seemed a lower angle iron might be the solution. Weeellll, I just happen to have some money set aside and now an excuse so, go ahead, twist my arm, I’ll get a new toy. Lie-Nielsen’s low angle jack proved to be absolutely perfect and gave me the best surface I’ve encountered right off the plane.
A few of the changes I decided to make to The Wood Whisperer’s table was to taper the legs, bevel the underside of the table top, and use drawbored dowels for the joinery. They worked well enough, especially since the customer loved the end product, but I’ll change things further on subsequent versions.
First would be the taper of the legs. It’s meant to be a bit rustic but I tapered the legs because I didn’t want an overly blocky look to it. When designing and then building it, something didn’t sit quite right but it didn’t condense into an idea why. After it was too late, I saw Marc building his gaming table and it clicked. Those legs were tapered from the inside, mine were tapered from the outside. I don’t have the design education to describe it using the right jargon but the lines of my table remind me of a shy person standing with their feet together, trying not to be noticed. The lines drag your eye down to the ground. Whereas Marc’s reminds me of the superman pose; someone standing with their legs slightly apart confidently. Your eyes are drawn up to the main part of the table. I’m still happy with my table but it’s something to improve on the next version, though I don’t know yet how that will jive with the side rails.
The next item I’d change is the drawbore pins. I’ve seen plenty of shaker pieces with squared off dowels set in a diamond pattern and cut from a contrasting wood color. They look very elegant and I wanted to try it here. First, I went with too many. I didn’t need two in each joint. It was having two dowels and the dowel’s shape that caused the first joint I put together to blow apart. I made most of the dowel round using Veritas’ dowel cutter, leaving the end tapered to a square. From an article on square shaker pegs in Fine Woodworking, I expected the softer Cypress to just deform to the harder Mahogany dowel. The problem was that the taper from round to square was too long, (about ¾”) meaning it was spreading apart the wood deeper down. It could only handle so much deformation before it split. The solution was to take a chisel to the rest of the dowels and limit the taper to about 1/8” and only drive it in to the point where it just transitioned to fully square. Chiseling the receiving hole just shy of square also meant the Cypress had to deform less so no splitting and a crisper diamond pattern. If I do it again, one dowel will be enough but I don’t even think I’ll do a contrasting color again. This wood is filled with knots and, instead of the dowels being a pleasant interruption of monotonous grain, it just joins the knots to make it look busy and chaotic. It just doesn’t stand out in a pleasant way.
The arched stretcher ended up being 4” tall instead of 3 ½” because, after making and putting in the side rails, loe and behold, I F’ed up. They were further apart than planned and I had to make the stretcher taller to accommodate.
The other two changes were the beveled undersides of the table and bench tops and all the other bevels added to the bench top. Those I would leave as I think they look really nice, giving each a visually lighter look than their 1 ½” thickness. The beveled top of the bench seat makes for a more comfortable spot to rest your posterior for a long while.
The other great thing to come from this project was that I got to use my hand tools more on this project than any previous build, especially hand planes. Obviously it was just too big for any of my hobby level power tools but I geeked out on every bit of it and it got me really comfortable with several tools.
Finally, I finished it fully expecting to be an outdoor table. I used Watco teak oil that could easily be reapplied in later years and won’t blister like a film finish. I applied clear penetrating epoxy sealer to the feet to stop absorption be the end grain at the bottom of the legs and keep them from rotting from the ground up. Lastly, I put a few coats of Minwax Finishing Paste Wax on the tops of the table and bench as a barrier against mustard, ketchup, beer, etc. It’s shinier than I intended but will knock down pretty quickly. However, as it turned out, he loved it so much it will now be the main dining table inside his house and some CL table will be found for outdoors. I’m perfectly ok with that.
Thanks for looking, reading, and any constructive criticism you can throw my way. Thanks for all the advice leading up to this and my workbench. You, my fellow wood nerds, are awesome.
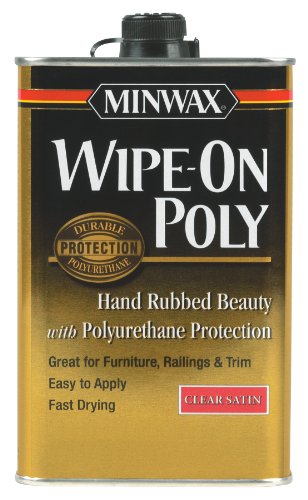
I chose not to. I might regret that decision but my logic was the bed won't get handled enough to warrant a poly. Not like a floor, desk, table, cabinet, etc. Mattress and blankets cover most of it. I maybe should have done it just to be safe. Still easy enough to apply if I change my mind. I'm definitely going with a wipe on poly. Minwax makes an awesome one I've used before.
I would fill, then use these https://www.amazon.com/Minwax-63487000-Finish-Marker-Walnut/dp/B0000DI7ZK/ref=sr_1_3?ie=UTF8&qid=1519250430&sr=8-3&keywords=wood+stain+pens You can use several colors to mimic the grain in the wood making it pretty hard to notice if you don't know where it was.
A stain marker would do the trick, just gotta eyeball a similar shade. Example: https://www.amazon.com/Minwax-63487-Finish-Marker-Interior/dp/B0000DI7ZK
Wow, nailed it - it is indeed plywood birch. I used this Dark Walnut stain marker, which was super easy.
As someone working through this but a few years ahead of you, I'll pass along the list of stuff I've bought and/or wish to buy...
Hand Tools
Power Tools
Also, there are fluids to consider
Of these, I'd focus on the hand tools, fluids, and the Dremel. You can always ask someone to buy you a saw for Christmas. If you have these things on hand, there probably won't be a job come along that you can't handle at some basic level. I'm assuming you don't need yard grooming tools, because that's an entirely different list.
This one?
Use a grease pen! Seriously though, I don't know how you would need to do it on walnut.
I did one in birch and burned in the scale and numbering, then overcoated with satin/flat version of this. Then I coated that in Minwax paste wax. The idea was/is for the marks for height or whatever are to be scratched in using a knife or scratch awl. Then that scratch would be gone over with a stain marker and wiped off. The wax would help the stain to only stick in the scratch.
Since you have a dark background, that won't work for you. I guess you could just use a regular light colored paint pen though. You would still have to scratch the wood to get it to stick. Wax, and to some extent polyurethane, won't let the paint stick permanently to it.
I recommend you use linseed oil, it looks great, and feels amazing. I also recommend that when you remove the finish you scrape it off with the back of another knife or similar tool (something with hard steel and 90* corners), and not sandpaper. On my previous Opinel I tried sandpaper, and it ruined the surface of the handle, and made the finish come out super ugly. Here's a pic of my currwnt olive wood Opinel with a linseed oil finish. There are tons of different linseed oils you can purchase on Amazon, but I'm not sure which one is the best. I personally used the generic brand I bought at home Depot.
Opinel: http://imgur.com/gallery/ZFUZTpN
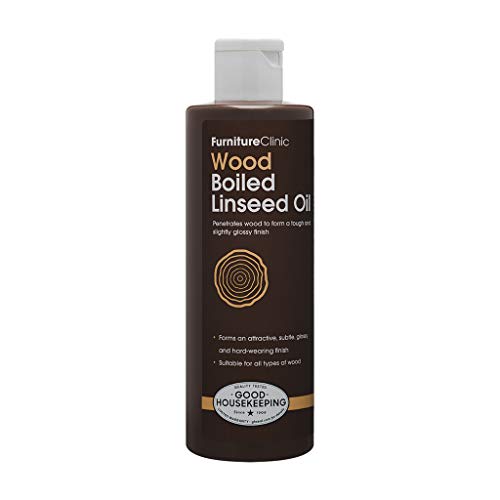
Linseed oil: https://www.amazon.com/Furniture-Clinic-Linseed-Refined-furniture/dp/B00CDR5EIQ/ref=mp_s_a_1_1?ie=UTF8&qid=1538325182&sr=8-1&pi=AC_SX236_SY340_FMwebp_QL65&keywords=linseed+oil&dpPl=1&dpID=31DIOEdXfRL&ref=plSrch
Thanks! You have to dissembled the joy cons which is pretty simple after my first one. 5-10 minutes each joy con.
From another reply I posted.
"You want to start off using an air brush kit. You can get some pretty cheap ones for about 80 bucks that will do the job. Something like this https://www.amazon.com/Master-Airbrush-Multi-purpose-Dual-action-Compressor/dp/B001TO578Q.
I have a better air brush that's about 150 bucks alone but it's because we use it for other stuff that requires more precision. You won't need something that much to do the job.
Start off taking out your joycons and cleaning it. Use grey or black primer and let it cure for 12+ hours. https://www.amazon.com/Vallejo-Black-Primer-Acrylic-Polyurethane/dp/B004BN5RUU/ref=sr_1_2?s=toys-and-games&ie=UTF8&qid=1494183787&sr=1-2&keywords=airbrush+black+prime
As for the paint itself, you can use any of these and it depends on what you like. https://www.amazon.com/Color-Changing-Holographic-Paint-2oz/dp/B0015H4G2K. I used the gold/green/orange/purple so it changes to any of these colors based on the angle.
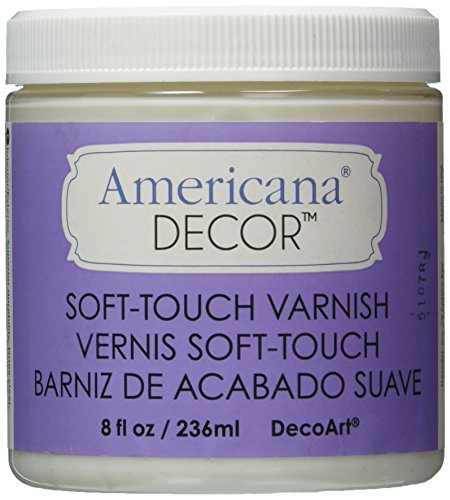
For the finish, I used https://www.amazon.com/Deco-Touch-Varnish-8-Ounce-Clear/dp/B00HQME2R2/ref=sr_1_1?s=hi&ie=UTF8&qid=1494183686&sr=1-1&keywords=soft+touch+varnish. It gives it a really nice soft touch feel but it's very thick. You'll want to thin it out a bit and let it cure for 24+ hours. Multiple coats the better for that extra protection and long lasting feel. Although I used these here, I am finding that they will wear out eventually. I am redoing the finish with this now. https://www.amazon.com/Vallejo-Matt-Model-Color-Varnish/dp/B000PH9JPA/ref=sr_1_1?ie=UTF8&qid=1494191915&sr=8-1&keywords=vallejo+matte+varnish. You can also go with a glossy finish if you want as well.
I just started air brushing a few months ago so just practice on some test objects."
depending on how rough it feels I would suggest starting with an 80g or 100g and then finishing with 120g and 220g. You can skip the first one if it is not super rough. Get one of those sanding sponges with the different angles on them. That will be easier on you hand than just sand paper. Becasue of the shape you'll want something that you can wipe or spray on. Use 4-5 thin coats. The easiest/cheapest option would be a wipe on poly or even better an Aerosol Spar Urethane. EDIT Also, sand lightly in between coats with 220 or higher. This helps the next coat stick.
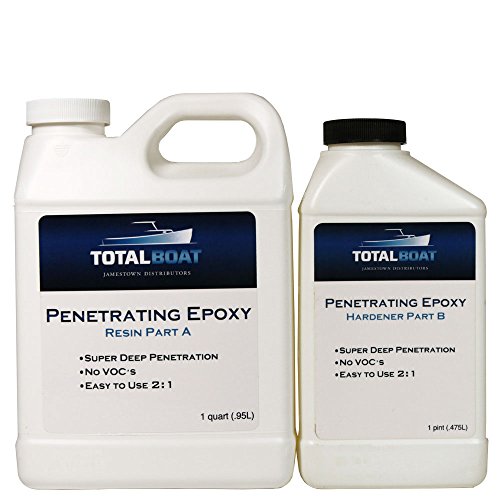
You might also consider trying to fix a few of those larger cracks by filling them in with a two part epoxy
Good luck! It will be a nice surprise for her when she returns.
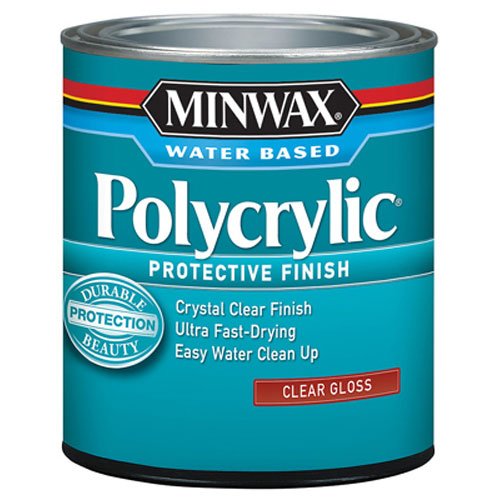
https://www.amazon.com/Minwax-255554444-Polycrylic-Protective-Finishes/dp/B000BZZ3S8/ref=sr_1_2?keywords=polyurethane&qid=1572928603&sr=8-2
Get a brush you don't care about, do 2-3 layers on the parts where its super obvious. Between that and judicious filing you can get areas like the legs looking a lot more natural.
Helmsman Spar. It's a wood varnish designed for outdoor/marine use, works great for bar tops and tables because it holds up well against moisture. 3-4 coats is usually enough. I recently built a bar and used this and it looks amazing. No worries if I forget to use a coaster under a sweating glass, it never rings.
I used this on this build, it's about three light coats, and a final dusting because I can't help myself..
Need to lube that pretty lady up.
> linseedis is this one good?
https://www.amazon.com/Furniture-Clinic-Linseed-Refined-furniture/dp/B00CDR5EIQ/ref=sr_1_3?ie=UTF8&qid=1542425616&sr=8-3&keywords=linseed+oil
No stain, because Jupiter is a variation of browns.
helmsman is what I like to use.
Just grab a decent brush when you buy it and brush with the grain
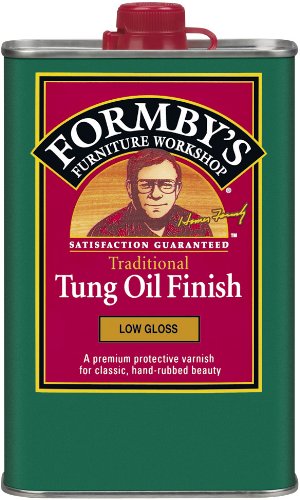
Formbys 30064 Low Gloss Tung Oil Finish, 16-Ounce https://www.amazon.com/dp/B000BZZ4ZU/ref=cm_sw_r_cp_api_Rp.QBbRZPSRG8
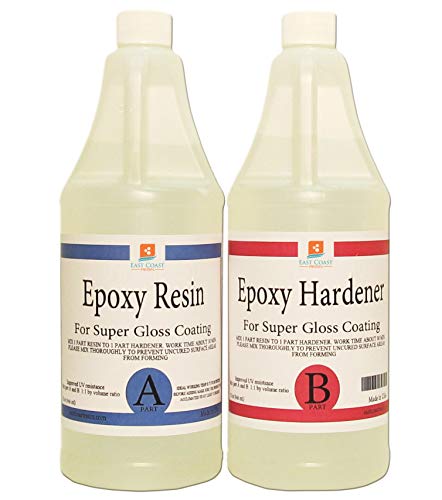
64oz - https://www.amazon.com/East-Coast-Resin-CRYSTAL-TABLETOPS/dp/B00V2GKMWW/ref=pd_sbs_325_img_0/132-6087927-6515168?_encoding=UTF8&pd_rd_i=B00V2GKMWW&pd_rd_r=825f2a74-4118-4a08-b069-2ee9ab7678d8&pd_rd_w=UWMwm&pd_rd_wg=LQGSp&pf_rd_p=5cfcfe89-300f-47d2-b1ad-a4e27203a02a&pf_rd_r=1AV5PV9YPBENV060JQSV&psc=1&refRID=1AV5PV9YPBENV060JQSV
My favorites are:
Mahoney's walnut oil: https://www.amazon.com/Ultimate-Walnut-Oil-Mahoneys-Finishes/dp/B001F7JUDK
Tried and True Danish oil: https://www.amazon.com/Tried-True-Wood-Finish-Danish/dp/B0155AUTG4
The Mahoney's is the quicker of the two- slop on as much as the wood will take and wipe off. My production items like my cherry plates get a coat of it followed by beeswax.
The Tried and True is a little fussier but not much- it just needs to be applied a lot thinner than you're used to applying and ideally in three coats each a day apart, but damn does it ever look nice and it just gets better with age and stands up to lots of washing (moreso than the Mahoney oil).
I tried the General Wood Bowl/Salad Bowl finish once and hated it- it left a film finish, but not enough of one to be impressive, started to give the work that tacky fake plastic sheen I don't like. And, it's not truly food safe (unless you subscribe to the "all wood finishes are food safe" hypothesis). It has solvents and driers. The two that I linked are so non-toxic you could eat them in their liquid form.
Model shops, they generally have decent Tamiya or Humbrol cans of paint. Acrylic Varnish - Matt 49 is the Humbrol one i use.
Failing that,
http://www.amazon.co.uk/Humbrol-150ml-Spray-Varnish-Acrylic/dp/B001JJYZN4/ref=sr_1_1?ie=UTF8&qid=1427142604&sr=8-1&keywords=humbrol+acrylic+varnish+49
Also, you'll want to put decals on before you do the matt coat, they like a smooth surface to adhere to.
Its even on sale!!!
Dowels and chopsticks with sandpaper wrapped around them, and a Dremel with a variety of stones. It's gonna be a labor of love.
Proluxe is good, but it's really just a deck stain. And the semitransparent is a water based acrylic... you're not gonna like the finish it gives you on that beautiful old hardwood. It'll look like plastic. I'd personally go with an Old Masters penetrating stain (you can go with a wiping stain if you wanna tone down the grain a little... wiping stain will give you a little more of the semitransparent look) followed by a spar finish (3 coats, applied with sponge brushes, light sand with 220 between coats - juuuuust kiss it with the sandpaper). It'll give the door a richer and longer lasting finish than a simple coat of deck stain, and the spar is UV protectant.
I'd use Evaporust or Metal Rescue on any of the ironwork that can be removed and allowed to soak (with both products, you strain the soak and pour it back into the jug - it's reusable several times). After the rust removal soak, clean with acetone and use a self-etching primer. For anything you can't remove and soak, use Rust Reformer after wire brushing instead of a simple primer for tough surfaces - it converts surface rust to magnetite to stabilize it. Then proceed with your black color coat. After the black, spray with a couple coats of satin clear. All the paints I linked are available at any auto parts store and Walmart, and I believe Home Depot carries Metal Rescue.
That's a gorgeous door. Take pictures and post a project gallery!
Edit: added that Proluxe semitransparent is water based.
The epoxy I used is only in New Zealand I think (Norski Timber Sealer), but this seems to be the same thing :
TotalBoat Penetrating Epoxy
I've not used that one, but it seems to be the same thing, to give you an idea of what you're looking for. I'm sure there are lots of different brands.
Thank you very much! I did the fast-drying - I almost exclusively use that product for poly.
The wax was a paste wax to buff the final finish and clean up any imperfections the poly might have left. It's similar to a wet sanding, without getting too technical. I used 0000 steel wool and put the steel wool in the wax, buffed it onto the box, then let it sit for a minute or two, and then removed the wax and buffed it with a shop(lint free) towel.
http://www.amazon.com/Johnson-Fine-Wood-Paste-00203/dp/B0000DIWIM
The humidor I made out of Tiger Maple with a Spanish Cedar lining. It's approximately 6' tall, 2.5' wide, and 1.5' deep. I'll link some pictures for you!
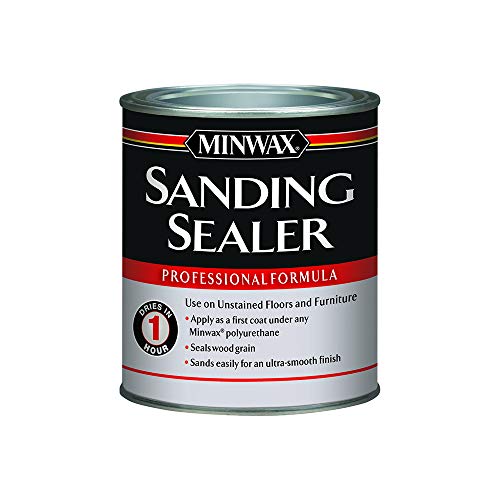
Edit1 Response: I used the MinWax sanding Sealer, that comes in the white can: http://www.amazon.com/Minwax-65700-Water-Based-Sanding-Sealer/dp/B004Y6TTKI
Edit2 Response: So I sanded the box with 150, 220, 400, and 800 with my orbital until it was as smooth as I could get it. With Zebrawood it seems like the grain stands up, and I could be using the wrong term, but part of the wood will pop up with almost small slivers, that will need to be buffed out. Essentially the grain was raised up and it really only does it on the first coat that gets applied. If you ever work with Zebrawood you'll know exactly what I'm saying - one of those things that's hard to explain without a sample in front of me.
FYI - I'm more than happy to answer any of your questions!
It looks awesome, in the future if you want the layer lines to go away completely, put two to three (depending on layer height, larger needs more)very thin coats of Minwax Polycrylic on the model with a brush, it dries in about 15 - 20 mins, and just keep repeating until they are no longer visible. one pint will last a really long time.
https://www.amazon.com/Minwax-255554444-Polycrylic-Protective-Finishes/dp/B000BZZ3S8/ref=sr_1_2?crid=O04OC8LMAXD6&keywords=polycrylic+clear+gloss&qid=1567951875&s=gateway&sprefix=polycrylic+%2Caps%2C158&sr=8-2
I have been using this product mixed 50/50 with laquer thinner (in order to get a deeper penetration). While it seems expensive, one quart of this goes a long way.
Vallejo Matt Model Color Varnish, 17ml https://www.amazon.com/dp/B000PH9JPA/ref=cm_sw_r_cp_apa_i_4ZWqDbN193MQG is a good one.
I use The Army Painter Anti Shine Matte Varnish https://www.amazon.com/dp/B007QW3M0U/ref=cm_sw_r_cp_apa_i_z1WqDb9D0KQZX. Because they had it at my local shop, it dries fast and I like brushing it on to control the thickness and honestly it doesn't take long.
Before you use a matte varnish use a gloss one it's a better protector. I do 2 thin coats of gloss then 2 thin coats of matte.
Gloss varnish- Vallejo Acrylic Paint, Gloss Varnish https://www.amazon.com/dp/B001JJZDSK/ref=cm_sw_r_cp_apa_i_82WqDb58V9HGK
If the satin is too shiny, no harm done, brush this over the entire sprayed area. Because they don’t make matte spray in cans that I'm aware of. So, it’s essentially trial and error. But I would go with the satin spray first.
https://www.amazon.com/Rust-Oleum-260357-Touch-Polyurethane-Matte/dp/B00714ZO22/ref=sr_1_3?ie=UTF8&qid=1474227501&sr=8-3&keywords=varathane+matte
Hey I really appreciate it! I used Minwax brand everything for the stain and sealer. The first go around was not a success due mostly to the brush we used. I ended up using a black foam brush which worked much better. The legs and riser supports are painted white for a contrast (basic white paint). I try to keep things simple and realistic but also make it look nice. It may not be perfect but hopefully I get to keep improving!
Yeah varnish can be weird, every brand is different I use to love this reaper brand but can’t find it anymore but the army painter stuff I’m using is a close second.
Hobby Anti-shine Paint Pot https://www.amazon.com/dp/B007QW3M0U/ref=cm_sw_r_cp_api_i_UcRPCb3HW1Z6P
Then you have peeps who use unconventional types of varnish like pine-sol or something like that through an air brush. Although I can’t remember if it was pine-sol that I read that they used. I think it’s weird but if works for them to each their own.
I would suggest:
Basic process (You have the video to fallow, but these steps are general steps for almost all woodworking finish)
Other Options, instead of Laquer:
Let me start by saying that this would be the bare minimum. This is assuming that you have all the experience to use these tools effectively as someone who has the appropriate skill and knows to do things like not bear down on a saw when cutting, keeping everything square, how to mill boards by hand, how to not kill sandpaper in a few strokes, how to tune and sharpen a hand plane, ETC.
2x$8.69Vise grips Two vise grip clamps. Clamps can be universally adjusted and clamped in almost any direction with some quick thinking. One is never enough.
$9.99Cheap set of chisels Everyone needs a chisel. These will be made from a milder steel, but it's better than nothing.
$22.00Generic ryoba saw A ryoba saw will double for crosscuts and ripcuts. They go as far as you can take them provided you treat them right.
$18.62Bench Plane You need to be able to take down material in terms of thickness. A simple bench plane will due for now.
$20.61Block Plane A block plane will help slightly with end grain smoothing where the bench plane cannot.
$3.47Bundled Sandpaper You need to finish your products somehow. I would get a generic bundle of sandpaper and use it sparingly and tenderly.
$12.85Square Keeping things square is vital.
$6.79Mallet Hammering your chisels is going to be very important since you cannot use a 2x4 reliably.
$3.47Wood Glue Need to be able to glue things together.
$11.80A set of card scrapers Remove material smoother and faster. You don't want to waste sandpaper if you don't have to, and these are quite versatile.
$8.06A bastard file A bastard file will do for now when it comes to heavier shaping and sharpening your card scrapers.
$15.92A small drill viseKeeping something secure in place is very important. A small vise will accommodate small and narrow pieces of lumber and can be bolted to a bench.
$3.97Assorted finer sandpapers You need something to keep your chisels constantly sharp, especially when it is such a mild steel as a set of 9.99 chisels.
$15.59Wipe on polyurethane You need to be able to finish your products somehow.
Comes to $170.52 I would use the rest to make a bench and two sawhorses out of some 2x4's.
Looked around and tried to find some, but poly isn't very popular here at all and there's nowhere that stocks anything minwax whatsoever it seems (checked multiple amazons and price runners across the continent), so I am considering importing from the US - how's this look: https://www.amazon.com/gp/aw/d/B009YNUT6Y/ ?
There are matte finishes too, if you prefer that. I linked the glossy because you originally wanted to polish this to 2000 grit...
I mean, I'm not sure if what (and how much of what) I intend to get is good (or enough), which is why I made this thread and included all of these links. I have to get all of the equipment in advance, and then worry about my technique. As far as the polyurethane goes, that's one thing I'm sure about, because it's water base as well as matte finish. It seems like a pretty straight forward and easy thing to do, so I hardly think I can mess it up. I just need to make sure I have the right tools for it (and the stain that I want)!
> Make sure to seal both sides of the top though, and the edges and ends. That'll help prevent warpage.
Yeah I just read about it, so I intend to so that.
Thanks! ..and nope, no pre-sealer nor conditioner - I just dampened with water to raise grain, sand to 220, wipe clean and go. Here is the dye I used with denatured alcohol.
thanks!
for the topcoat alternatives, this one seems to be ok: Humbrol 150ml Spray Varnish No. 49 Acrylic Varnish Matt https://www.amazon.co.uk/Humbrol-150ml-Spray-Varnish-Acrylic/dp/B001JJYZN4
however, out of stock everywhere that will ship it for a good price. i can wait, though :)
I really like Formby's tung oil varnish blend, you can get it at Lowe's or on Amazon. http://amzn.com/B000BZZ4ZU
If it was my bar I wouldn't even entertain an oil and wax finish. The benefit of an oil and wax finish is they are easy to refresh. In a commercial setting you're going to be refreshing them far more often than you'd want to (with 48 hour cure times before they see use).
I'd either use a durable production lacquer (waterborne), an outdoor rated varnish, or an epoxy. All of which are available in a matte sheen.
Again if it were my bar, a few cans of this would already be on the UPS truck
I am looking for a natural oil finish and I want to avoid toxic substances and fumes. I tried food grade white mineral oil but the surface is still greasy a week later (its possible i did not put it on correctly). I saw some forum posts that people claimed its because mineral oil is a non-drying oil and it will always feel that way. So far this is what I have come up with Tried & True Oil and Walrus Oil has anyone used either of these or have other suggestions?
Is this the kind of oil you'd use? I'm not familiar with this at all but it's big if true!
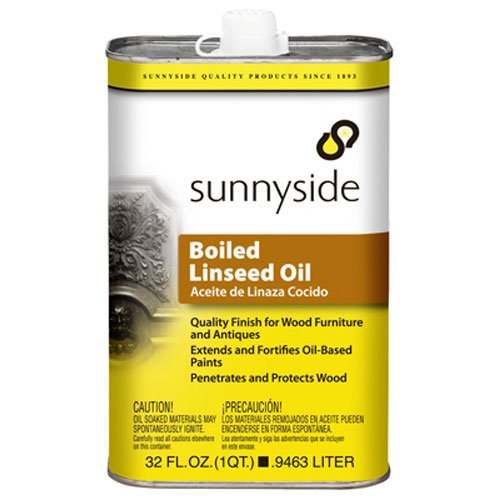
https://smile.amazon.com/SUNNYSIDE-CORPORATION-87232-1-Quart-Linseed/dp/B000C016PG/ref=sr_1_2?ie=UTF8&qid=1524592233&sr=8-2&keywords=boiled+linseed+oil
What would be the end result difference between the Shellac and the water based poly? I assume something like this? Minwax 255554444 Minwaxc Polycrylic Water Based Protective Finishes, 1/2 Pint, Gloss https://www.amazon.com/dp/B000BZZ3S8/ref=cm_sw_r_cp_api_oDVKzbDNDMNAB
Hmm it's a huge table top (5ft) so I don't think I can get a nice brush all the way across. Do you think I can use this? Minwax 622224444 Polycrylic Protective Finish, 1 quart, Matte https://www.amazon.com/dp/B017NNJQIS/ref=cm_sw_r_cp_apa_i_7F7HDbSNGSCE8
I'd use Spar urethane which is intended for outside weather conditions. Choose the finish you'd like.
Thanks!
This sort of thing?
https://www.amazon.com/dp/B017NNJQIS
Yugos look best with natural coloring, and minimal to no gloss.
I've used Formby's low gloss tung oil (be sure to get low gloss) to good results. It isn't a true tung oil (more of a varnish) but leaves a nice solid finish.
https://www.amazon.com/EPOXY-RESIN-CRYSTAL-COATING-TABLETOPS/dp/B00V2GKMWW/ref=sr_1_7?ie=UTF8&qid=1495464155&sr=8-7&keywords=2+part+clear+epoxy
you're welcome
I was wondering about the specifics about coating it. Wasnt familiar with spar urethane. So this stuff? https://www.amazon.com/Minwax-63205444-Helmsman-Urethane-quart/dp/B0044FFL06?th=1
I will probably do this at a minimum. Thanks!
Ive never used Rit but had good results with aniline dye. It doesnt require any bleaching and is easy to adjust the darkness.
Fading is only an issue in direct sunlight, and over a long time, but a clear UV inhibiting top coat can help with that.
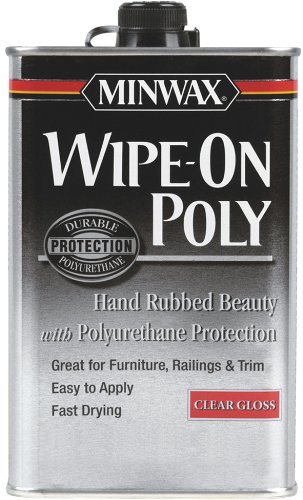
Minwax wipe on poly, clear gloss.
http://www.amazon.com/Minwax-60900-Wipe-On-Polyurethane-Finish/dp/B009YNUT6Y
just buy the miniwax wipe on polyurethane.
https://www.amazon.com/Minwax-40910000-Wipe-Finish-Clear/dp/B000VZJGPO