(Part 2) Best office glue & adhesives according to redditors
We found 127 Reddit comments discussing the best office glue & adhesives. We ranked the 58 resulting products by number of redditors who mentioned them. Here are the products ranked 21-40. You can also go back to the previous section.


Three variations on the theme:
Mountain Creek:
Shopping List
This will provide enough material to do hundreds of bases. Really the only limit is how many of the Hollow Blank bases you buy.
Instructions:
In either case, paint the texture over the entire surface of the epoxy, then go back and using a wide brush (a cheap #4 Filbert is perfect) create waves by making short, quick strokes. You want these brush strokes to go in the direction that the water is flowing, but you want to work your way backwards from the outflow point to the inflow point so that the crests of your "waves" overlap properly. Here's an image showing what I mean.
Swampy Pond
Shopping List:
Instructions:
OCEAN BEACH
Shopping List
Instructions:
Here are the PDFs of the artwork for easy printing on 8.5” x 11”. You should be fine printing at 100% and make sure it's Landscape mode.
RIGHT ARM
LEFT ARM
Supplies you’ll need:
Color printing capabilities for 8.5”x 11” paper (standard Letter size)
Two (2) qty. 20” x 30” foam core boards—I went with this size because they are most readily available at stores like Michaels and Staples or even Amazon
20"x30" Foam Core Boards and here is a 10-pack on Amazon if you wanted to do your entire row (DO IT)
Spray Mount or glue stick
Scissors and a boxcutter
A cutting mat would be helpful but is optional
•Feel free to ask questions. If I can, I’ll try to answer but I hope you find it pretty easy. Only the cutting part takes attention but I found that easiest to hack large parts off in straight cuts and then get progressively smaller with the cuts. Good luck and let’s surprise the ALCS with #LETBRETTBANG signs everywhere! LFG
EDIT: You don't need to use foam core. You can probably use a large cardboard box or poster board. That might even be easier to cut. I just recommend the foam core because for its lightweight not much matches its rigidity.
Have you heard of sugru? It's a moldable glue that I imagine has a similar feel to that toy. It's pretty strong stuff, too. It's not exactly what you were asking for, but I bet your son could probably recreate the toy in blue sugru.
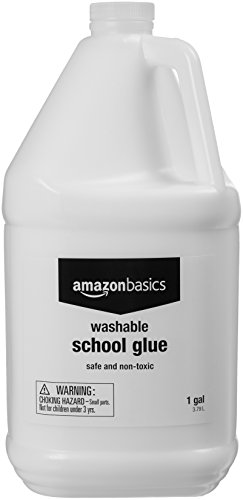
Amazon will sell you a gallon for 15 bucks.
https://www.amazon.com/E-6000-Industrial-Adhesive-Medium-Viscosity/dp/B00WIY5IUI/ref=sr_1_2?s=industrial&ie=UTF8&qid=1486241848&sr=1-2&keywords=e6000
I use this to bond my works to painted canvas. i have demonstrated to people buying them and worried about how strong they are by slamming on the piece a lot and then holding it upside-down, i swear by this stuff.
I gotchu OP: https://www.amazon.com/dp/B00006IFBG/ref=cm_sw_r_cp_dp_T2_aRivzbWMVYYBV
I've been using my phone in the shower since April 11, 2014. I got my Galaxy S5 at launch and now have a Galaxy S7E, both are water resistant.
I use two clear 3M hooks next to each other as a mount so that I can watch podcasts and listen to music on a waterproof bluetooth shower speaker while showering.
I've never once had a single problem. Having said that, the phone is mounted under the shower head and so pressurized water is never hitting the phone directly. The bit of splashing from my head and shoulders does nothing.
It's an interesting German paint that I read about called UHU. Amazon carries it, but sadly the single tubes take forever to ship, and the 5 pack is WAY overkill. So I have enough to last me forever now. Here's the link: Uhu 38106 All Purpose Adhesive - 125ml Tube https://www.amazon.com/dp/B0031RG2GA/ref=cm_sw_r_cp_apa_poz9BbPERGCKR
It was surprisingly easy, it dries very fast. I mixed it with Citadel Blood for the Blood God, then went over the finished effect again with a gloss varnish (Vallejo) after sealing it all with Dullcoat.
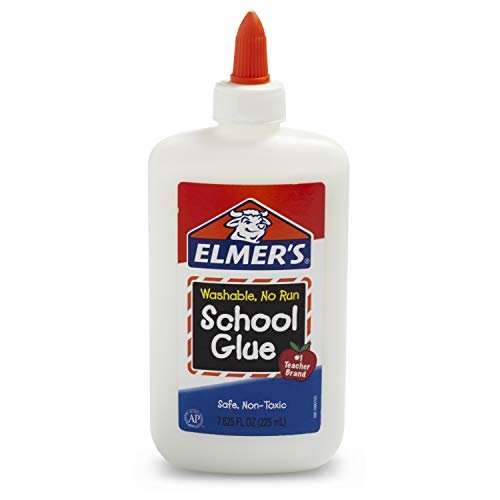
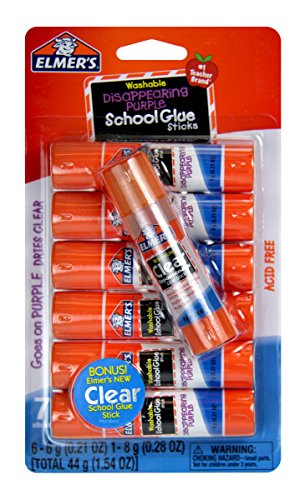
you know those crappy elmers glue sticks they had us use in kindergarten get some of those and apply a coat to the bed(usually in the general area you will be printing). Also grab yourself some isopropyl alcohol to clean the bed. So before a print you apply some gluestick then after the print give it a quick rub down with isopropyl alcohol. Rinse and repeat.
​
EDIT: https://www.amazon.com/Elmers-Glue-Stick-E4062-sticks/dp/B01JZYM6GC/ref=sr_1_3?keywords=glue+sticks&qid=1566011379&s=gateway&sr=8-3
90% sure it was this Loctite Super Glue Gel Control Bottle 4 Gram Case of 6 (1364076-6) https://www.amazon.com/dp/B01N2S50HN/
Sides squeeze in to dispense.
This stuff. You can find it cheaper in stores.
as i handed him the glue. i bought with Alexa.
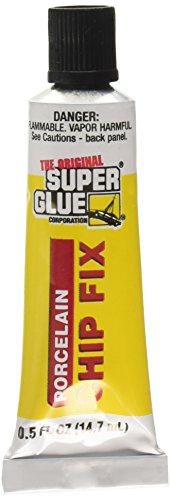
https://www.amazon.com/SUPER-GLUE-19061-Porcelain-Repair/dp/B00009V3VT
I usually use a few pieces of UHU Patafix. Press with them on the case, or even on the AirPod its self and the dirt came off.
Here’s the amazon link:
https://www.amazon.com/Patafix-Sticks-Again-Repositionable-Quick/dp/B0090L5RIK
I certainly don't mind.
Uhu is a brand. Here's a link from UK Amazon. https://www.amazon.co.uk/UHU-38106-All-Purpose-Adhesive/dp/B0031RG2GA/ref=sr_1_2?ie=UTF8&qid=1321185144&sr=8-2
For photos, the number one thing is natural light. Pointing a spotlight will wash out the colour as you see here. Put the model by the window and see if that helps.
If that's not possible, you need to diffuse the light. There are many ways to do this but the most crude is pointing your spotlight at a piece of paper near the model rather than at the model itself.
Hope that helps, would love to see the results.
I'd try using the adhesive that you'd use to reassemble a cell phone. Something like this
Artsy for life
One of my favourite crafts is Warhammer. I've done a conversion from $ which is £15.50? I love painting the models, never really been a fan of the game though. I have a lot of painted models, which I believe to look pretty good, thing is the basing. I've never really tried to do anything to adventurous with the bases, but have always wanted to.
This basing kit along with some PVA Glue would get me off to a great start at having 100% complete looking troops.
I used to have loads of photos of my Warhammer, but cannot really find any at the moment. I found one which is on my website Sorry for the small image.
Although the models are small and fiddly to paint, I just find it so relaxing, and have such a sense of achievement at the end looking at them finished. I can take more photos when I get home if anyone is interested.
Museum putty I use that for everything, all my Action figures have them on there feet (if they dont have a stand on them)
I use this for my sons badges for scouts, always worked well https://www.amazon.co.uk/Scout-Shops-Ltd-Badge-Glue/dp/B007V0MNFM
Hey! I was totally in this situation 6 months ago. Figuring out technique is a sort of "figure it out as you go" situation and tons of videos on youtube can help you figure it out. What I can help you with is your purchases. Figuring out what you'll need is extremely overwhelming, so here's a dirty rundown of what I've gathered so far:
​
Again, you don't need EVERYTHING listed above, but for my personal complete look, I require everything I mentioned. Starting off, I blew about around 300 dollars, so save money when you can. When queens joke about how they spent a lot of money to look "this" cheap, they really aren't lying. ALSO, don't be discouraged if you don't have the coin. There are tons of other resources available out there and if possible, you can always slowly acquire items over time.
​
Good luck! ✨
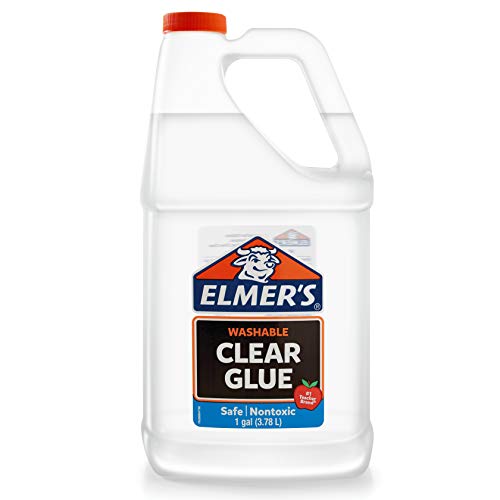
https://www.amazon.com/Elmers-Liquid-School-Washable-Gallon/dp/B071JPD9M3
What I can tell that it is a porcelain mug, and it's PROBABLY salvageable. What you want to do is find porcelain glue, apply to the broken areas, and bake it in the oven for a while.
A How To on repairing porcelain -
http://home.howstuffworks.com/how-to-repair-kitchen-equipment2.htm
Porcelain glue!
http://www.amazon.com/SUPER-GLUE-19061-Porcelain-Repair/dp/B00009V3VT
Personally, I like using thick string to hold everything together. If you can get the base to hold first and work your way up, she should have her mug back in no time :]
Yeah but they’re extremely nice. We use them at work so easy to love them when they’re free! Also you could buy a plain white board and use this. Just takes a steady hand and some patience. https://www.amazon.com/Graphic-Whiteboard-Self-Adhesive-Artist-Scissor/dp/B07H6Q9SC3
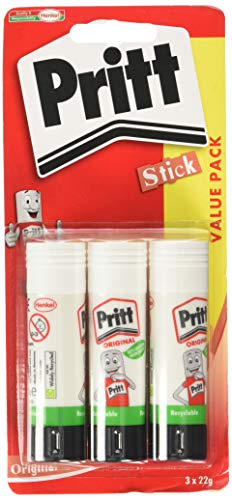
And when using a glue stick like these on AmazonUK, it's hard to go wrong. To make things even easier to clean your glass, a bit of isopropyl alcohol on the glass while its warm makes clean up a snap.