(Part 2) Best thermometers & weather instruments according to redditors
We found 385 Reddit comments discussing the best thermometers & weather instruments. We ranked the 67 resulting products by number of redditors who mentioned them. Here are the products ranked 21-40. You can also go back to the previous section.


Raspberry Pi 3
Raspberry Pi Clear Case
32GB MicroSD Card
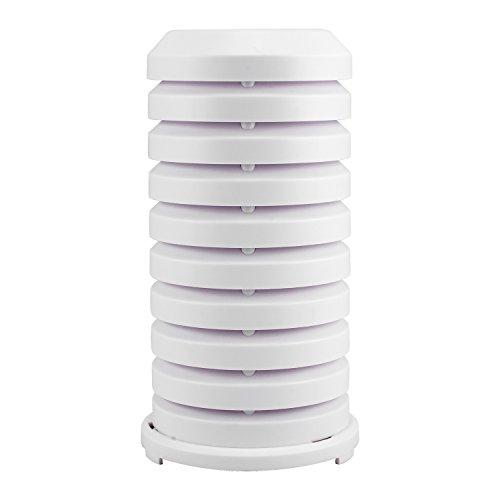
Netatmo Weather Station
Wind Gauge
Rain Gauge
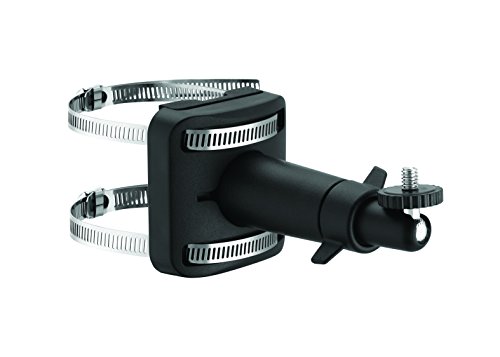
Rain/Wind Gauge mounts
3 Way HDMI Switch
1FT HDMI Cable
Wifi Adapter
Everything is attached to the back of the television with some double sided sticky paper things i had lying around. Anything will probably work.
The USB wall outlet is one that delivers 3.1A at 5V that we bought from our local hardware store.
The server that the software runs on is a poweredge r710 with dual x5670s and 64GB of ram. Of course, this isnt all it does, but it is one of the many things i host on it. :)
If you'd like, i can post the scripts i wrote for it as well.
You're going to want to pick up something like this. You set a temperature and an acceptable threshold (i have mine varying by only one degree), and it will automatically turn the heat lamp off and on to keep it at a consistant temperature.
I also have a under-tank heat mat for my hot side, which is the main thing used to warm my snake. I absolutely recommend getting one to put under your tank. Corns like to burrow and will get more benefit to having one on the hot side. I just use the heat lamp to keep the ambient air in the tank at an acceptable level. You will want to get a separate controller for the heat mat.
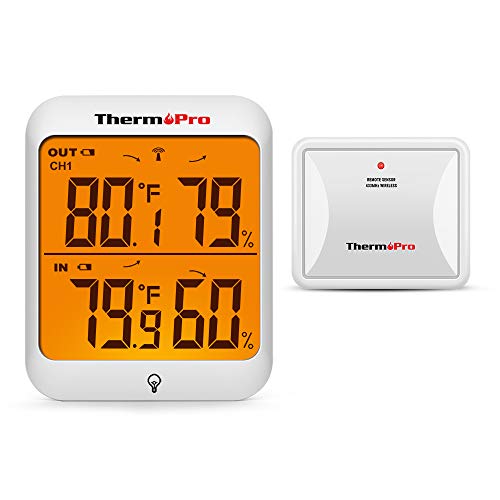
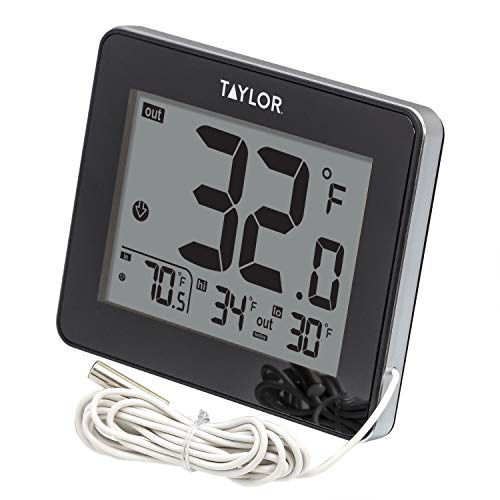
Edit: I also have an Indoor/Outdoor Thermometer just chilling in the tank to get a more accurate reading inside. Your tank atmosphere is going to usually be a bit different than the atmosphere in your room. I have the "inside" number reading the ambient temp of the tank, the "outside" number reading the inside of the under-tank mat (controller probe goes between mat and glass on the outside, and this prob sticks to the glass on the inside under the substrate), and it also tells me the humidity in the tank.
You want to keep your numbers as consistant as possible. I like to shoot for 85 degrees on the hot side, 75 degrees on the cool side, and between 40%-60% humidty. I hope this information helps. Let me know if you have any questions.
Edit 2: GoHerping does a great care guide video on YouTube, which is where I got most of my setup and care info from. There is also a link to their discord on the YouTube page that is full of friendly people that can answer a lot of your questions.
Edit 3: You're going to be better off using a Ceramic Heat Emitter instead of a bulb. It just produces heat and no light, which will be better with the controller ( you don't want the light isn't constantly turning off and on). Corns don't need UVB either, and do fine with just natural lighting (assuming the light in the room still follows the normal day/night cycle).
Handheld anemometer
Measure the dimensions of the outlet to calculate the area.
Multiply the area times the velocity.
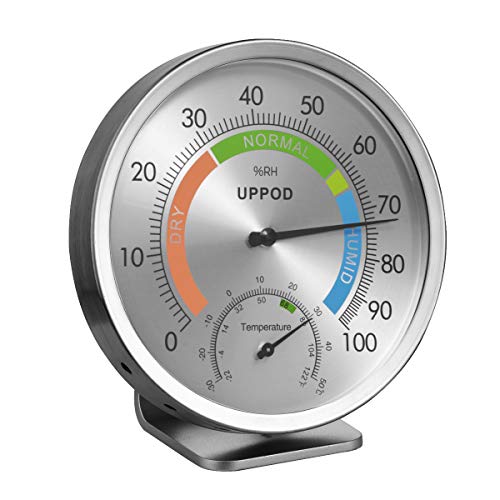
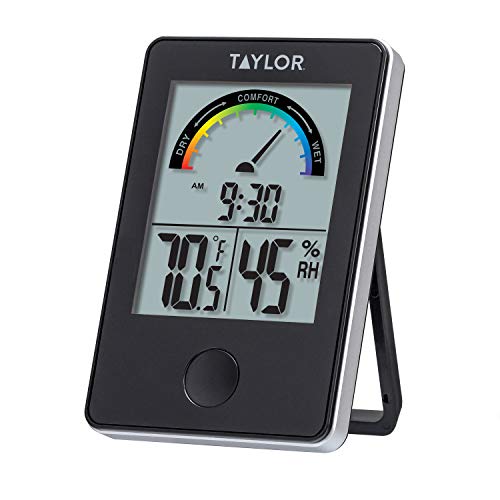
try one of these fancy science thingies - https://www.amazon.com/Taylor-Precision-Products-1732-Thermometer/dp/B01ALO50BS/ref=sr_1_9?crid=2KUKV0UKAIWZU&keywords=indoor+thermometer&qid=1564426613&s=gateway&sprefix=indoor+%2Caps%2C153&sr=8-9
Or Retro - https://www.amazon.com/Taylor-Precision-Products-Springfield-Thermometer/dp/B07H4X8CGW/ref=sr_1_11?crid=2KUKV0UKAIWZU&keywords=indoor+thermometer&qid=1564426679&s=gateway&sprefix=indoor+%2Caps%2C153&sr=8-11
They will tell you if it is hotter or if it 'feels" hotter :)
How about a weather station?
https://www.amazon.com/ThermoPro-Thermometer-Hygrometer-Cold-Resistant-Temperature/dp/B07L82PF1Z/ref=sr_1_4?keywords=travel+trailer+outdoor+weather+station&qid=1568320873&s=gateway&sr=8-4
You can, but what might be easier is to balance what you have.
Get a cheap anemometer and measure the flow from each vent. Then start closing down the high output ones until all vents have roughly the same flow. From that point you can close or open individual ones as needed to get the perfect set-up:
https://www.amazon.com/BTMETER-Anemometer-Thermometer-Temperature-Precision/dp/B07FPBP2WX
Starting at the top with the thermometers, I never did use the the one that came with the bbq, but I wanted a second one to fill the hole in the lid so I ordered two of the same, they seem to be pretty accurate when compared to my digital thermometers. Link to thermometers I ordered.
Moving left, I installed a gasket around the edges of the lid, I find this keeps the gasket clean from from meat drippings, sauces, etc. Over time the weight of the lid molds around the opening and creates a tight seal, no smoke or heat is lost through the lid.
Below shows a Weber Grommet that I use to run my temperature probes through. The gauge of metal on the OKJ is thicker than what it is on the Weber Smokey Mountain but with some elbow grease and olive oil it does make a snug fit.
Also in this picture you can see J-B Weld high temp silicone around the chimney.
Moving right to the picture of the grill grates, you can see below the grill grates a heat deflector baffle plate, at first I didn't care for this as I spent a summer learning how to use the BBQ without it. But after a bit of practice I learned how to use it and am really happy with it, seems to keep a nice even heat across the chamber.
Moving up to the last picture. I replaced the set bolts on the legs. I drilled through the legs and the stubs that are welded to the bottom of the chamber and installed bolts, I did this below too and have attached the bottom shelf with bolts through the legs. I found that moving the BBQ around seemed to stress and lossen the set bolts, doesn't help with cookin' but sturdies it up.
Also in this same picture I bought a bucket for the drippings.
Not pictured is a fire box basket. Keeps the coals and wood in place, if need be I can place a log in the chamber to warm it quickly before tossing in the basket.
A couple things I tried but didn't care for. The dryer vent elbow inside the chambrer to lower the chimney down to grate level, and a BBQ Guru bulk head in the firebox.
I had to break this into another comment due to per comment character limits.
The following previously belonged to the above comment, but was moved here due to the above mentioned limts.
> Something you can do now: Build a filament drybox. Seriously, some filaments such as certain Nylons can go bad in just a few hours, depending on ambient humidity levels. All filaments are susceptible to moisture absorption, and ideally should be kept in something like a Spannerhands holder, even while printing, but at worst you should store them in a big plastic tub with silica gel beads to keep them dry.
> If I had to give one last tip, don't stock up on too much filament yet! Seriously! I thought I would be printing mostly in PLA but now that I've had a few weeks to work with it, I've learned I prefer PETG more, and now I have so much extra PLA! I'm sure I'll find something to do with it, but for my final tip I would add "And get a good variety!". Services like MakerBox (referral) let you try a bunch of different filaments on the cheap. It's not a ton of each filament (about 50g), but I love the variety of materials and colors.
Original second level comment begins:
Final Tips: Bonus Round!
There are tons of other accessories you can get ahead of time. None of these are necessary, but are small things you might end up using (or wanting to try :P), and should help get you started getting a wishlist together. Besides the ones mentioned in this comment (and the one that precedes it) already:
Edit: Upon rereading my comment I realized I have a problem.. I own every product I just listed..
^^Except ^^for ^^the ^^nozzles ^^kit ^^so ^^it's ^^not ^^that ^^big ^^of ^^a ^^problem, ^^right?... ^^Right?!
I've been working on a similar version as to what you are building. You really ought to have your sensors in a shield where the sun is blocked. That clear enclosure will heat up in direct sunlight so the panel will charge.
I got one of these to put my sensors in, and the electronics are in a weather proof box with the solar panel:
https://www.amazon.com/gp/aw/d/B00VSXENM4/ref=cm_cr_arp_mb_bdcrb_top?ie=UTF8
Regardless, great work. I was using an Arduino fio to do mine, but I'm working on using the esp instead because of lower power consumption.
You can always do barometric pressure inside, it doesn't have to be on an outdoor unit, it's the same inside and out according to all of my experimentation.
What are you using to view your data? Webpage, control system, some sort of IoT service?
Do a check to see if you are getting sufficient air movement. It is quick and easy:
https://www.amazon.com/Mseng-anemometer-instrument-thermistor-measurement/dp/B073TT2TXL
If I am right, you will find that the flow is less than many other rooms.
Alternative:Indoor/outdoor thermostat Then calculate humidity based in temp difference between wet and dry bulb. Link from here
If it didn't lock you could still lock it manually using the keyfob as you walk away. I'm not sure I'd trust this device to keep pets alive though. If I did I'd only be for times when I had no choice and I would hang a big thermometer on the rear view mirror so a passersby can see the internal temperature of car.
I'd also put up a note that explains everything with my cell number too. I'd even put on the note that if they are unable to reach me and the temperature is above 80F inside the car they have my permission to break the window.
Technology isn't perfect and losing your pets is not a great way to learn that lesson.
Sounds like it's working then. When I was getting my system stable and the OC worked out I ran something like one of these right in the res to give realtime feedback on what was happening with my water. Anyway, if you have a year under your belt, it is probably fine.
>get the ATIS and try to taxi around an airport
A tailwheel will probably take you into airports where the wind direction varies depending on where you are on the field. Hangers, trees, and surrounding terrain funnel the wind.
I found it helpful to walk around the airport before flying with https://smile.amazon.com/Freehawk-Wind-Speed-Meter-Gauge/dp/B07DB32TRP/ref=sr_1_1_sspa?keywords=wind+meter&qid=1554905011&s=gateway&sr=8-1-spons&psc=1 and see how the wind varied. Once I learned what to expect, I could anticipate stuff like the whooshing crosswind that only shows up in the middle of the field due to a large hanger and change in elevation.
Congrats!!!
I think you should get a storm glass. They're really cool and pretty. The only reason I don't have one is bc I have a wild dog and child lol itll get broken.
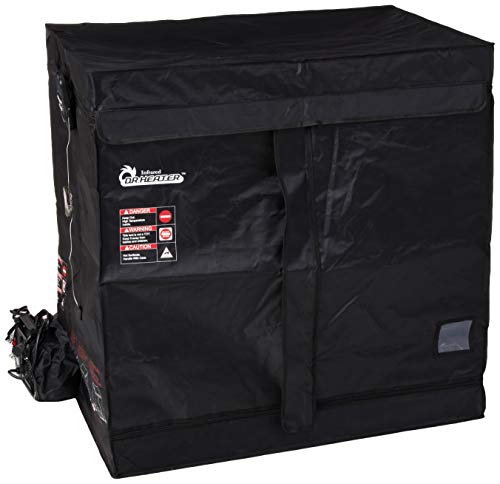
Luggage can be put into a heat box too. Something along these lines. https://www.amazon.com/dp/B00ZOUCYDW/ref=asc_df_B00ZOUCYDW5084384/?tag=hyprod-20&creative=394997&creativeASIN=B00ZOUCYDW&linkCode=df0&hvadid=167137474498&hvpos=1o3&hvnetw=g&hvrand=2895652971877154294&hvpone=&hvptwo=&hvqmt=&hvdev=c&hvdvcmdl=&hvlocint=&hvlocphy=9021748&hvtargid=pla-314702871523
A dark trash bag tied around it and left outside for an hour should be fine this time of year for most north american hosts at least. weather permitting, obviously. Also inside a car on a hot sunny day. Just open it and put it in the backseat or something. It'll definitely get hot enough in there.
Ugh, i fucking hate bedbugs with a passion. youre top comment so you should add the bit about the infesting someone elses place if you don't mind.
Oh for sure, here's where I'm at (copy pasted from a comment I made a while back):
I've had quite a few set ups in the past, and this one is my favorite by far. It's made in such a way, that I can close all the doors and it would be unnoticed. If it's dead silent you can hear the 6" fan running, but with the AC running you can't notice it at all. It's great!
​
So my set up, is also a closet, that is slightly bigger than my tent. So in order to manage heat better I may take my tent out and put mylar on the closet walls. I like having the tent so I can have clones/saplings in the closet with light, and have my flowering ones stay in complete darkness. I'll try to take a photo for you too!
​
I also, just ordered my 480W Quantum Board light, which arrives on May 29th! I know I could do more to better manage heat and not need a new light, but this seems like an opportunity to upgrade so I'll take it.
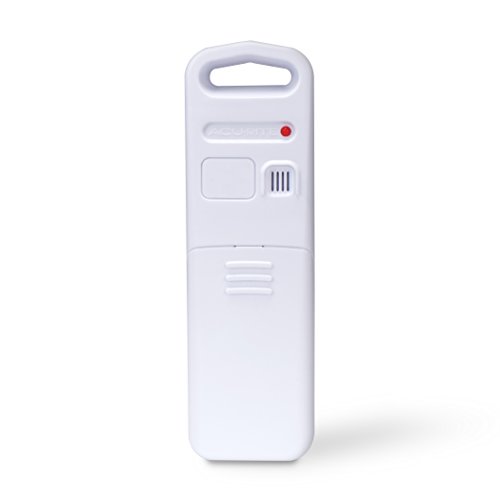
Amazon sells it too https://www.amazon.ca/AcuRite-606TX-Wireless-Temperature-Sensor/dp/B00V4R5EUO/ref=sr_1_fkmr0_1?ie=UTF8&qid=1494204644&sr=8-1-fkmr0&keywords=acu+rite+rne+606tx
Mark it solved.
It’s on the first page of results for ‘hygrometer’ - https://www.amazon.com/dp/B07LD3PBNK/