(Part 2) Best hardware adhesives & sealers according to redditors
We found 395 Reddit comments discussing the best hardware adhesives & sealers. We ranked the 182 resulting products by number of redditors who mentioned them. Here are the products ranked 21-40. You can also go back to the previous section.


I've actually used these before with pretty good results in a similar situation (rental home).
https://www.amazon.com/Guardsman-Wood-Repair-Filler-Sticks/dp/B0057IV5PY
True, but the result of baking soda plus superglue looks like wet granulated sugar. This looks more like powdered plastic resin glue but I'm not sure on that either.
https://www.amazon.com/dp/B07PKFKT27/ref=cm_sw_r_sms_apa_i_k7IWDbAGRDBEX
It won't be labeled as horse glue, but as animal glue.
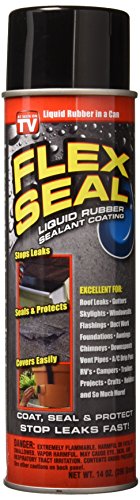
I've done it with Flex Seal I can tell you that it was easy and didn't require any sanding. Just mask off your area and spray away. I wanted to try it because I would often set them down on concrete floors and worried about eventual damage. With all of that said, I didn't like that fact that I could no longer see the amount of trub that was building up and was also worried about knowing if the bottle got clean after use. I currently use better bottles and/or glass carboys with milk crates.
As someone working through this but a few years ahead of you, I'll pass along the list of stuff I've bought and/or wish to buy...
Hand Tools
Power Tools
Also, there are fluids to consider
Of these, I'd focus on the hand tools, fluids, and the Dremel. You can always ask someone to buy you a saw for Christmas. If you have these things on hand, there probably won't be a job come along that you can't handle at some basic level. I'm assuming you don't need yard grooming tools, because that's an entirely different list.
Encase the eggs in Jell-O brand gelatin.
Try a few experiments with different amounts of Knox brand gelatin added, i.e., different stiffnesses.
Edit: better yet, put eggs in box and fill box with expanding foam like this stuff. Let it cure and dry completely, then saw through the foam & eggs with a thin blade%%. Clean out the egg mess, wipe away liquids. Voila, a perfectly molded 2-part container for six eggs. Put the new eggs in, tape the two halves together securely, good 2 go. %%razor knife, laser, hotwire cutter, jigsaw, etc
A silicone glue roller would work here. Just make sure you go light on the glue or squeeze out will be a pain to clean up. https://www.amazon.com/WOODRIVER-Silcone-Glue-Roller/dp/B00H2B73E6
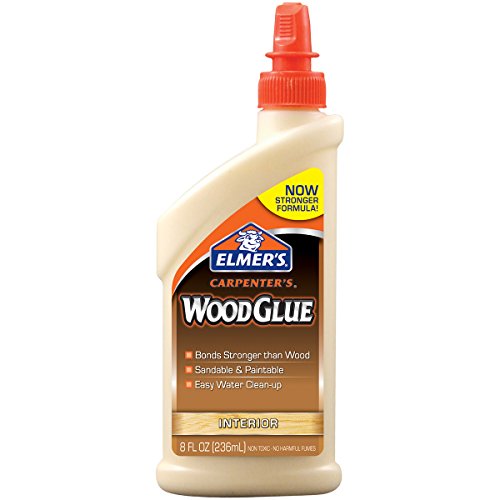
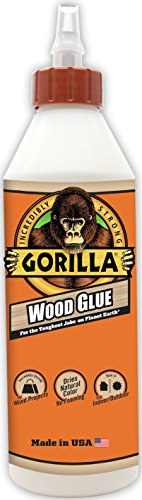
I was thinking the same thing at first, but I'm giving the OP the benefit of the doubt that he means Gorilla Wood Glue and not the original Gorilla Glue.
Look in the wood working supplies and get a hard wax filler stick. Here is an example at Amazon. You can warm up the wax with your fingertips and get it pliable.
Fill in the holes and polish off any excess with a soft cloth.
There is a LOT of info in this sub on cutting board finishes / glue. A quick search should return what you're looking for. That being said, I'll give you what I use here:
Glue - Titebond III. It's water proof (not resistant).
Finish - A mixture of beeswax and mineral oil. It needs to be re-applied occasionally, but it's super easy for beginners. Stay away from salad bowl finishes until you've made a few boards and want to try something a little more durable.
Woods - Hard maple and walnut are the easiest, but anything tight grained will work. Stay away from open grain woods (oak, etc.).
I don't think people realize how expensive it is for a company to build speakers. The general consensus is that there is a 1000% markup, meaning a $1000 pair of speakers only are $100 in parts. The company has to spend money to design and research the speakers. All of that is done in a building that they pay for. Next, they've got to build the speakers. Someone personally has to screw in each driver and apply every vinyl finish. They have to pay people to do that stuff. Next, they get shipped to a distributor. Speakers are big and heavy, so that isn't cheap. The distributor takes a cut of the money. They then send the speakers to a dealer. Once again, shipping costs. The dealer also needs some money, so they raise the price to make some money.
I'll throw out an example. The Buchardt S400 is a good one. It is made out of parts that anyone can buy. They use this $20 tweeter with a waveguilde attached, this $34 passive radiator, and this $71 woofer. So, they come out to about $125 per speaker, and $250 for the pair. They most likely get bulk discounts, but we can ignore that. Anyways, you get about $250 worth of parts in $1800 speakers.
Anyways, besides what comes when you order stuff, you've got to get some other parts.
You'll need a pair of binding posts for every pair of speakers you make. I use these ones, but really any of them should work.
You'll need polyfill to fill the speakers.
Screws to screw in the drivers.
Speaker wire, for inside of the speakers as well as to wire it all up when you're done. Since you're spending this much on the setup, banana plugs to plug in the wires might make you feel better. You won't need them, but it is definitely much easier to use them.
Alright, so that is really all of the stuff that you'll need inside the speakers. Now we can talk about the building stuff.
Clamps. You'll be gluing the speakers together, and need to hold them in place while the glue dries. Speaking of, wood glue.
You'll need a soldering iron for soldering everything together inside. That one comes with solder as well, as far as I can tell.
However, you want to finish the speakers would be last. Spray paint, vinyl wrap, whatever you want really. You could even get paint and a roller and paint them like that. You'll most likely want to sand and prime them first.
I think that's everything. Anyways, that Buchardt example is one of many examples. These Von Schweikerts are $35k and only have like $5k in parts, or something like that. I looked them all up once but I don't remember. Anyways, this is all to say, a pair of $400 speakers like the Monitor Audios don't have $400 in parts. It's much less than that.
Not sure if its 1 or 2, but I use this stuff:
After letting it set for a few days, I warm it for a few seconds with a blow dryer to make it a little easier to peel in one move.
Yeah, if it's really bad in your place it's building-wide and you're only spot-treating by taking care of them in your apartment. To add to your list of hole-closers, I also recommend an expanding sealant. I've used it on a couple of gaps at my current place and it seems to work really well. Also, we got a cat.
At my first apartment the whole building was just infested. The super gave me glue traps. I'm way too sensitive a person to use something like that. I'm still haunted by the one and only time I disposed of one of those. So I got a humane trap, aka the Electric Murder Box. I killed so many mice I had to replace the batteries.
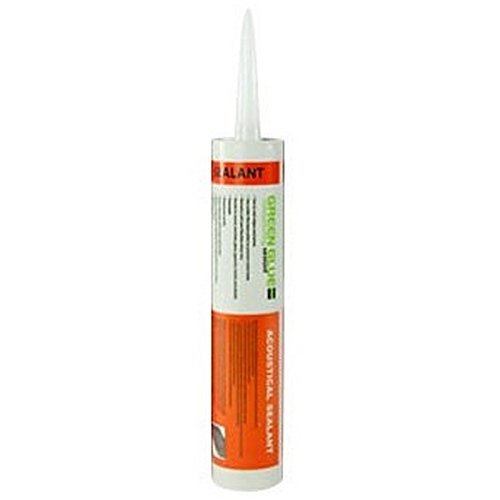
you need something denser to absorb vibration noise, they sell a special glue you put between drywall that absorbs more vibration
edit: found it
https://www.amazon.com/St-Gobain-GGSEALANT-28OZ-Noiseproofing-Sealant/dp/B00MGCRUD0/ref=pd_sim_60_1?_encoding=UTF8&psc=1&refRID=M5E7D0H8T4X22FHQX2PD
I just assembled this over the weekend. It was a little more work than I thought, so here is what I’d say to do:
Get this hobby knife (or something like it): SE 813PK 16-Piece Hobby Knife Set with Aluminum Collet Chucks https://www.amazon.com/dp/B0002BBYIE/ref=cm_sw_r_cp_api_FRGhAb4HDSWWY
The pieces were very difficult to punch out and several big pieces splintered in places (not to the point of structural integrity). After a couple of this (I know I know, I tried to change my technique), I used the flat chisel like piece to begin punching them out. Took a lot more time but it worked. Pressed the chisel down and lightly tapped with the hobby hammer I got from Meeple Reality.
Speaking of which, get this hobby hammer (or something similar, the light weight is important. I got big hands but it is fatiguing swinging the little bigger guys): Cousin Craft and Jewelry Mallet, 8-Inch https://www.amazon.com/dp/B001144WTE/ref=cm_sw_r_cp_api_SJHhAbJ83KX36
Once the glue is in, or you got the pieces together, hammer them in. Check for gaps in the joints.
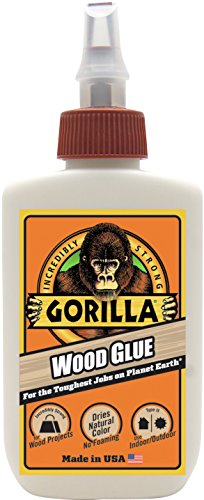
Speaking of which, get this wood glue (or something like it) : Gorilla Wood Glue, 4 oz. https://www.amazon.com/dp/B00HDM9I3S/ref=cm_sw_r_cp_api_MOGhAbT804887
The first half or so I applied it to every joint. Keep a paper towel handy or something to clean the excess that seeps out.
The last couple of intricate pieces I only glued the outside supports. The intricate pieces inside didn’t require it. I’m pretty sure it’ll hold. If it doesn’t I’ll glue it when it happens.
Ok, I think I got it down. I wrote this over 4 sessions as time permitted quick style, so if something is weird or doesn’t make sense let me know. I have so little DIY experience , so if I can do this, you can do this.
$10 fix for the faucet.
I'm wondering if you could disassemble the intake and jets, and silicone caulk some of these in.
And then insulate with spray foam?
Oh no these things are stout. When I built them I used proper wood glue (not just dipping the dowels in water) on all the joints, and used a ratchet instead of that dinky hex key it came with. Just don't turn them the wrong orientation when setting them up. The "shelves" should be horizontal; if you turn it sideways by accident and the individual slats are load-bearing, you might have a swaying left-to-right issue.
The only problem I really had was the carpet. My floors aren't completely plumb near the baseboard and the shelves tilted away from the wall. Those things came with anchoring kits (for liability reasons, "hey dummy we gave you a wall anchor") and I thought of using them but instead had a better idea. I took heavy cardboard and some wooden door casing wedges and made a little platform under the shelves to tilt them back.
They're pretty solid, I'm not worried about my kids knocking them over.
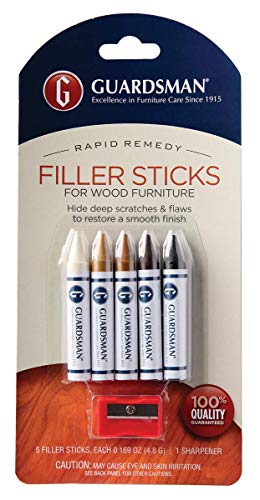
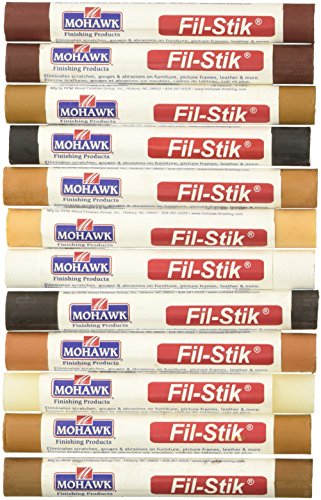
https://www.amazon.com/Mohawk-Fil-Stik-Furniture-Cabinet-M230-1250/dp/B00WQ47N1M#customerReviews
^^ check the above product out.
I’ve fixed my own a couple of times, but I’m no expert. Use something like this, your local hardware store should carry something comparable. There are videos on YouTube as well. However, eventually you will have to replace the tub. https://www.amazon.com/gp/aw/d/B006ZHVLYG/ref=pd_aw_sim_60_1?ie=UTF8&psc=1&refRID=T4QCK207EX5PNZTT373M&dpPl=1&dpID=81rP39r9QOL
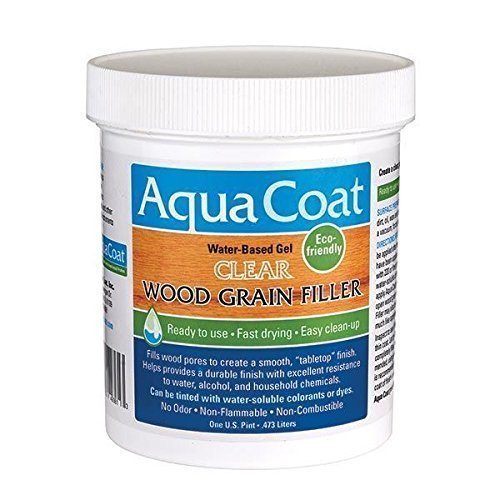
Oak grain filler for cabinets. People use this but there are others available too. The best thing to do is test your process on one or two doors first and see if your system works. Cabinets are all about the prep work. Good luck!
The Lack coffee table won't stand up to much abuse. Coasters are imperative ... getting it wet at all more than a quick wipe-down will ruin it if you have any scratches or nicks in the surface. It is solid and will stay together, but the finish is laminate over particle. If you get a scratch or a nick, use the wax crayon type of thing to fill/color it in immediately, like these: http://www.amazon.com/Guardsman-500300-Filler-Sticks-Shelf-Tray/dp/B0057IV5PY
Don't use sharpie or the markers they make to cover scratches. Those don't keep out moisture. My Lack coffee table would have lasted a lot longer if I'd figured this out sooner. I recycled it into a window bench/cat bed by covering the ruined top with an upholstered cushion.
Uhh, I've never seen hide glue in that configuration, just in a regular bottle like that. In luthiers' shops I've been in, you have to warm it up to melt it properly before you use it. That probably has some weird additives that keep it liquid and stable, but I'd worry they also make it not ideal for luthierie.
Edit: You actually want something more like this.
You make youtube videos, and spread the glue with your finger? Try one of these. Get two. Just make sure to wash it off after use. https://www.amazon.com/gp/product/B00H2B73E6/ref=oh_aui_search_asin_title?ie=UTF8&psc=1
You can thank me later :) I love mine.
Add 1/3 of the flour weight of this to your base:
https://www.amazon.com/00203-Weldwood-Plastic-Resin-1-Pound/dp/B001003J16
So if your recipe calls for 3c of flour, use 2c of flour and 1c of this resin powder.
Yeah, I was looking at this:
https://www.amazon.com/St-Gobain-GGSEALANT-28OZ-Noiseproofing-Sealant/dp/B00MGCRUD0
It is definitely more expensive than caulk...
I need wood glue. My kitchen chairs are adorable old antiques but they're just all kinds of broken.
Acrylic is soft and 'pushy'. I am going to guess (but don't know) that you have a fiberglass tub.
That being said, fiberglass is water proof. Follow this guide:
https://homeguides.sfgate.com/repair-small-surface-chip-fiberglass-tub-88397.html
This kit is easy to use:
https://www.amazon.com/Rust-Oleum-244166-Specialty-Touch-White/dp/B006ZHVLYG
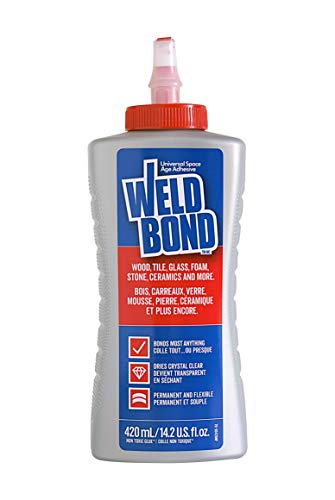
Weldbond. https://www.amazon.com/Weldbond-8-50420-Multi-Purpose-Adhesive-Glue/dp/B00RM70OGE
They sell repair kits (e.g. https://www.amazon.com/Porc-Porcelain-Repair-Kohler-Biscuit/dp/B00LS5K7AY or https://www.amazon.com/Rust-Oleum-244166-Specialty-Touch-White/dp/B006ZHVLYG/ref=pd_sim_60_9?_encoding=UTF8&pd_rd_i=B006ZHVLYG&pd_rd_r=08E38YVSAAXXTRJ5BKWZ&pd_rd_w=QorLu&pd_rd_wg=RMece&psc=1&refRID=08E38YVSAAXXTRJ5BKWZ) but I don't have any first-hand knowledge of their efficacy.
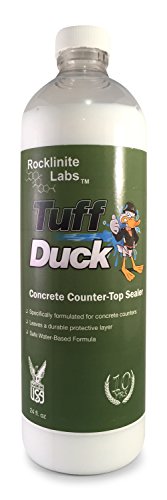
I'm not sure if its cheapest but Tuff Duck was highly recommended to us and we use it on our concrete skim coat kitchen counters. It does slightly darken and gloss the finish but you can also water it down and do a 3 coat approach for a matt finish. We're about due for a reseal after 12 months of use. Its really easy to apply.
Thanks for the info. Let me know what concrete sealer you end up going for lol. This product on Amazon seems to have good reviews but I'm a touch hesitant to get it.
Depends where you are.
Oplaser is based in the UK and I'm in France.
It took 15 days between my order and package arrival, with only one notification from the the delivery agency (Parcel2Go.com)
Beware that the box arrived unassembled, you have to assemble it yourself, so you have to get some wood glue (like this one : https://www.amazon.fr/gp/product/B0001YS16U/ref=oh_aui_detailpage_o01_s00?ie=UTF8&psc=1) and a strap to help you fix every part together (https://www.amazon.fr/gp/product/B001W7HYDQ/ref=oh_aui_detailpage_o01_s00?ie=UTF8&psc=1)
But in the end, the product is really great, worth the investment.
sorry for bad english ...
Would something like this work as well?
Let me start by saying that this would be the bare minimum. This is assuming that you have all the experience to use these tools effectively as someone who has the appropriate skill and knows to do things like not bear down on a saw when cutting, keeping everything square, how to mill boards by hand, how to not kill sandpaper in a few strokes, how to tune and sharpen a hand plane, ETC.
2x$8.69Vise grips Two vise grip clamps. Clamps can be universally adjusted and clamped in almost any direction with some quick thinking. One is never enough.
$9.99Cheap set of chisels Everyone needs a chisel. These will be made from a milder steel, but it's better than nothing.
$22.00Generic ryoba saw A ryoba saw will double for crosscuts and ripcuts. They go as far as you can take them provided you treat them right.
$18.62Bench Plane You need to be able to take down material in terms of thickness. A simple bench plane will due for now.
$20.61Block Plane A block plane will help slightly with end grain smoothing where the bench plane cannot.
$3.47Bundled Sandpaper You need to finish your products somehow. I would get a generic bundle of sandpaper and use it sparingly and tenderly.
$12.85Square Keeping things square is vital.
$6.79Mallet Hammering your chisels is going to be very important since you cannot use a 2x4 reliably.
$3.47Wood Glue Need to be able to glue things together.
$11.80A set of card scrapers Remove material smoother and faster. You don't want to waste sandpaper if you don't have to, and these are quite versatile.
$8.06A bastard file A bastard file will do for now when it comes to heavier shaping and sharpening your card scrapers.
$15.92A small drill viseKeeping something secure in place is very important. A small vise will accommodate small and narrow pieces of lumber and can be bolted to a bench.
$3.97Assorted finer sandpapers You need something to keep your chisels constantly sharp, especially when it is such a mild steel as a set of 9.99 chisels.
$15.59Wipe on polyurethane You need to be able to finish your products somehow.
Comes to $170.52 I would use the rest to make a bench and two sawhorses out of some 2x4's.
You might consider using a black liquid rubber product. Just brush it on. Or spray.
I’ve had luck with this product for filling gaps and nail holes on wood that has already had finish applied. You rub it back and forth over the gap and it fits in there. Then rub off the excess with a cloth. Not a great choice for colors that might get cleaned with hot water, as the wax softens with heat. But a good choice for a job like this.
Tape? Nah, use Flex Seal, that aught to work.
For example, I just ordered this because I can't stand the circular shape of this.
But can you work between the two houses? It would be better to use a foundation sealant from the exterior.
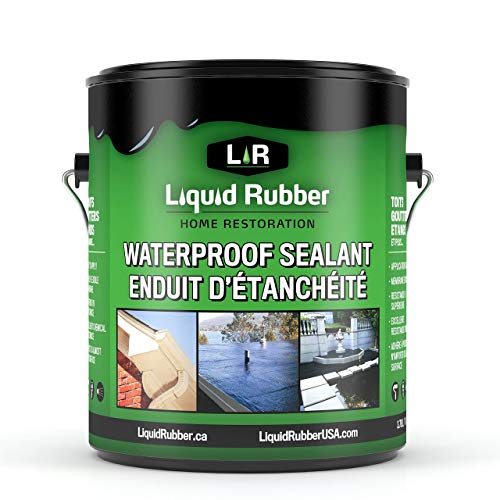
https://www.amazon.com/Liquid-Rubber-Waterproof-Sealant-Coating/dp/B00NI150Z8
Any thoughts if this will work? The guy at Lowes told me it was my best option
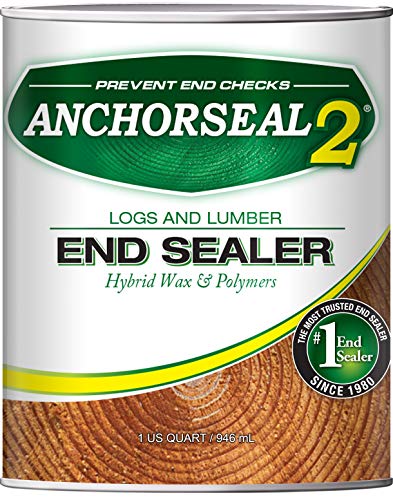
Pentacryl is very expensive. Anchorseal isn't too bad
Aqua Coat Clear Wood Grain Filler
https://www.amazon.com/Anchorseal-Green-Wood-Sealer-Quart/dp/B0013J1FYW
but most paints (thick) will do
> There is special end sealing paints
Anchorseal. It's basically paraffin wax suspended in water.
Hit them with some of this:
https://www.amazon.com/dp/B00CD9FGNW/ref=cm_sw_r_cp_api_i_PHY2BbCAABXEW
For the glue I would use a UF type, like this. Get the glue as far back in the gap as possible using a butter knife or something. Then put some very heavy and even weight on top and let it sit 48 hours. Keep the area as moisture free as possible in the future, and I recommend not using the heated dry in the dishwasher.
Oh nice, just be careful. a lot of wood will crack over time. (Currently using a custom built wooden desk similar to yours) and the guy that made it for me warned me about cracks (Showed me some examples).
This is the glue I use as well and also was recommended by the carpenter. https://www.amazon.com/Flex-Strong-Rubberized-Waterproof-Adhesive/dp/B078TN2VWM
I did the same thing and used Weldbond to glue it back. and it works fine on Hatchbox wood PLA Here
I would try sanding it down, if there are gouges you can get some Durham's to fill them, it is cheap and hard to screw up. Once that cures sand it all again and paint it. If the grain is raised from the paint sand it again and paint/seal. It is possible to paint a faux wood grain to match the existing but it would be difficult for me to describe the technique. There are probably some youtube videos about it though. For that one I'd start with a base of the lighter brown and then grain with the darker brown, latex paint is easiest for the user...
You might also consider sanding it and spray painting the whole thing a solid color then gluing/decoupaging a coordinating fabric or paper print to the top in a pattern you like.
It's actually an awful product. Just check out the number of 1 star reviews on Amazon. https://www.amazon.com/gp/aw/cr/B078TN2VWM/ref=cm_cr_arp_mb_hist_1?filterByStar=one_star&pageNumber=1
I work in a hardware store and I wouldn't recommend it to anyone.