(Part 3) Best cutting tools according to redditors
We found 368 Reddit comments discussing the best cutting tools. We ranked the 178 resulting products by number of redditors who mentioned them. Here are the products ranked 41-60. You can also go back to the previous section.


Sure!
Dein Username prüft übrigens aus.
The Light Units
The Chips x4: 98.6$
The Driver x1: 74.9$
CPU Cooler
x4: 55.96$
Thermal Adhesive Paste x1: 7.9$
4way pin for the coolers x1: 9$
Lights Total: 246.36$
Framing and stuff
Most guys build their framing out of aluminium profiles. I bought mine here from the %%% section: https://www.alu-verkauf.de/ALUMINIUM-ALUMINIUMPROFILE
Every country has its own manufacturers for these. Mine cost about 30$.
You also need cables. The veros are pretty flimsy. so take pretinned gauge x1: 9,95$
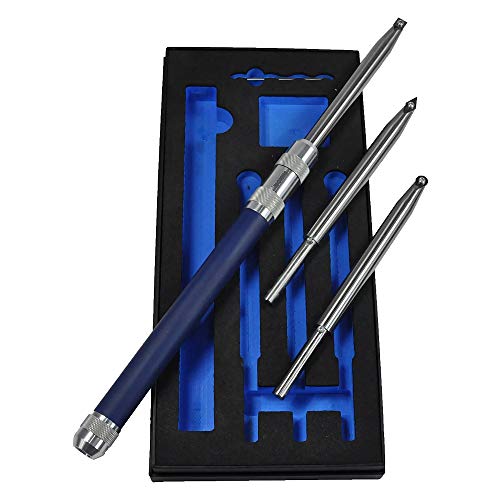
In order to screw the frame you might wanna cut holes swith a thread. This will do x1: 8.43$
Be careful these drills suck and break easily.
Screws x1: 12.98$
Wago Connectors
x1: 6.35;$
Were at about 315$.
Lets see what we can do with it.
my frame is build with 6 L-Profiles in which the COBs just lay around and one center piece: Link to Pic
You might additional hangers, cold device cables and another power source for the cooling fans. If you decide to buy the MeanWell HLG-320H-2100B you will need to connect a 10kOhm potentiometer to the Driver. This is to dim the light and safe money in vegphase. The HLG-320H-2100A has a build in dimmer which you can access via a screwdriver. I would recommend A, since its easier to operate. You can also regulate the fans of the cooler via a 150Ohm poti. If you dont like the sound, you can run them at 1/3 to 1/2 speed.
have fun!
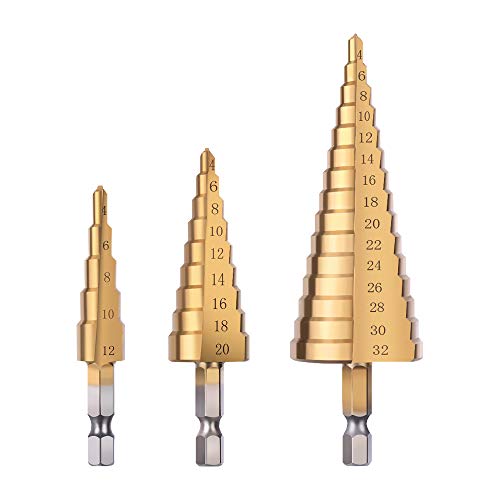
You can either drill a 10mm hole and file it out, or get a step drill to widen it.
https://www.amazon.co.uk/dp/B073QSPND1/ref=cm_sw_r_cp_apa_rfRLBb3H0BKJC
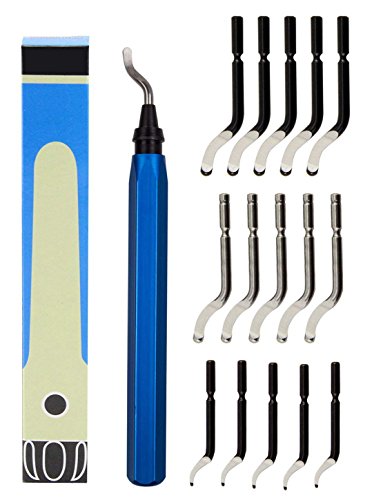
In addition to the Xacto knife, I'd also recommend a deburring tool. It's great for removing elephant's foot or putting a small chamfer around the edge of parts that have to fit together.
​
The "micro cutter" in the other post can also be found under the names of diags, dikes/dykes, or diagonal cutters.
It was this set from Amazon.ca. Seems really cheap, and I've only used it on plastic threaded parts on my builds. I might still trust it on thinner aluminum and brass, but definitely not steel, and definitely not on something important like my car.
A deburring tool is absolutely the best for that. Use the smaller, sharp blade it's made for plastic. Keep in mind it only works in one direction, holding in your right hand pulling towards you, and it does a perfect job of cleaning up those edges. If you do it the other way, it will cut way too deep. Since the blade swivels it's perfect for cleaning up screw holes, too.
This is not the most favorable option, but you can take out one of the posts and use one of these https://www.amazon.com/dp/B07D35C3LY/ref=cm_sw_r_cp_apa_i_mrOLDbRW2P1GG to "stretch" the hole in a way so the post will sit in it on a slant. It's not great, but if there's no other options for you, it's something
Stop bit. I think it was the 11/16 or 3/4" bit that did it.
https://www.amazon.com/gp/product/B0746FZT52/ref=oh_aui_detailpage_o01_s02?ie=UTF8&psc=1
Step Drill
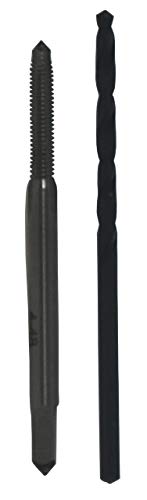
Drill out original rivets, which I assume you did in order to take it apart. Drill pilot holes for tap, be careful not to go too far. Use tap tool to cut threads, make sure to use lube (wd40 works). If you’re unfamiliar with tapping maybe look up a vid on you tube.
Button head screws -
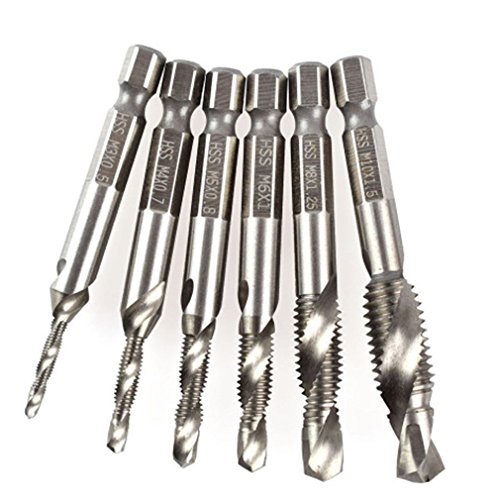
Tap and drill bit
There are smaller internal threading tools, I have seen ones that hold carbides down to 5mm, but with everything they are still around 1/4" minimum hole size. You can also find some from thinbit.com, they have a line called microbit that can get really small, from their website "For internal diameters of .077" and larger. ". Amazon has some of them like https://www.amazon.com/MICROBIT-Uncoated-Carbide-Threading-Elliptical/dp/B01MTIZ8W3 and the price isn't horrible, but be careful to follow the recommended feed and speed suggestions, would hate to break one. If you search "thinbit" you can find other offerings too.
One other option is cut an external thread and make a tap that matches what you want and tap the hole.
If you make your own, a good reference is https://sct-usa.com/wp-content/uploads/2015/08/Catalog2015_081015_QUALIFIEDTHREADTOOLS.pdf, this is also an option instead of the microbits above, but I haven't seen prices of these tools.
OK, going to leave the above info, but was looking around Amazon and found the "Micro 100" line, search for "Micro 100 single point", the price is right, and you can get a good selection of sizes. I think this might be the way to go. Here is an example https://www.amazon.com/Micro-100-Internal-Threading-Projection/dp/B00Q8M1HQ0 but look around to get what fits your needs best.
Thanks for the question, I have ordered a couple of the Micro 100 ones to try out, as I hadn't seen them before and they look really nice for the job.
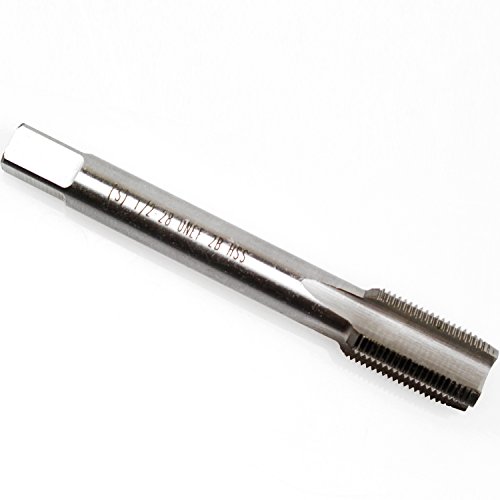
1/2 - 28 is a standard size; here's a tap for it. 1-1/4 - 28 is not a standard size as far as I know. Those threads would have to be cut on a lathe.
I suppose you could use the flash hider itself as a die on something really soft like PVC. Or glue it onto a PVC fitting that's very close to its ID. There's a facebook group specifically for these types of gun projects.
Depends on the climate. I take this one ordered from Amazon (£26.99) which is rated comfort at 8 degrees, limits at 3 degrees and extremes of -11.
It’s also a good size and lightweight - it fits in with all my camping stuff in an Oxford 30L drybag.
I’m 6ft and fit in it, wouldn’t be good if you’re much taller though.
Hi, I ended up going with the Lindens version
https://www.amazon.co.uk/Lindens-Lavender-Essential-Capsules-Manufacturer/dp/B06XPLTLLN/ref=pd_nav_hcs_bia_t_1?_encoding=UTF8&psc=1&refRID=5TGKZHNFDWGT95XYT5N8
as it says Lavender Angustifolia and the reviews were good. I would say the effects were subtle but better than l-theanine for me. I did double the dose a couple of times too.
You drill a pilot hole then use a step bit to drill the holes for the pass through fittings. The ekwb pass through fittings I used had a 20mm outer diameter so I just stopped drilling once the 20mm step was through. A tip is to use painters tape to mark the bit where you need to stop in order to prevent over drilling. I used a drill/tap combo bit and some m3 screws and nuts to drill and tap the screws for the res mounts on the mounting plate.
Xilko 3Pcs High-Speed Steel Step Drill Bit Set Power Tools Cone Titanium Coated Metal Hole Cutter 1/4" Hex Shank Drive Quick Change 4-12mm/4-20mm/4-32mm
https://www.amazon.com/dp/B074NNZR4L?ref=yo_pop_ma_swf
I think these are the right ones not Prime though :(
Edit: see armed_diver's comment above.
I've had a lot of people ask for a build video but if you check out my 15 second typing video in this thread you'll see my video production is really lacking. Given the whole process is 2-3 hours, that's also a pretty long video.
But to answer your direct question, I definitely sculpt the key into its external shape first. I tried the other way around when I first started and quickly gave up.
It might seem like it would be easy to cut too far but this didn't happen once when I switched to walnut.
What worked really well was doing most of the hollowing using the sphere bit in the link below. This handles 75% of the hollowing out and it does so in a very predictable spherical shape.
Problem is, the interior of a Cherry MX keycap isn't spherical. So I then used a reverse code bit square out the interior, this left the walls of the keycap about 1-1.5mm in thickness, which leaves enough room for the switch.
Sphere:
https://www.amazon.com/dp/B0037MI5RI/ref=twister_B07CRQ7LLL?_encoding=UTF8&psc=1
Reverse cone (far right in the picture):
https://www.amazon.com/DRILLPRO-Double-Carbide-Rotary-SizeTungsten/dp/B06W9JFW66/ref=sr_1_1?ie=UTF8&qid=1536972165&sr=8-1&keywords=reverse+cone+rotary+bit
Get a 42mm step bit?
I bought a set of carbide tools from ebay and turned the handles myself. It was a good first project and I have something I am proud of. That said, my local shop sells a lot of these and they recommend them over more expensive tools to start out. https://www.amazon.com/Rikon-Four-Piece-Turning-Carbide-Inserts/dp/B078XLQ3TM
You can get an M35x1 metric die on amazon for $48
But if you need pipe threads that may be an issue. Did you purchase a 35mm pipe or is this something that was installed or laying around. Unless you specifically bought a 35mm pipe I find it hard to believe this isn’t some standard size. OD on a 1” pipe is 1.315”; 35mm is 1.378”
If it’s a 1” pipe lots of places will be able to thread it. They have the machines at Home Depot but idk if they will do it on any pipe you bring in.
I keep a Carbide Turning Tool Holder in my car,RC for just these kind of people, does a lot of damage to a car.