(Part 2) Best greases & lubricants according to redditors
We found 455 Reddit comments discussing the best greases & lubricants. We ranked the 135 resulting products by number of redditors who mentioned them. Here are the products ranked 21-40. You can also go back to the previous section.


If anything you have says food grade, you're most likely set.
This stuff is the best, and it'll last you forever..
http://www.amazon.com/Dow-Corning-Molykote-Grease-Lubricant/dp/B0141NIS8M
This stuff also works, but washes away more quickly.
http://www.amazon.com/McGlaughlin-Oil-Petrol-Gel-Lubricant-4oz/dp/B01G5Y9Y7E
It's for sure expensive for so seemingly few applications, but you can really use this stuff everywhere. Doorknobs, squeaky hinges, tools, bicycles, etc...
As for the frequency of cleaning...
Since you are all stainless, it makes cleaning frequency kind of a contentious topic... The Brewer's Association currently advocates for every two weeks, but through commercial applications to hobby level, with stainless/vinyl contact, up to a four week interval can be permissible.. Especially on a direct draw system such as yours.
What would probably be most convenient, would be to clean every keg change using a little hand pump bottle like this:
http://www.micromatic.com/beer-line-cleaning-kits-and-equipment/deluxe-beer-line-cleaning-ck-1100
Super easy to use.. Remove the faucet and coupler, pack the lines with the cleaning solution and soak for 45 minutes. Use the leftover chemical from the soak to brush the faucets and couplers clean.. Rinse, reassemble, and your done.
You do have another option...
Some people opt to never clean, and instead just replace the length of line every few months. The coupler and faucets would still need to soaked and brushed, but using John Guest (push-to-connect) terminations, changing lines becomes fairly trivial.
A $25 dollar 100ft roll of barrier tubing would last you several replacements, and it will remain cleaner longer. The big drawback with barrier is that it more susceptible to kinking than vinyl is.. But it is better for the beer, and perfectly suited to your application. And you won't need any overpriced, questionable quality cleaning equipment... Just unplug the line, coil it up, and soak it.
https://www.freshwatersystems.com/p-2502-john-guest-female-adapter-bspp-516-x-58-bspp.aspx
These fittings would attach to your couplers and and shanks, and just as before, you would use ~6ft of 3/16" ID barrier to get about 12psi of restriction. I don't know this website, but Accuflex's Bevlex 235 is the stuff I'd recommend.
http://www.birdmanbrewing.com/accuflex-bev-seal-ultra-barrier-tubing-3-16-id-100ft-free-shipping/?gclid=CIDbk8OPj80CFUpahgodKNYITA
What's also cool about using a quick connect line, is that it simplifies pouring a larger range of carbonation levels and styles.
Say you want to put something on with a higher volume of Co2, let's say 3.0 v/v... To maintain carbonation at 38º, now you need you set your gauge to 17 psi. Your flow rate will now cause turbulent pouring since you only have ~12 psi of restriction.. A net 5 psi positive pressure will pour too fast. How can we fix it?
Just plug in a 8' length of line instead of 6', and you've balanced out the system.
Or maybe you have a barleywine or stout that you don't want to drink at 38ºF... At 2.5 v/v and 38ºF, you need about 12 psi of straight Co2. That same beer stored at 50ºF would need 18 psi to maintain 2.5 v/v, or it would de-gas and foam like crazy. With that badass controller you bought, adjusting the serving temperature is an option available to you.
You might be seeing flow control (restrictor) style faucets more prevalent these days.. As beer styles come out with greater ranges of carbonation, bars and restaurants can't just hack their system open to add/subtract a few feet of line, but the system still requires the restriction be dialed in to operate efficiently. So they restrict at the faucets because they can't restrict at the lines. Pretty neat..
Junky establishments won't care sometimes, and will potentially let the beer go flat using a lower (incorrect) pressure to get more manageable flow rate... Basically saying F you to the people that worked hard to make it. It's whack.
Enjoy your setup... I get super excited seeing people do this stuff right! That setup you built is going to make some people very happy.
Belive it or not all Glock uses is a high heat copper anti seize lubricant like you would use when changing the breaks on a car.
I live about 5 miles from the glock plant in Smyrna, GA and have talked to several of there employees over the years about it. http://www.amazon.com/gp/aw/d/B0006Q7H36?pc_redir=1411030351&robot_redir=1
I got into the habit of coating the hub, rear center of the rotor and front center of the rotor with anti-seize. It isn't perfect, but it has helped to lessen this happening.
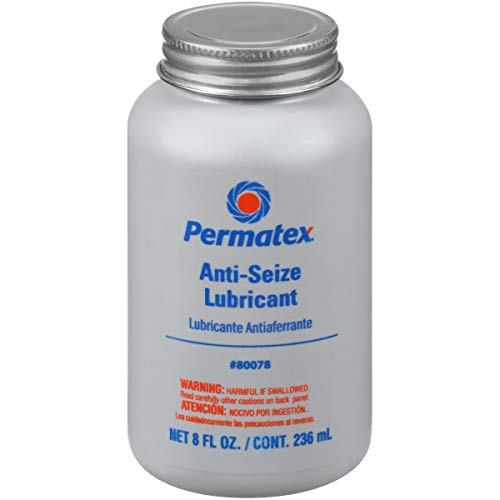
https://www.amazon.com/Permatex-80078-Anti-Seize-Lubricant-Bottle/dp/B000FW7VGE/
Enough to last the next generation or two.
Non-weird link.
They look okay for a bit longer to me. (from what I can see on the outside pad)
Here's how I go about with pad replacement intervals. I pull the pads out to see how they're doing where I can see the whole pad. I check for things like cracks that go down to the backing plate or of there's a chunk or something missing out of them. After that I check to see how much actual pad is left and if they're okay to keep on the vehicle or if I should get new brake pads. I use what's called a Tread Depth Gauge which I recommend everyone have at home. It's a cheap tool you can get at any auto parts store. While measuring brake pads if it's at 3/32 or below I replace the brake pads, or if the pad squealer is clearly making contact with the rotor. But if they're okay and while they're out I lube up the pad backing plate where it contacts on the piston or bracket, the sides of the pad where it sits on the bracket shims, and the slide pins. I use this stuff from AGS called Sil-Glyde. Works great. Just make sure not to get it on the actual pad itself.
But again with your original question from what I can see they look like they're getting there but okay to still use. If you have any other questions feel free to ask :)
I use this stuff when I do brake jobs and it seems to work well.
Ok, so... you really shouldn't do that. The oil will eventually gum up and cause more problems. The correct solution is powdered graphite.
Also, removed a few comments of people being rude about this being obvious. Clearly, they're not so good at this either.
Gears need grease because it clings to them, oil will just fling off. Look for: SuperLube PTFE Synthetic or Lithium Moly grease.
Hard to beat the price and shipping of Amazon IMO.
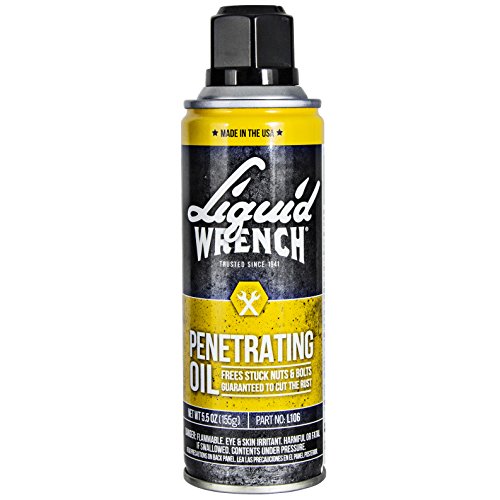
Get some penetrating oil and spray the bolts or screws in advance. https://www.amazon.com/Liquid-Wrench-L106-Penetrating-Oil/dp/B00200MR8Q or some other brand is fine
[Amazon.ca]
(https://www.amazon.ca/WD-40-10118-Multi-Use-Product-Gallon/dp/B000LEYAY2) but $3000!
Silicone lube is good for rubber.
AGS SG8 Lubricant https://www.amazon.com/dp/B000KXLR5E/ref=cm_sw_r_cp_apa_i_hZf-AbKC79YQV
Yes... in fact, it appears that WD-40 now makes one with their awesome flip-top straw cans!
https://www.amazon.com/Specialist-Lithium-Grease-Spray-White/dp/B00MIWVKPM
Sorry I was not talking about their oil I was talking about Mobil one synthetic grease. Like https://www.amazon.com/Mobil-Synthetic-Grease-oz-102481/dp/B00U1TLXC4
I run through a can of grease and have to refill my oil can (straight 30 weight) so much more often than my WD40 can. Nothing wrong with WD40, but for most common applications there's a better choice than WD40.
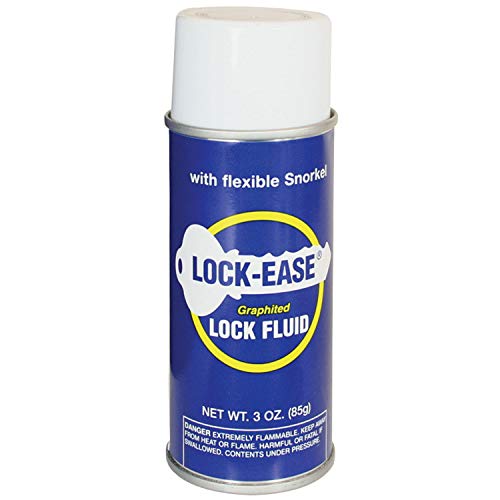
De-icer as a few others have stated. Once you get it un-stuck pick up a can of this (auto parts store or Walmart) and get the lock internals coated.
Always had lock freezing issues on my old Miata after snow/ice storms and this did the trick!
https://www.amazon.com/AGS-LE5-Lock-Ease/dp/B000CIJUGA/ref=mp_s_a_1_4?ie=UTF8&qid=1543500925&sr=8-4&pi=AC_SX236_SY340_QL65&keywords=lock+graphite&dpPl=1&dpID=417G7eiU2wL&ref=plSrch
I use coconut oil on most of my knives' moving parts. I usually apply it by disassembling the knife, oiling it, and wiping dry, leaving the slightest of film.
I only started doing that because I sometimes cut food with my folder. If I wasn't cutting food I would use spray silicone or lock lubricant like Lock-Ease Lock lubricant is just graphite suspended in a solution that evaporates leaving the graphite behind. Graphite as a lubricant is great for preventing gunk buildup because it is dry. Oil breaks down and oxidizes over time. It also collects dust which speeds up this process. Not only will this buildup slow down the movement of your moving parts but it stresses the moving parts too. I mean, not much, but it adds up over time. Silicone doesn't oxidize but it can collect dust.
I don't know if drawing on it with a pencil would work but you can buy powdered graphite, sold as a lubricant for stuck lock cylinders and such, which works like a charm e.g. this one of many on Amazon.
Definitely do the shocks and brakes yourself! You'll save yourself nearly a thousand dollars and they really aren't even that hard to do with common hand tools.
How to replace brake pads and rotors
How to replace shock absorbers
How to replace struts (if this is what your car has rather than separate shocks and springs)
You really shouldn't need a full brake system flush for a car that's this new, but if you really want to...
The alignment will need to be done by a professional though, but all the other stuff can be done yourself for probably $150-200. You'll learn a ton about how your car works and how to fix it, and you'll probably get a lot of supplies that you didn't know you needed, like silicone paste lubricant for the brake guide pins, copper anti-sieze, and thread locker, all supplies that can be used for many, many different things, not just this one brake job!
I hope this all is helpful. I've been doing this stuff at home for many years so feel free to reach out if you need any help at all.
As /u/Phil12312 pointed out, the brass coupling should have it's screws a little loose.
You may have a burr on the leadscrew that doesn't "move a little faster".
Try moving the leadscrew using the 1mm setting from the bottom to the top by hand see if you can spot it.
If there is a burr, you can smooth it by hand with a piece of fine (400 - 600 Grit) silicon carbide sanding paper.
Lubricant - \u\Dylanator13 's suggestion of 3-in-one Oil is just plain WRONG. (Sorry, Buddy! :-) )
It's fine that you used what you have handy, it's your machine. If you choose to mistreat it, that's between you and your machine. But PLEASE don't recommend this to anyone else, it's just wrong!
"There are many different suggestions of what lubricant to use online" - Yeah, and the majority of them are the blind leading the blind. Threaded rods need a fine GREASE, not a light OIL that breaks down quickly, and can run down the shaft fouling the stepper motor.
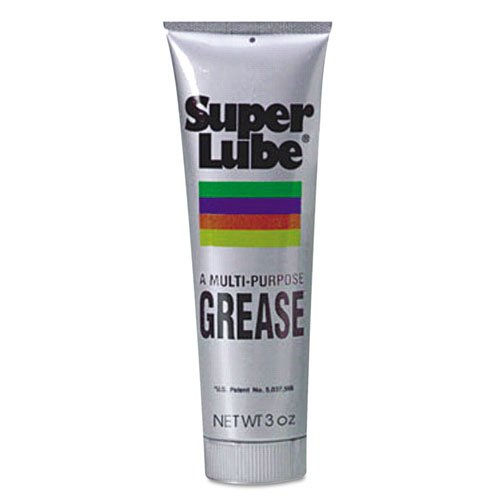
The proper lubricant for a leadscrew is a VERY THIN, EVEN application of either a Lithium based grease, or what many have found superior, a heavy duty PTFE based grease like Super Lube.
It has excellent lube properties, has a very long breakdown time (unlike many greases), and isn't prone to attracting dust which wears bearings.
Here's an Amazon Link:
https://smile.amazon.com/Super-Lube-Dielectric-Synthetic-Authorized/dp/B00C5014K8
But I got mine here in the US at Ace Hardware (was actually MUCH cheaper!) :
http://www.acehardware.com/product/index.jsp?productId=3506761
If you're in Europe, UK or Australia, I don't know where you can get it, maybe someone can jump in!
Let us know if you solve it, K?
PuterPro
Is this the correct grease for this?
Here's a copy/paste from an earlier comment reply I made about 2 months back.
​
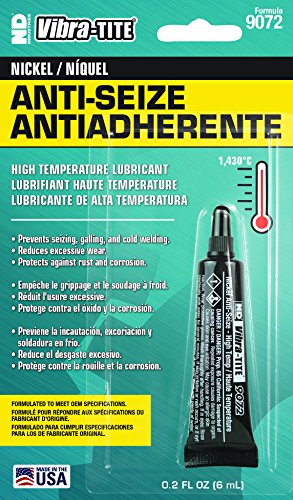
I read on some subreddit that a lot from Creality aren't always screwed in. Mine took about two weeks to start showing issues. What I did was unscrew the two side screws, unscrew the heat break (metal tube) and added anti-sieze to the hotend to lubricate everything. Here's the kind I bought Be careful to use gloves as I guess it can cause people to have reactions if that gets on your skin. It's basically a nickel powder in a goo that's good up to like 2000F or something like that.
I fully disconnected the heater and thermister and used a heat gun heat up the block, then screwed in the nozzle all the way, then screwed in the heatbreak to meet it. I let it cool and reassembled everything, and redid the nozzle hot after unscrewing it about half a turn and pushing the PTFE tube into it, then tightened it back up. After that and replacing the couplers, didn't leak again.
​
You probably don't need the anti-sieze unless you're having trouble unscrewing/screwing the heat break.
I've seen car guys use WD40 rust remover soak to remove rust from parts, including engine blocks. Removing the rust is the first thing I would tackle with those.
http://www.amazon.com/WD-40-Specialist-Rust-Remover-Gallon/dp/B0083V8KRS
Edit: some words
That being said, I've found engine oil has major disadvantages for guns anyway.
Engine oil is low viscosity and creeps well, so it seems to get everywhere except the important reciprocating surfaces. You don't notice it until you take a paper towel with rubbing alcohol and wipe down the plastic frame - suddenly the gun is twice as grippy. It also emulsifies with unburnt powder into a nice black sludge, making 22LR twice as messy.
Moly assembly lube is a lot nicer on handguns, practically disappears as you rub it in, doesn't slowly creep into your holster and doesn't gum up. (Apparently bad for accuracy with rifles tho.).
Still, a drop of motor oil works wonders for wiping metal down.
https://mechboards.co.uk/shop/all/stabiliser-lubricant/
https://www.amazon.de/SuperLube-Mehrzweck-Synthetik-basierend-Fett/dp/B00C5014K8/
It would help if you could identify the specific joints that are the noisiest. It's likely a combination of your rear shock, your swingarm's connection to the frame, and the subframe joints. Sometimes you can't do much with older bikes short of replacing the parts, but cleaning and greasing it should help you.
WD40 is simply a water displacement. It doesn't grease anything, it just helps remove the water, and it's especially helpful if youre trying to unscrew or pull out something and it's stuck, as it will temporarily lubricate what you spray it on.
If you want to get rid of squeaks in the joints, either get some spray lubricant(like a silicone based one, something like this) or you can tear the bike down and apply grease(just get a tub of it and it'll last you years, something like this) to a lot of the moving parts. The rear shock is something you definitely don't wanna be taking apart unless you know what you're doing, so try just putting grease on the outsides of the joints or getting spray lubricant and spraying it in the joints.
I recommend the grease method, as the silicone spray often doesn't do a long term job and it isn't nearly as water proofing. Try to find some videos of how to take apart dirt bikes, and apply those concepts to your bike. Every bike is different, but if you watch some klx 125 teardown videos, you'll catch on. Pretty much you can take off everything except the rear shock/swingarm and still be able to put it back on easily.
I used that corrugated plastic sheeting available at any big box store. It's reasonably inexpensive and easy to install (screws on with a screw+rubber washer).
If you didn't invest in stainless hardware, I advise you to stop now, remove those t-nuts and replace with stainless. You WILL regret it otherwise. Even then, I'd put anti-seize on everything. Outdoor walls take a beating and stripped t-nuts suck.
Get the following stuff to prepare:
Soak all the header bolts and overpipe bolts to be removed with the penetrating oil for an hour or so. Watch some YouTube vids on how it's done. Then torque everything down to spec (Google is your friend!) If you can do an oil change, you can do this with the right tools and instructions. Just be prepared to take your time and do it right. Use anti seize on all the bolt threads and o2 sensor threads when reinstalling. It'll make life easier for you in the future. Also be prepared to not drive the car for a few days of shit goes wrong... When I did mine on a car with only 5k miles, the primary o2 sensor was found installed crossthreaded into the OEM header from factory... Had to order a new o2 sensor to go into my new header. Shit like this could happen. Good luck!
I just replaced my switch assembly and starter relay. Initial problem was as you mentioned. Had manual and next thing in the list to test was relay, friend showed up and shorted with a screw driver. Bike fired right up. He said thats the problem, $10 @ ebay and easy fix that didnt work. Dissassembled switch cause it was a little sticky, had to pull it out after starting once in a while or it'd keep spinning the starter motor, and watched what happened when hitting the button. The button moved, as it should, but also moved the button seat on the inside of the housing. So, sometimes worked, sometimes stuck, sometimes didn't work at all. The button is similar to shorting the relay in that it just connects the circuit long enough to start the bike. So I went to the local bike recycle place and dug through bins of handlebar housings untill I found a switch that looked like mine inside and out. $40 dollars and an hour later I was starting the bile every time with ease. Some $11 liquid electrical tape on the button seat wire connections that had split wire housings due to all the moving around while inspecting and di-electric grease made all the moving parts and plug connections lubed and water tight. I took a vid too if you're interested...
I use high temp grease like you'd use in a grease gun to lube bearings, the particular brand is "Mobil grease xhp 222" but any decent grease should work. here's a link to the stuff I use, that lil mini grease gun thing the show in the recommended items is super fucking handy too.
https://www.amazon.com/Multipurpose-Grease-XHP-SPECIAL-14-1/dp/B009VGEEM4
But I kinda go overboard and grease all possible contact points, like where the trigger bars ride against the frame, and I'll put a dab on the rear cage then smush it in with my finger so it can get worked into all the surfaces there and slicked everything up. Basically if any 2 pieces of metal are gonna touch I like them to be greased, the firing pin gets a tiny amount of oil, like 2 drops at most, and then I cycle the gun by hand a bunch and wipe up any excess.
Some q-tips and toothpicks make applying it a lot easier, that lil grease gun is a God send though, I highly recommend it.
And yeah the best part of the comp is how bad ass it looks, my brother was flipping out like "this shit looks like something out of metal gear" lol
probably a readily available NLGI 1 or 2 ("peanut butter" consistency) general purpose grease, maybe http://www.amazon.com/Valvoline-VV608-Multi-Purpose-Automotive-Industrial/dp/B000GAP43C . A similar grease should be available in pretty much every auto parts store.
I know it isnt calgary but...
I've been using this on the parts that need heatsink compound.... if you go research the spec sheets on the mfg website the thermal transfer properties are similar to artic silver..... the main reason i went this way was the outstanding temp range... most of the CPU pastes top out around 200c with the really good ones hitting maybe 250c.. eventually i plan to print polycarbonate and some of the other really high temp filaments... of course with an all metal hot end and a higher wattage heater cartridge... from all I've read it seems like the 40w heaters have trouble hitting and maintaining temps over 250c
https://smile.amazon.com/gp/product/B008RMT9LO/
As others have said just go with DOW 33......you can find a giant tube of it on Amazon under Dow Corning Molykote 33. Or this link : http://www.amazon.com/Dow-Corning-Molykote-Grease-Lubricant/dp/B0141NIS8M/ref=sr_1_fkmr1_2?ie=UTF8&qid=1450356580&sr=8-2-fkmr1&keywords=dow+33+mo
I shoot and tech the vanquishes and luxes for my team and bought a single tube of this 2+ yrs ago and I still have a ton left.
Check the manual and parts guide and get some Dow 33 grease. And the maintenance is easy. There's YouTube videos on it. Basically just clean and re-grease the o-rings between each day of play.
Live and learn, right? You should be able to get the glue off using a penetrating oil. Liquid wrench has good reviews, and won't eat the paint off your car.
WD-40 will get you most of the way there, but you really want something with a higher viscosity, like white lithium grease. For $5 you can get enough to fix every squeak on campus: https://www.amzn.com/B00MIWVKPM/
Edit: you can also put in a service request through your Cal Poly portal, but that will take forever.
https://www.amazon.com/WD-40-Specialist-Rust-Remover-Gallon/dp/B0083V8KRS
Soak it in 30 gallons of this for a few weeks.
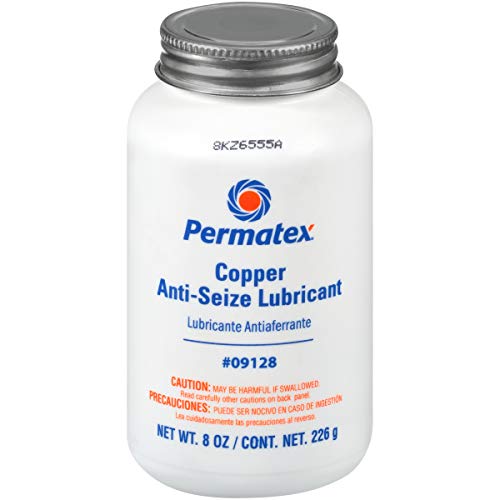
If you really want it: https://www.amazon.com/Permatex-09128-Copper-Anti-Seize-Lubricant/dp/B000HBM8HU/
I got these lube and grease.
Krytox GPL 207 Grease, Pure PFPE/PTFE, 0.5 oz Tube https://www.amazon.com/dp/B00MWLD61A/ref=cm_sw_r_cp_api_i_wUmCCbTXMAEDQ
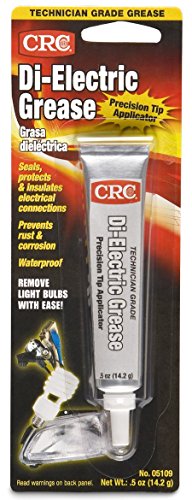
CRC 05109 0.5 Ounces Technician... https://www.amazon.com/dp/B000CCIDAA?ref=ppx_pop_mob_ap_share
The grease goes on anything metal and the lube goes on plastic to plastic contact.
This guy's channel was very helpful and informative for me! You should check it out.
/u/taehatypes
https://youtu.be/cD5Zj-ZgMLA
Anti-seize is good stuff but not really good for moving parts. Something that is going to be rotating or touching something rotating at extreme speeds is going to need high temp grease on it. Check this
You are correct. This is why in modern semi-automatic pistol owner's manuals it explicitly states not to remove the copper colored substance from the rails.
Typical lubricant is this here: http://www.amazon.com/Loctite-38650-Copper-Anti-Seize-Lubricant/dp/B0006Q7H36
Super Lube 21030 Translucent White Color 3 oz. Automotive Accessories https://www.amazon.com/dp/B000XBH9HI/ref=cm_sw_r_cp_api_i_J041Cb6HXVCWF
Multipurpose Grease, XHP 222 SPECIAL, 14.1 oz https://www.amazon.com/dp/B009VGEEM4/ref=cm_sw_r_cp_api_i_v441CbAQWR8KJ
Any grease is better than none. It’s also helps quality. I use mobile grease, left over from my CNC repair days. One tube is a lifetime supply for the little you need, use a Q-Tip and apply a thin coat all the way up, Run your Z-axis all the way up and down, and apply a little every month. I use a old medication bottle to keep a small supply next to my machine. Keep the Q-tip in the bottle. When the grease turns a dirty white, just wipe away the extra and reapply. Do not use oil, that makes a mess and disappears. If you need to clean the Z axis rod and bearing, use mineral sprits on a clean rag and wipe it clean and dry, add new grease.
I would try some graphite powdered lubricant like this product: https://www.amazon.com/American-grease-stick-graphite-lubricant/dp/B000K7TOLE/ref=mp_s_a_1_3?crid=3LR5ACS70C943&keywords=graphite+lubricant&qid=1557155482&s=gateway&sprefix=graphite&sr=8-3
https://www.summitracing.com/search/department/exhaust/section/catalytic-converters/universal/yes?N=4294948820%2B4294900422%2B4294900407%2B4294951518&PageSize=100&SortBy=Default&SortOrder=Ascending
Bonus, find one you like and look for it on amazon (make measurements first to see how big you need). Usually a couple bucks cheaper and Prime shipping makes it doubly worth it. Take it to an exhaust shop if you don't have a welder. Shoulnd't take too long to install. O2 sensors can be a pain to remove if they've never been removed (rust). When installing the new one, put antiseize on the threads to make future removal easier.
High temp urea grease I believe it is called this is the stuff Honda recommends at least, http://www.amazon.com/Genuine-Honda-08798-9002-Urea-Grease/dp/B00BFDFYKW
https://www.amazon.com/Liquid-Wrench-L106-Penetrating-Oil/dp/B00200MR8Q
OK, I'm thinking we do this in stages.
Stage 1 which will allow you to get it riding now and will be perfectly capable of a 4-5mi round trip.
Cable Cutters ($20) stick to the better units but probably no need to go for Park Tool. BBB make a nice one, although I currently have an IceToolz cable cutter because I can't find my good ones.
For the brakes you will need a 4th hand cable stretcher like this Pedros ($17) unit which is a third the cost of a Park Tool unit.
Will also need cables, easiest way is to grab a DIY Jagwire ($24) kit which has both brake and shift cables.
These Vittoria Zaffiro tyres are a good compromise of value, durability and performance. I use these a lot and they're on my training bike. Will also need tubes, and being a commuter, flats are not your friend so these Schwalbe tubes are a good idea. ($60)
Arundel cork bar tape ($20)
A new chain for your bike is probably the only way forward, and this KMC is perfect ($6)
The brake pads on your calipers will now doubt be old, and also a 30yo pad compound, so not overly efficient. Would strongly recommend these Kool Stop Continental brake pads as a starting point before we get to Phase 2 ($10)
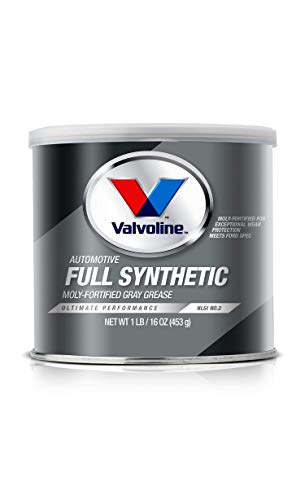
Grease for the Bottom Bracket and Headset (and wheel hubs) is also needed, but there's absolutely no need to buy bike-specific grease, so this Valvoline tub as an example would be ideal ($10) .
The chain needs to be lubed, and in dry conditions I like Finish Line dry lube. Others will have their own preferences, but this is a good starting point.
Also should think about replacing the saddle, but this is very subjective and not something that can be recommended in terms of which saddle to buy. Maybe scoot around Craigslist for your area and see what comes up..
In terms of learning the skills, the Park Tool video channel is surprisingly good although heavy on product placement and endorsement although this is to be expected. There are lots of alternatives to Park Tool tools though, including Pedro's, BBB and others. None of the skills associated with your era of bike are all that difficult, and refurbishing this to be usable in your context is completely feasible in your garage.
May also want to consider buying one of the entry-level bike toolkits like this tool kit as a starting point ($40) although this is just an example however is the same kit as others sell just rebranded.
So phase 1 (not including the tool kit) is about $160-ish and watching a bunch of videos.
sorry for the essay, but once I started it just sort of kept going. Phase 2 is removal of existing driveline, and upgrading to a Shimano 2x8sp indexed group with modern dual pivot calipers and modern alloy wheels. But we can cover that later.
try this
http://www.amazon.com/AGS-LE5-Lock-Ease/dp/B000CIJUGA
http://www.amazon.com/AGS-LE5-Lock-Ease/dp/B000CIJUGA
(Google Liquid graphite lube)
http://www.amazon.com/WD-40-10118-Multi-Use-Product-Gallon/dp/B000LEYAY2
I just replaced my stock hotend with a V6 clone. It works great (although the mount I have has no part cooling fan anymore). You can easily swap an entire heat break, block, and nozzle. You might need to use a 1.5mm wrench to adjust the ptfe tube and square nuts in order for you to have the same height offset if you're going with the old heatsink mount.
Do yourself a favor for future you. Buy some Anti Seize and get a little bit on the threads of the nozzle and heat break. (caution, this stuff is MESSY! you'll have silver stuff everywhere!)
https://www.amazon.com/Permatex-80078-Anti-Seize-Lubricant-Bottle/dp/B000FW7VGE
I wouldn't be spraying WD-40 onto the window itself. I would spray it on the little rubber track that the window follows as it rolls up. I would spray WD-40 into the crevasse.
Maybe I should just use this or a similar product?
Thanks.
This stuff is better for the slides
SILGLYDE LUBE COMPOUND-- 8 OZ. https://www.amazon.com/dp/B000KXLR5E/ref=cm_sw_r_awd_Th9Cub10EB47C made just for what you are asking for.
By the way, there really is such a thing as headlight/blinker light fluid. It's more like a thin paste, it's conductive, and it's oil based so it keeps the contacts from corroding if they get exposed to Amy moisture.
And no, I'm not shitting you.